Same Day Sourdough
When I first started making sourdough, I had no idea how much time it actually took. Making my first loaf, I told my family, “We’ll have fresh bread today!” not realizing the recipe I was following was a three-day process. That’s what inspired me to create this same day sourdough bread recipe—a way to enjoy fresh homemade bread without waiting days.
While overnight fermentation and cold proofing definitely have their place, I’ve found a few tricks that let me make sourdough from start to finish in the same day- and still get that classic sourdough texture and tang.
Is this the “best” way to make sourdough? In my opinion, no – but it might be for you! Everyone does sourdough a little differently, and if you’re on a time crunch or just need fresh bread for dinner, this recipe (and the tips I’m sharing) will help you get there.
This website uses affiliate links that earn commission at no extra cost to you. Thank you for using them and supporting my content!
Here are my 6 Tips for Same-day Sourdough:
1. Increase Active Sourdough Starter
Using more starter helps your dough ferment faster.
The sourdough starter is what provides the yeast and bacteria that make your dough rise. By adding more, you increase the number of active organisms working in your dough, which speeds up fermentation.
I usually add about 50 grams more than I would for my normal recipe.
For example, if a recipe normally calls for 100g of starter, I’ll use 150g for a same-day loaf.
Just make sure your starter is bubbly, active, and recently fed—this is key to getting a good rise.

Note: Having an active, reliable sourdough starter is key when you’re trying to speed up fermentation for a same-day bake.
If you don’t have one yet (or if yours isn’t quite strong enough), I sell my own dehydrated sourdough starter — it’s an Etsy Bestseller!
It’s the same starter I use in all my recipes, and it’s strong, beginner-friendly, and ready to help you get started!
2. Use Warm Water
Using warm water (around 80–90°F) helps your dough ferment faster.
Yeast and bacteria are most active when the dough is between 75–82°F. Starting with warm water raises the dough’s temperature closer to that ideal range right from the beginning, so fermentation can happen more quickly and consistently.
If you use cold water, the dough will stay cooler, and fermentation will take much longer.
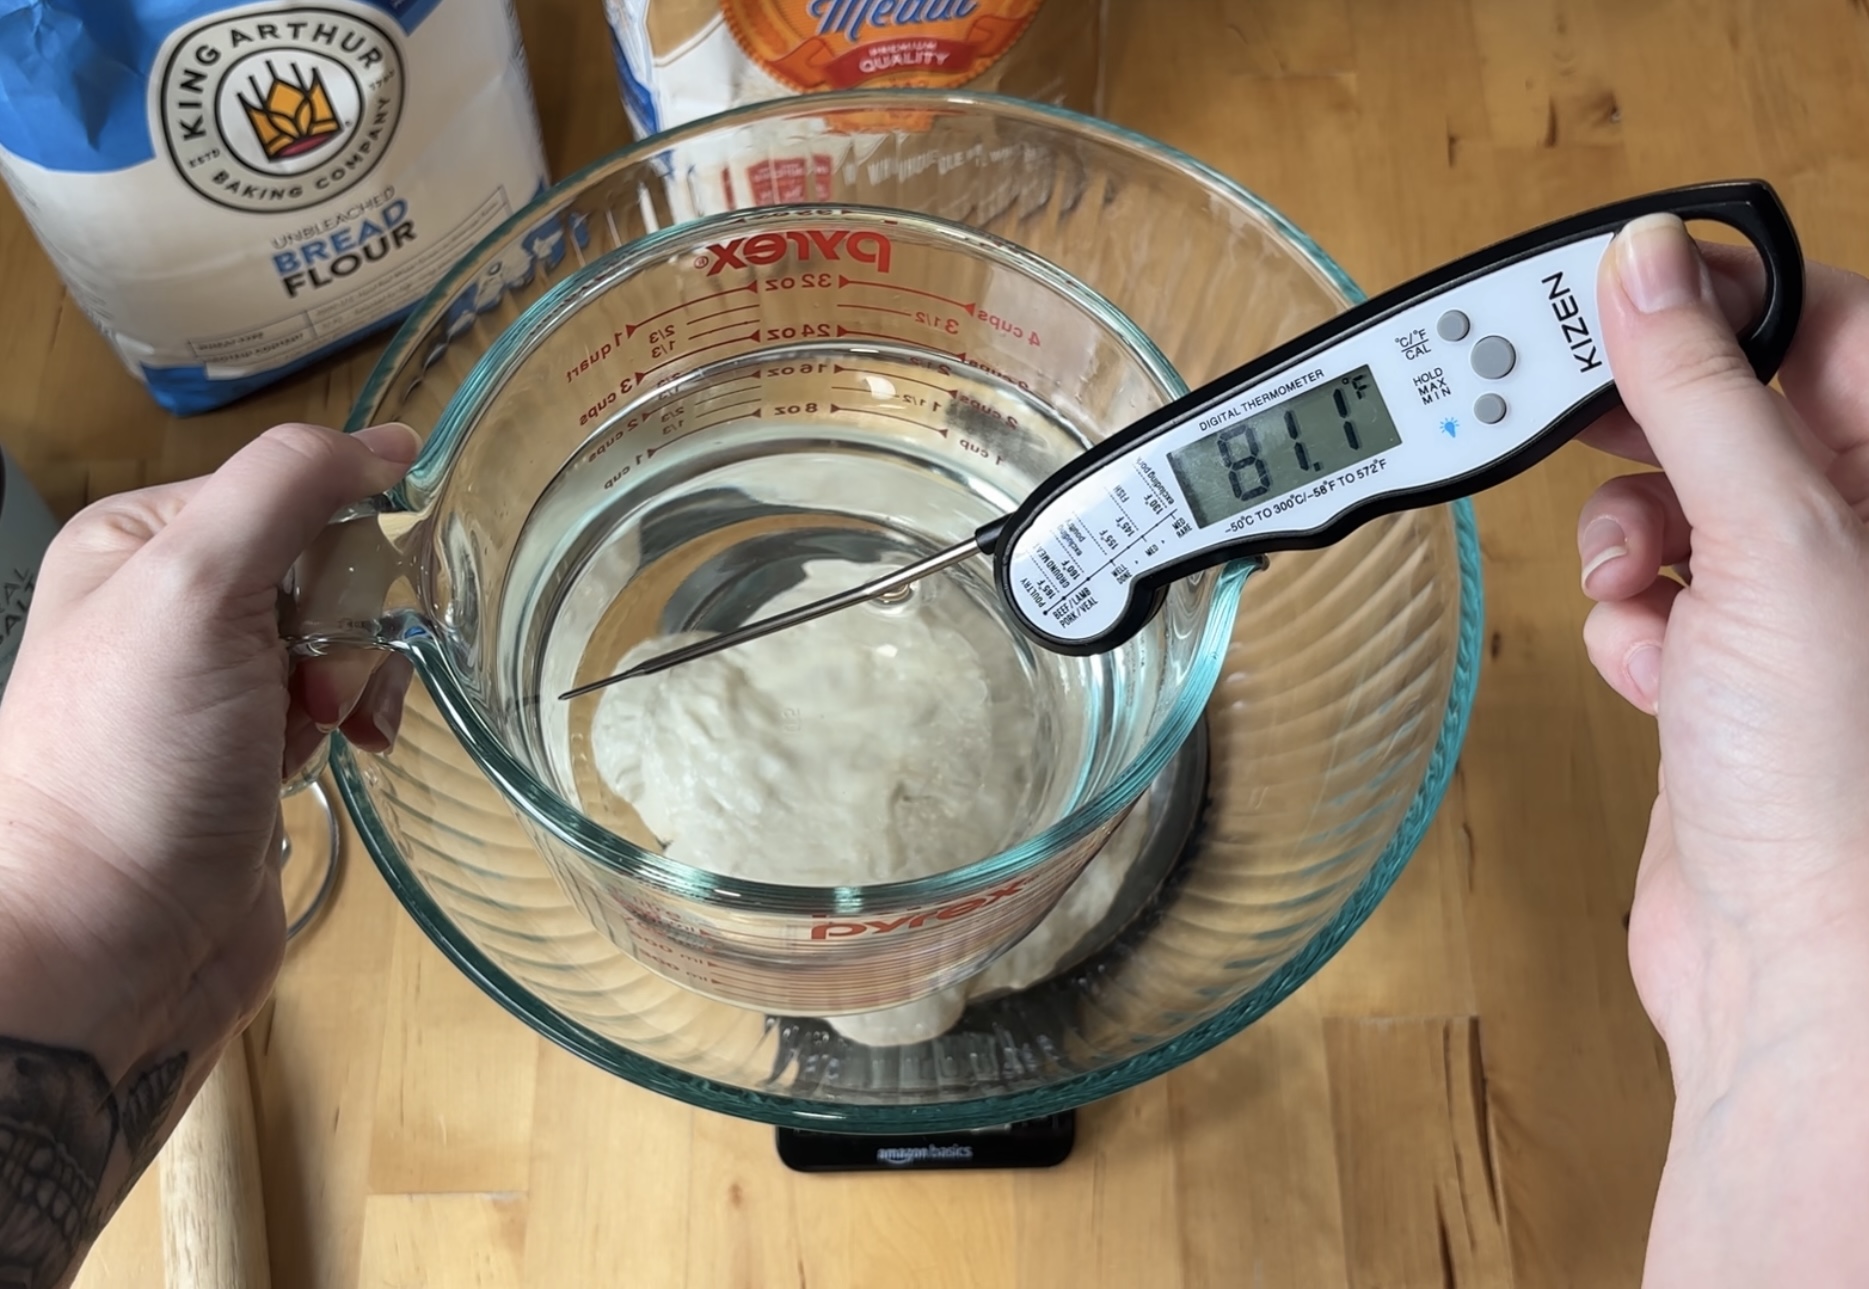
Just be careful not to use water that’s too hot- anything above 110°F can start to kill off the yeast and bacteria in your starter.
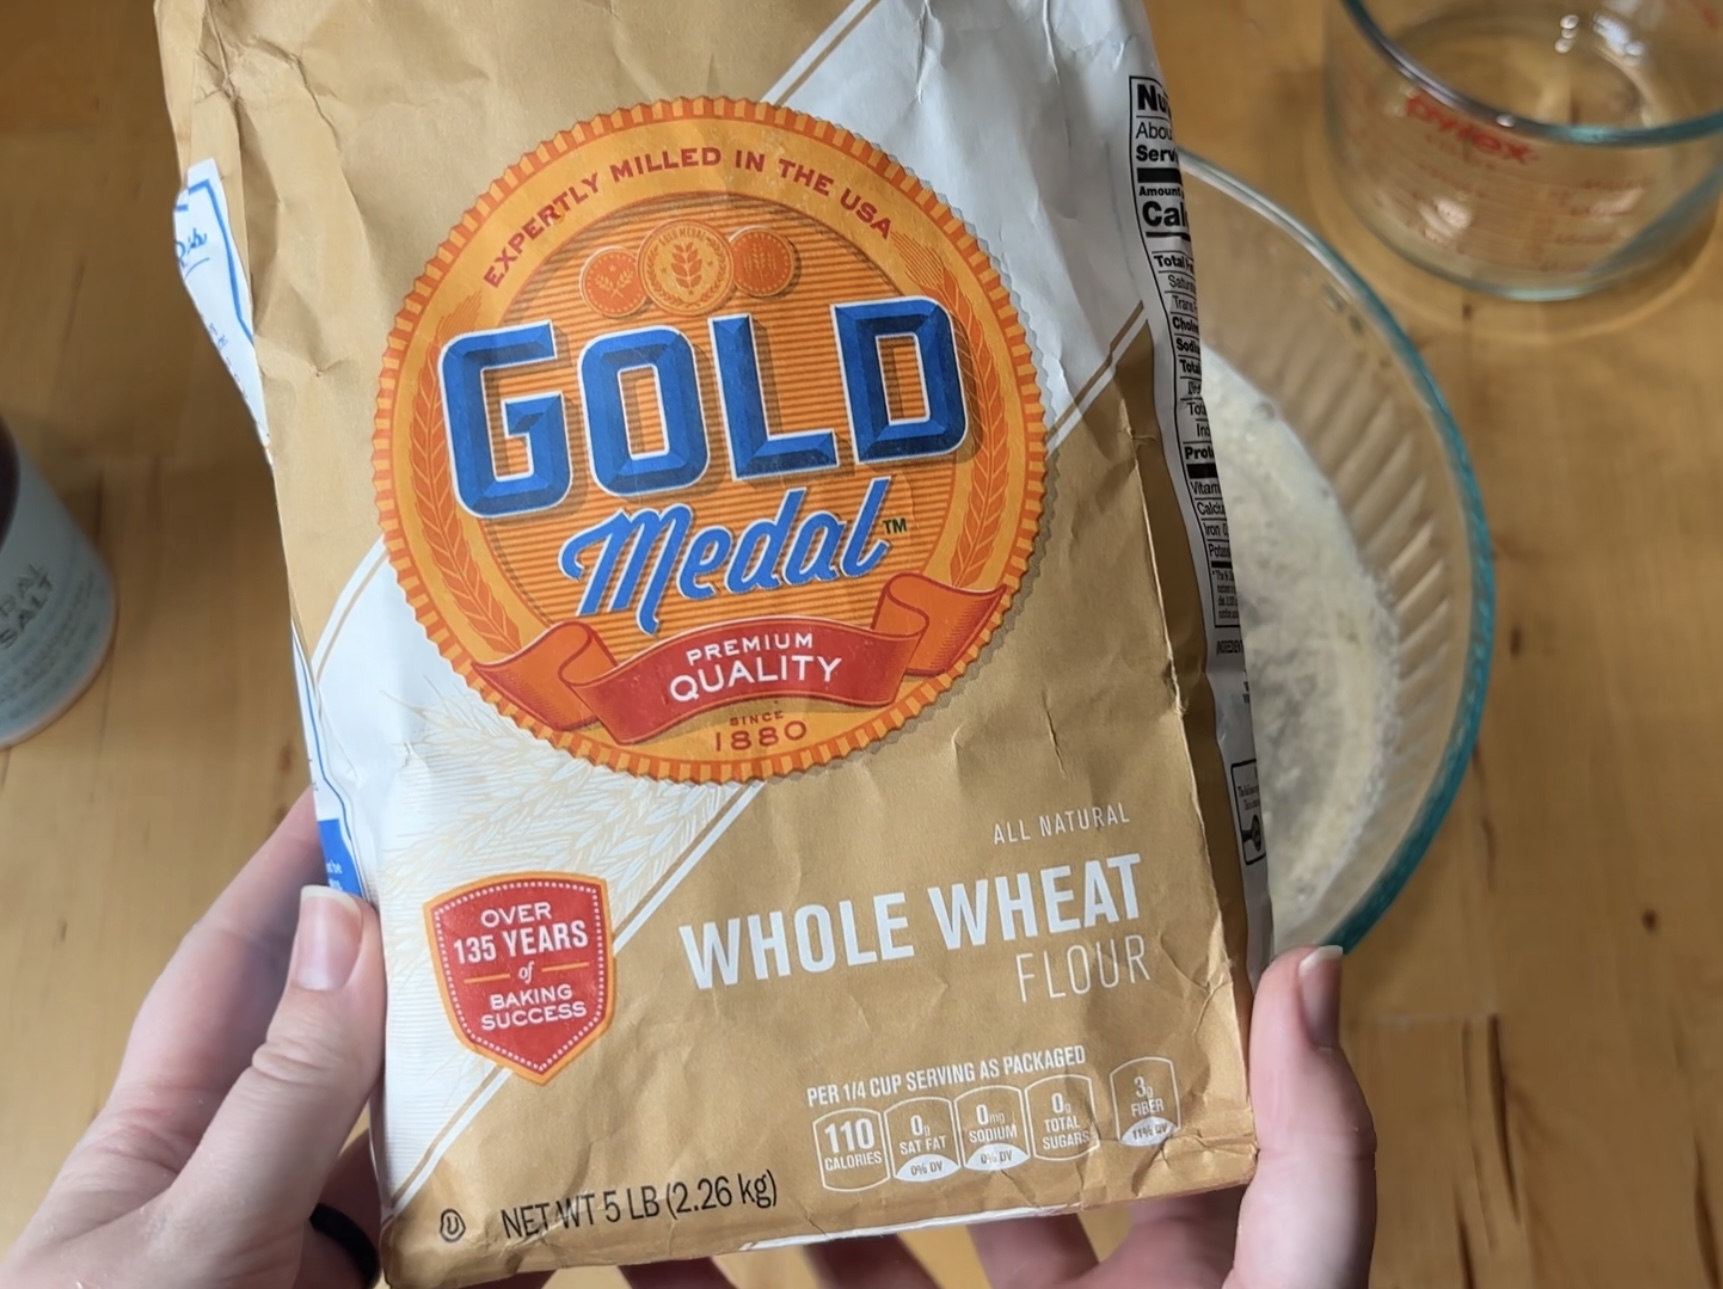
3. Add a Bit of Whole Wheat Flour
Adding a small amount of whole wheat flour helps your dough ferment faster.
Whole wheat flour contains more nutrients and natural enzymes than white flour, which gives the yeast and bacteria even more to feed on. This speeds up bulk fermentation.
I like to swap about 50 grams of the bread flour for 50 grams of whole wheat flour in my same-day recipe.
It’s just enough to boost fermentation while still keeping the bread light and fluffy.
4. Keep Your Dough Warm
Keeping your dough warm is one of the most important parts of same-day sourdough.
Yeast and bacteria are most active in a warm environment. I aim to keep my dough at around 78–80°F during both bulk fermentation and proofing.
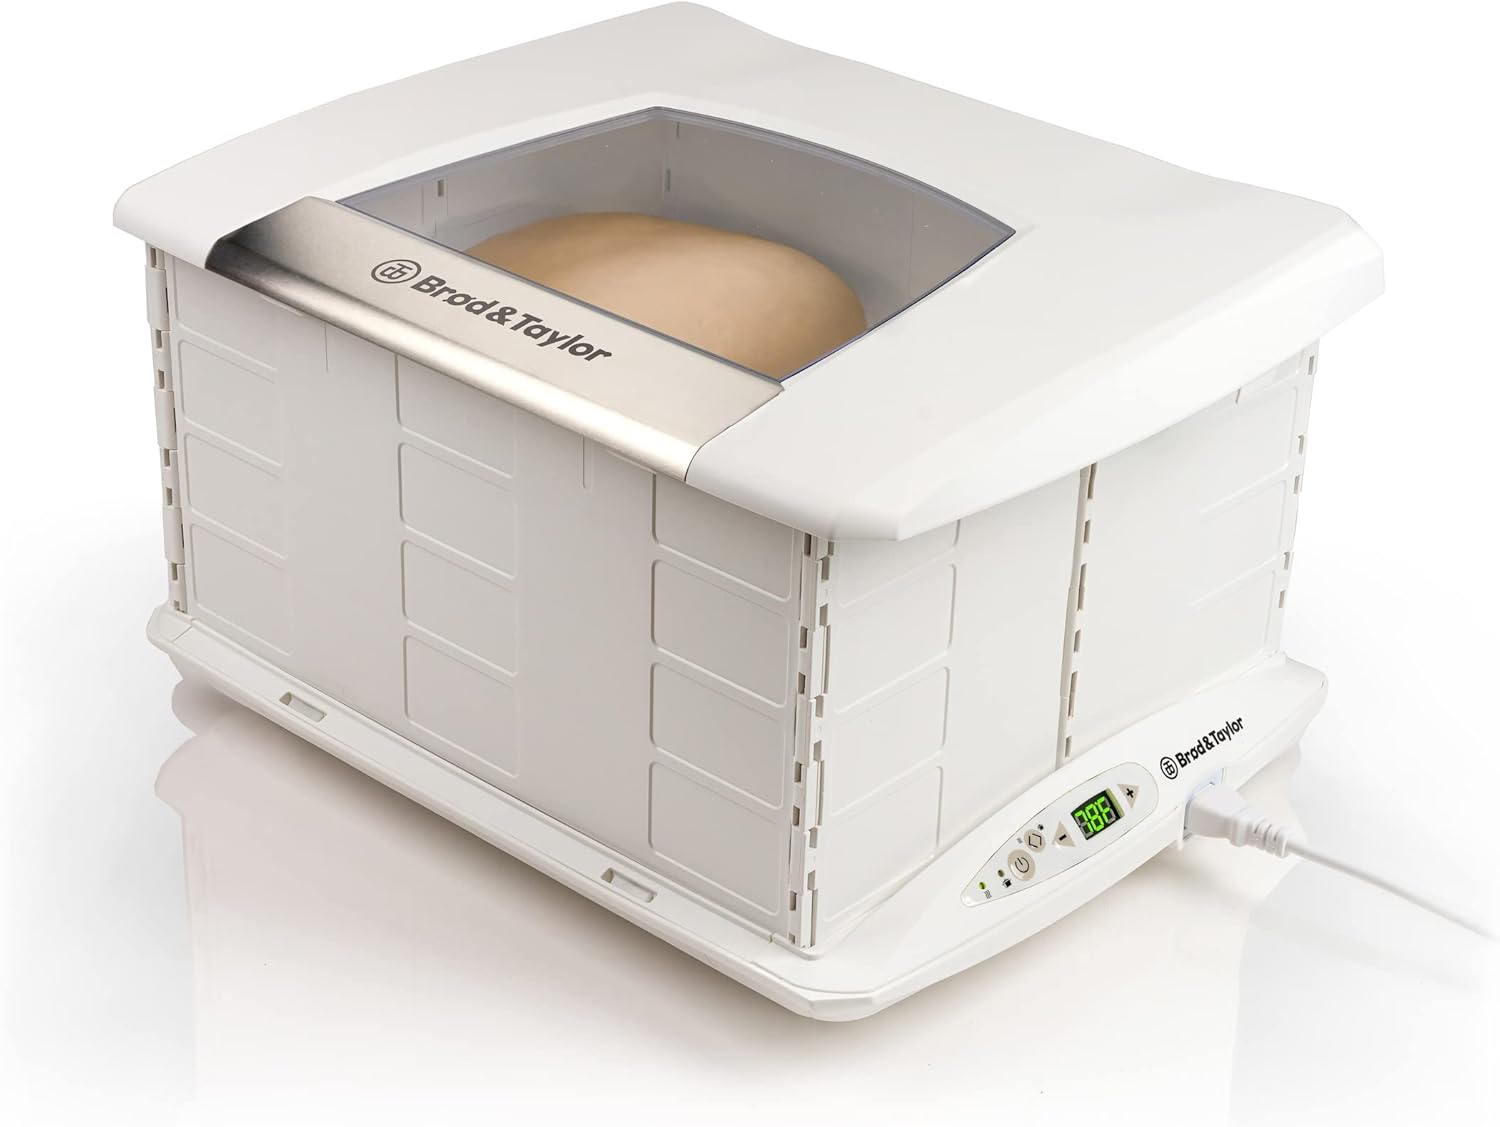
A slightly warm oven (turned off) or a dough proofer works great for maintaining a consistent temperature.
If you bake a lot of sourdough, I highly recommend investing in a Brod & Taylor Proofing Box — it’s definitely an investment, but it’s great at keeping your dough at the perfect temperature without any guesswork.
If the dough gets too cold, fermentation will slow down and your bread may not be ready to bake the same day.
5. Do a Warm Proof Instead of Cold Proof
In my normal sourdough recipe, I recommend an overnight cold proof in the refrigerator to develop flavor and structure. For same-day sourdough, we skip the cold proof and do a warm proof instead.
After shaping, I let my dough proof at around 78–80°F for about 2-3 hours .
A warm proof gives the dough enough time to rise and build a soft, airy texture before baking.
I like to proof mine in a slightly warm oven (turned off) or use my Brod & Taylor Proofing Box to keep the temperature consistent.
If the dough is too cold during this stage, it may not rise properly and could bake up dense.
6. Double Batch
You’ll notice that this recipe makes two loaves instead of just one. You can absolutely cut it in half if you only want one loaf. But here’s why I recommend making the full double batch:
A larger amount of dough holds onto heat better, which creates a warmer, more stable environment for fermentation.
Warm dough means faster and more consistent rising—perfect when you’re trying to bake same-day!
Plus, if you’re already going through the process, why not end up with an extra loaf? (They freeze beautifully!)
Tips for Success:
- Watch the dough, not the clock.
Same-day recipes move faster, but your dough still needs time to rise properly. Look for signs like a puffier dough that jiggles when you shake the bowl. - Keep it warm.
A dough temperature around 78–80°F is ideal. Cooler dough will slow fermentation, even if you’re using warm water and extra starter. - Don’t rush the final proof.
Same-day sourdough recipes are prone to under-proofing. Make sure your dough looks airy and slightly domed before baking — even if it means giving it a little extra time. - Use an active starter.
Your starter should be bubbly, strong, and recently fed. A sluggish starter will slow everything down and could make same-day baking frustrating. - Be flexible.
Every kitchen is different! If your dough needs an extra 30 minutes here or there, that’s totally normal. Visual cues are more important than strict timing.
Step-by-step same day sourdough bread video Tutorial:

Grab the printable recipe, and if you want to follow along step-by-step, check out the YouTube video! If you try this same-day sourdough, tag me—I’d love to see your loaf!
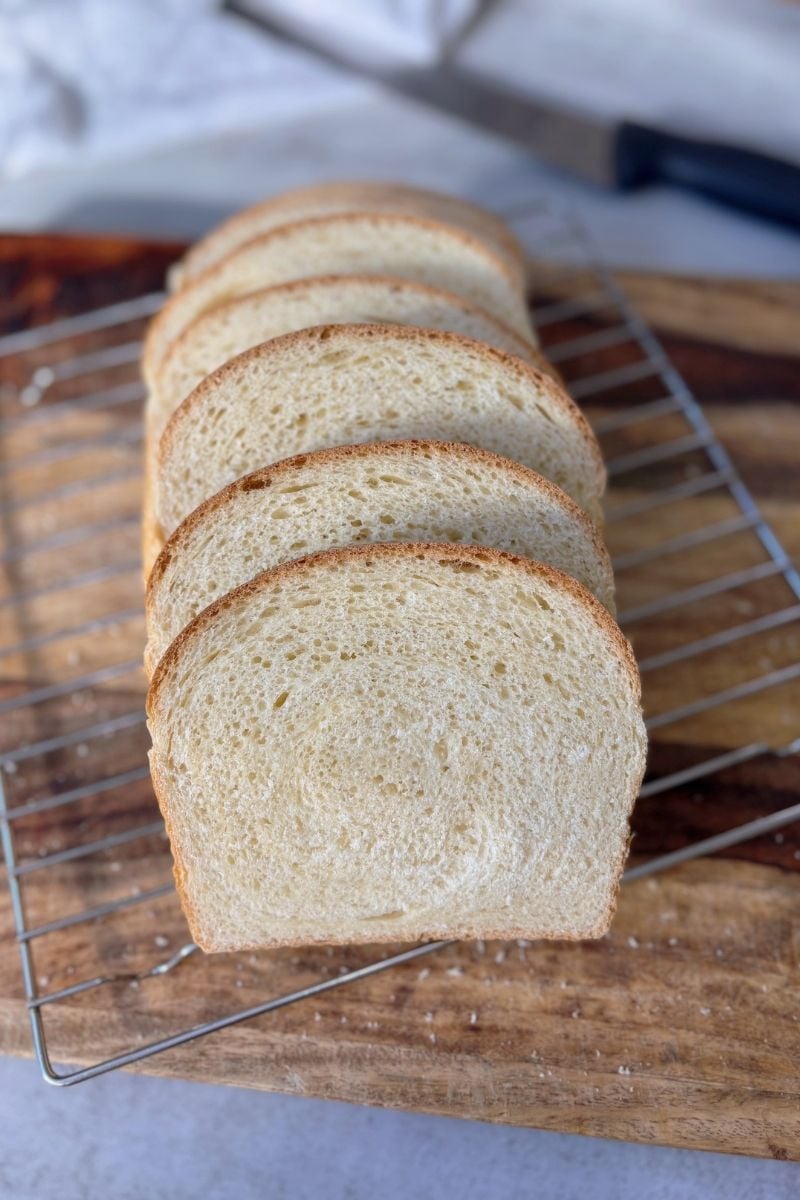
Love this bake? Try my Soft Sourdough Sandwich Bread Recipe — ready same day!

Simple Same-Day Sourdough Bread
Equipment
- 1 Large mixing bowl
- 1 Proofing box or warm oven
- 1 Banneton Basket (or a bowl with a towel)
- 1 Bread Lame (or sharp knife)
- 1 sheet of parchment paper or silicon bread sling
Ingredients
- 300 g Active sourdough starter
- 700 g Warm water around 80–90°F
- 900 g Unbleached bread flour
- 100 g Whole wheat flour
- 20 g Fine sea salt
Instructions
- 7 AM Mix the Dough: In a large mixing bowl, combine 300g active sourdough starter and 700g warm water (around 80–90°F). Stir with a dough whisk until the starter is mostly dissolved. Add 900g bread flour, 100g whole wheat flour, and 20g fine sea salt. Mix until no dry spots remain and a shaggy dough forms. Cover and let the dough rest in a warm spot for 1 hour.
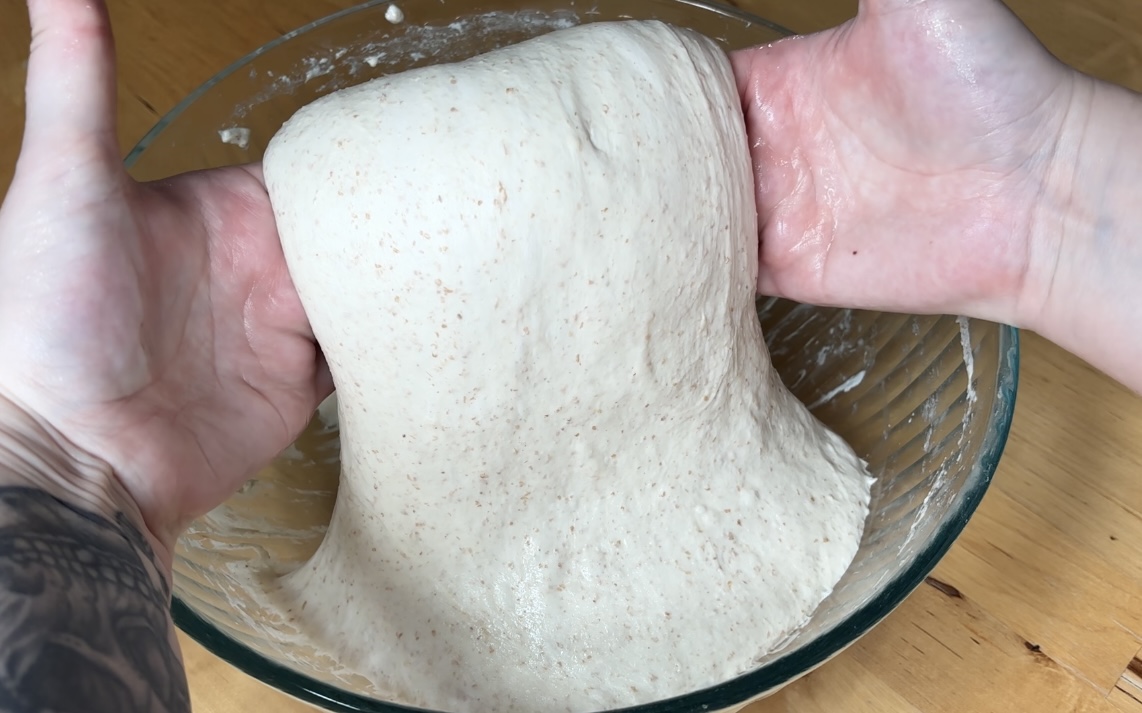
- 8 AM Coil folds: Preform 3 sets of coil folds, 30 minute apart. Always keeping your dough covered and in a warm spot between sets.To do a coil fold, wet or spray your hands with water to prevent sticking. Lift the dough from underneath the middle with both hands. As you lift, allow the ends of the dough to fold underneath themselves. Lower the dough back into the bowl, rotate the bowl, and repeat on the other side. First coil fold 8 AM, Second 8:30 AM, Third 9 AM
- 7 AM- 1 PM Bulk Fermentation: Place dough in a warm spot (around 78–80°F) to bulk ferment. It is important to keep your dough warm. For reference at 80°F this should take around 5-6 hours total. Time started when you first mixed your dough together at 7 AM. You'll know your dough is done when it's just about doubled in size, bubbly, jiggly, and airy. I rely more on these visual cues than a timeframe.
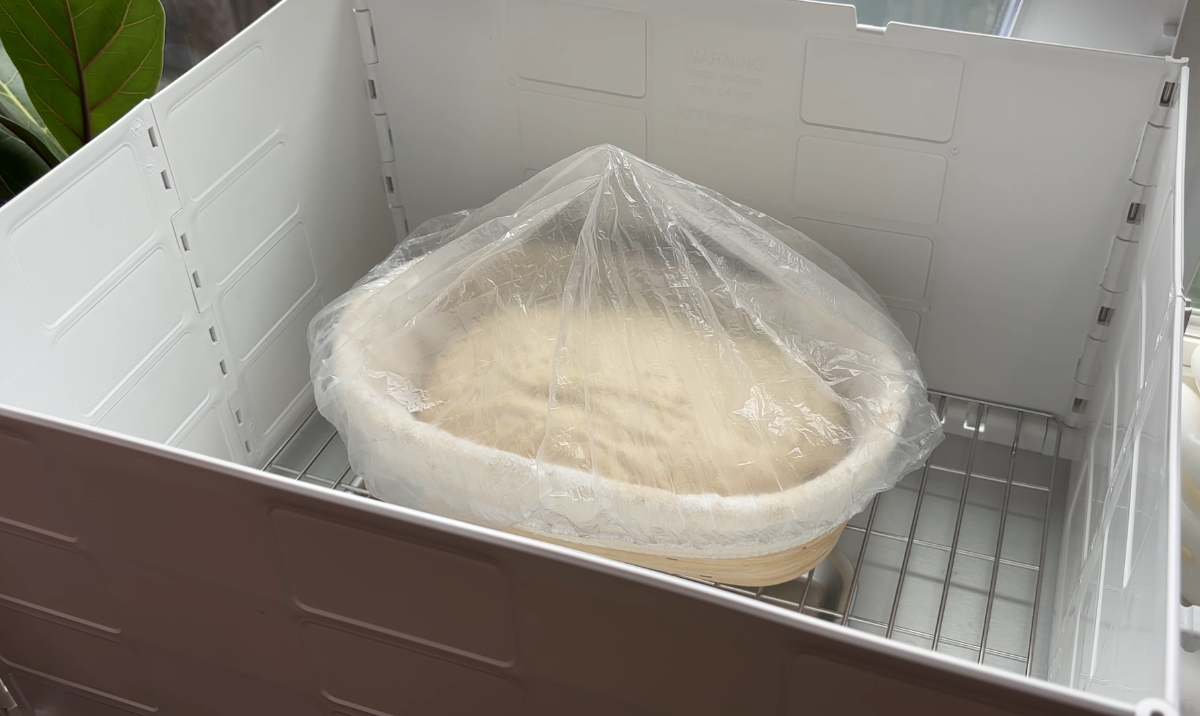
- 1 PM: Shape the Dough: Turn out the dough and divide it into two equal pieces. Pre shape each into a round or oval loaf using a bench scraper and wet hands. Let them rest for 15-30 minutes to relax the gluten. Then, do the final shape and add them into well floured banneton baskets. Refer to the video if you need guidance shaping.
- 1:30PM – 3:30 PM Final Proof (Warm Proof): Cover dough and let proof in a warm spot (78–80°F) for about 2 hours. I use my Brod & Taylor Proofing Box for a consistent warm proof. You can also use a warm oven (tuned off).
- 3 PM Preheat the Oven: About 30 minutes before baking, preheat your oven to 450°F with a Dutch oven (or bread oven) inside.
- 3:30 PM Score and Bake: Carefully turn one loaf onto a piece of parchment paper. Use a bread lame to score the top of the dough.
- 3:40 PM Bake the Bread: Transfer the loaf (on the parchment) into the preheated Dutch oven. Cover and bake for 30 minutes. Then, remove the lid and bake uncovered for another 15 minutes, until the crust is deep golden brown and the internal temperature reads about 205–210°F.
- 4:25 PM Cool: Transfer the bread to a wire rack and let it cool for at least 1 hour before slicing. Enjoy with dinner!
Video
Notes
If your starter isn’t active yet, make sure to feed it the night before and leave it out at room temperature so it’s bubbly and ready to bake with in the morning. This recipe makes two loaves. You can easily halve the recipe if you only need one, but having two gives you a few great options:
- Bake both loaves today
- Proof one loaf in the fridge for up to 2–3 days and bake it later in the week.
- Bake both loaves today and freeze one for later.