This website has affiliate links that earn commission on purchases at no extra cost to you. Thank you for using them and supporting my content!
Hey there, friend!
If you’re here, it means you’re ready to start your sourdough journey—but maybe you’re feeling a little overwhelmed. I get it. Sourdough can seem complicated, with all the talk of hydration percentages, fermentation times, and feeding schedules- blah blah blah. But here’s the truth: it doesn’t have to be hard.
I’m all about keeping things simple and doable, and I promise you—if you can mix flour and water, and have a bit of patience- you can make sourdough!
So, take a deep breath and relax your shoulders. Let’s break this down step by step.
Step 1: Start with a Healthy Sourdough Starter
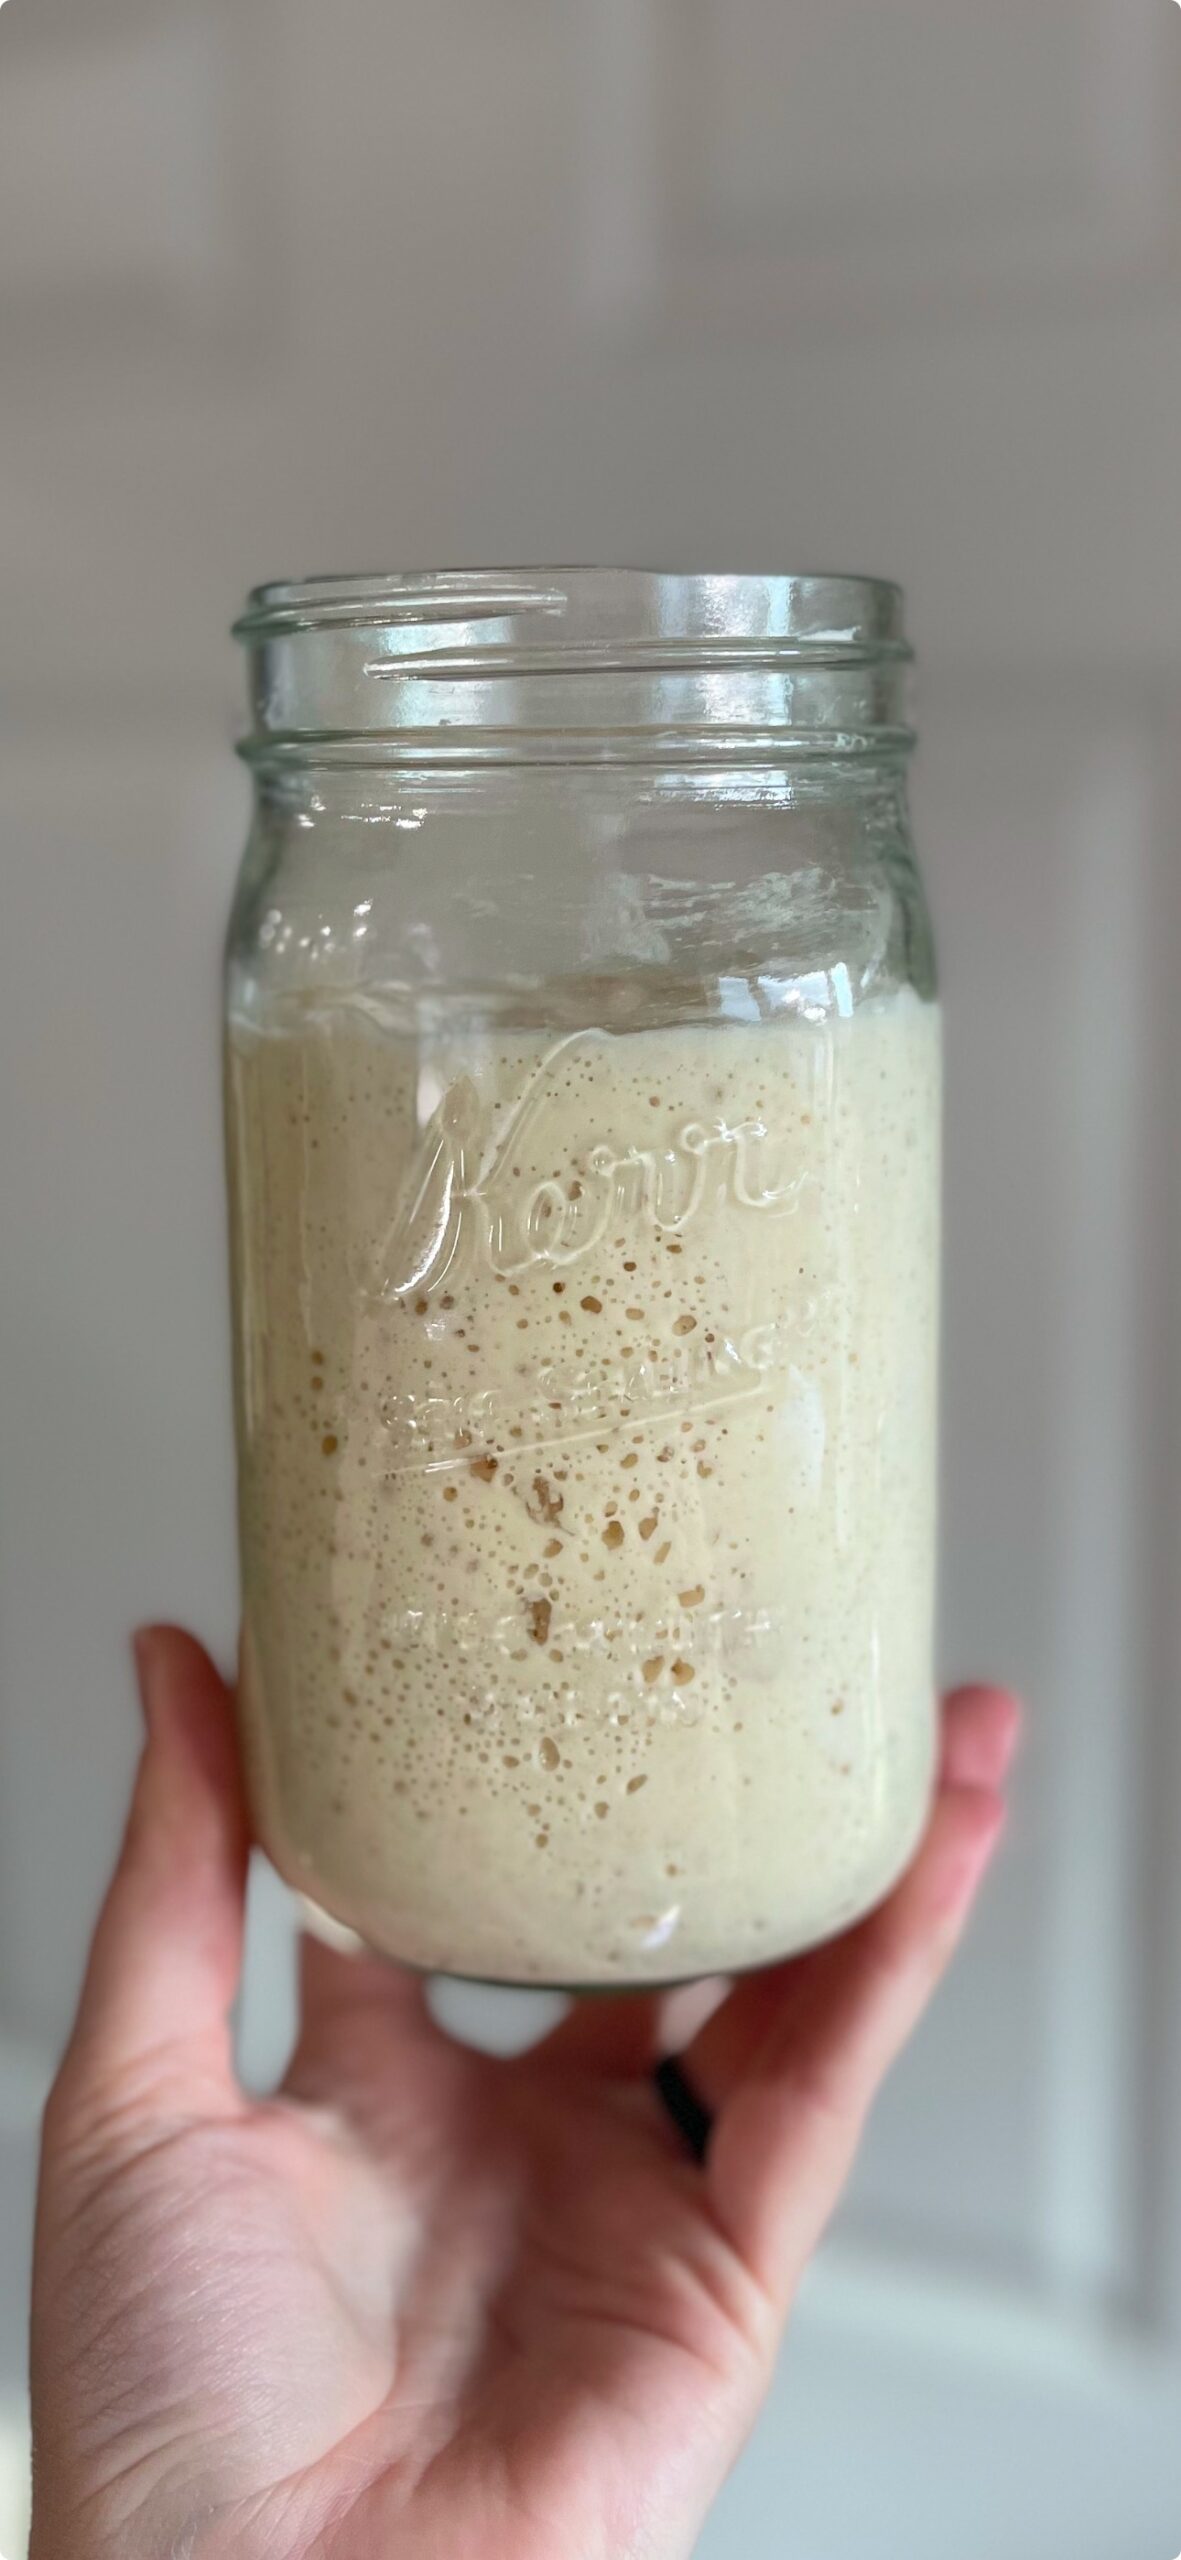
Before you can bake sourdough bread, you need an active starter. Your starter is the foundation of your bread—it’s what makes it rise naturally without commercial yeast.
If you don’t have a starter yet, you have a few options:
- Make your own – However, I do not recommend this. It can take weeks (sometimes months) to develop a strong, active starter and when you’re a beginner- that adds even more confusion to the equation.
- Get one from a friend – If you know someone with a healthy starter, this is a great option. You’ll start out on the right foot and ahead of the game.
- Buy a dehydrated starter – This is a great way to get baking with a strong, established starter. Most come with instructions on how to feed it! I offer my own dehydrated sourdough starter, an Etsy best-seller that has helped thousands of people get started with sourdough. You can check it out here!
Whatever way you choose, I’ve got you covered!
Once you have your starter, you’ll need to feed it daily (or store it in the fridge and feed it weekly if you’re not baking often). I’ll walk you through everything step by step in my Sourdough Starter Care page.
Step 2: Gather Your Essentials
You don’t need a ton of fancy tools, but a few key things will make sourdough much easier:
✔️ A kitchen scale (measuring by weight is way more accurate and easier than cups!)
✔️ A mixing bowl and a bench scraper
✔️ A Dutch oven or bread pan to bake in
✔️ A towel lined bowl or banneton basket for proofing
That’s it! No need to overcomplicate things.
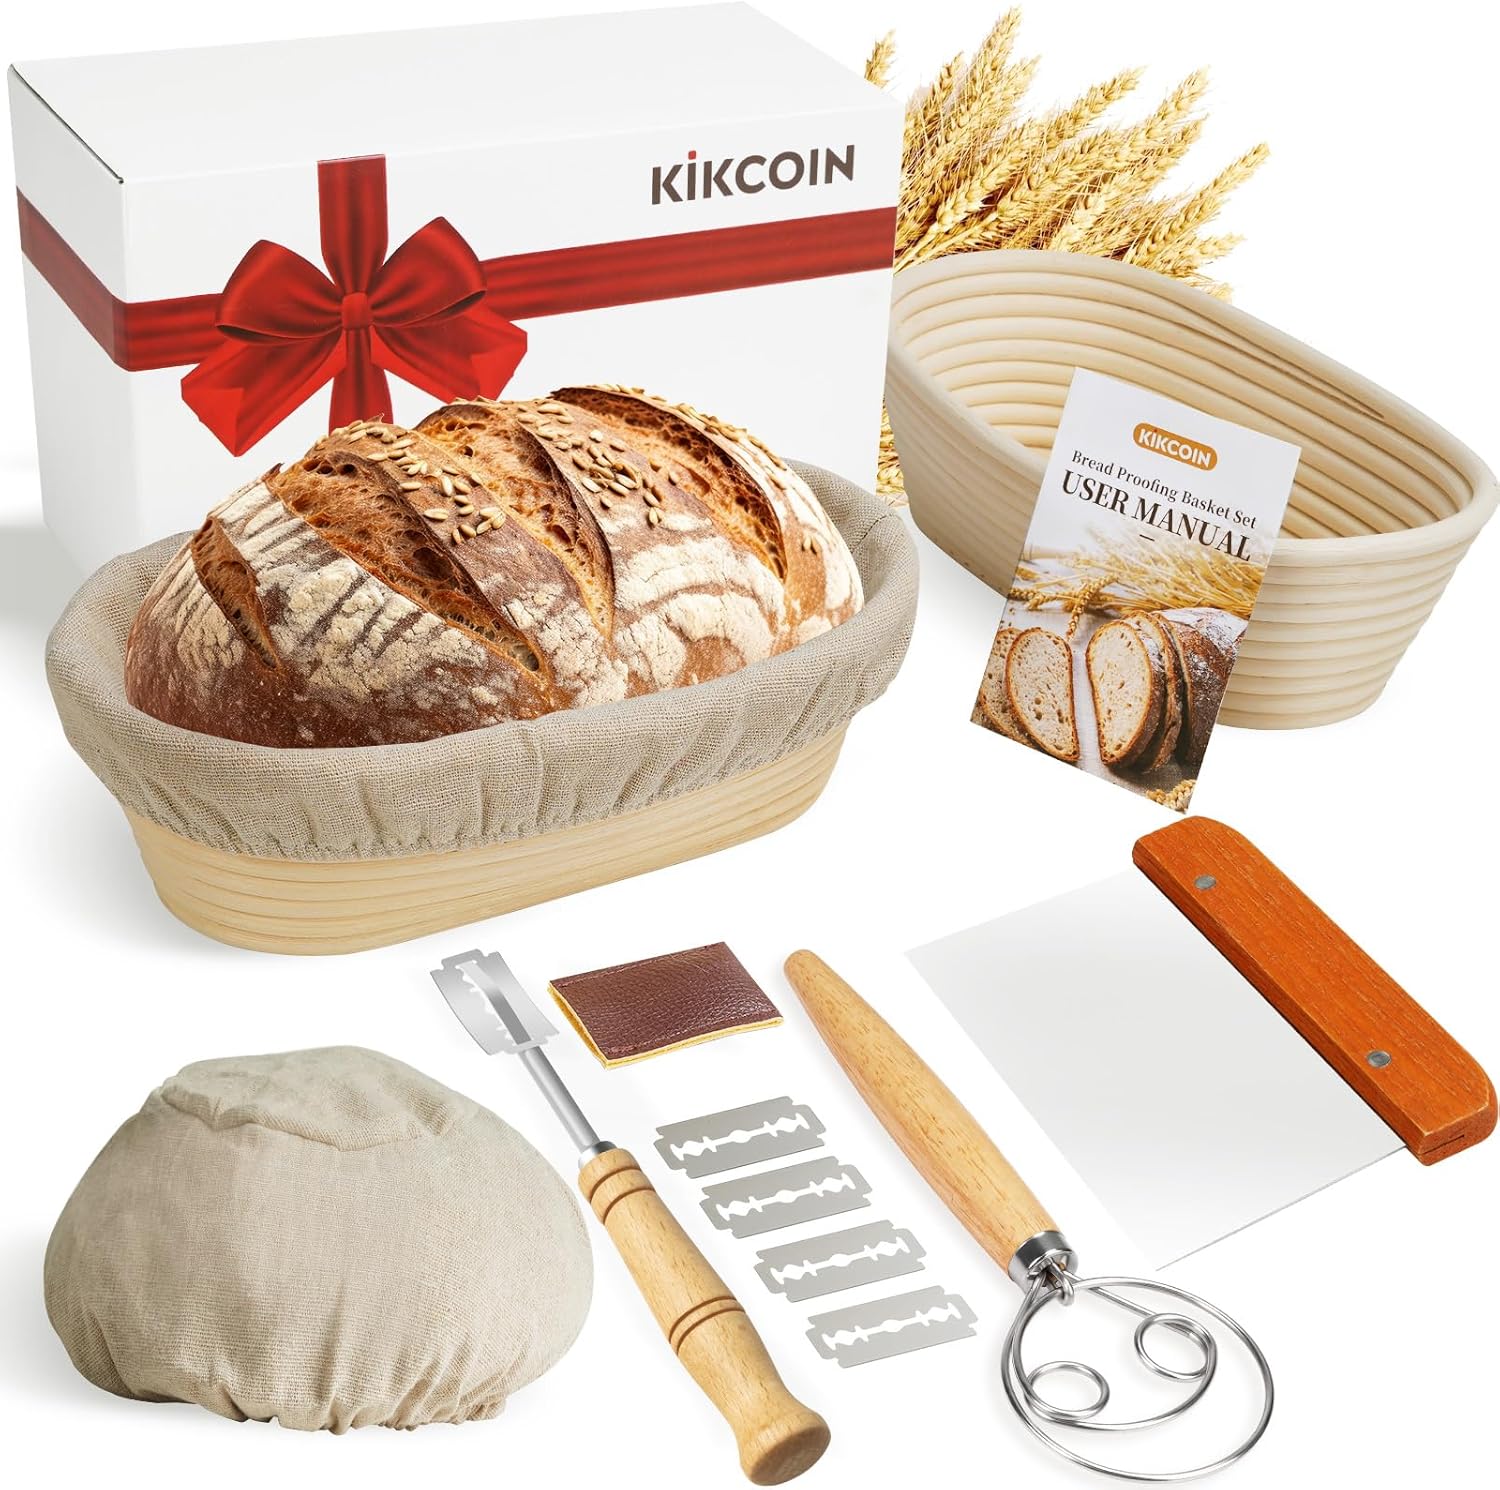
If you’re planning to bake sourdough regularly, a sourdough kit can be a great investment. Amazon offers kits that bundle essential tools at a discounted price, making it an easy and cost-effective option for beginners. While these items aren’t absolutely necessary, they can make the process much smoother.
I have also put together a Sourdough Basics: Tools to get started page with all the tools I recommend, use, and love.
Step 3: Mix, Strengthen, and Rest
To make it less complicated, I like to look at sourdough in 5 stages or steps:
- Mix your dough (flour, water, starter, and salt).
- Stretch and folds to develop strength.
- Let it rise (Bulk ferment) at room temp.
- Shape and second rise (proof).
- Bake.
That’s it! No crazy kneading, no guesswork. Just simple, repeatable steps that I’ll walk you through.
I have a Beginner’s Sourdough Recipe that walks you through the entire process with easy-to-follow steps. It includes a step-by-step video for visual learners and has helped hundreds of thousands of bakers make their first loaf!
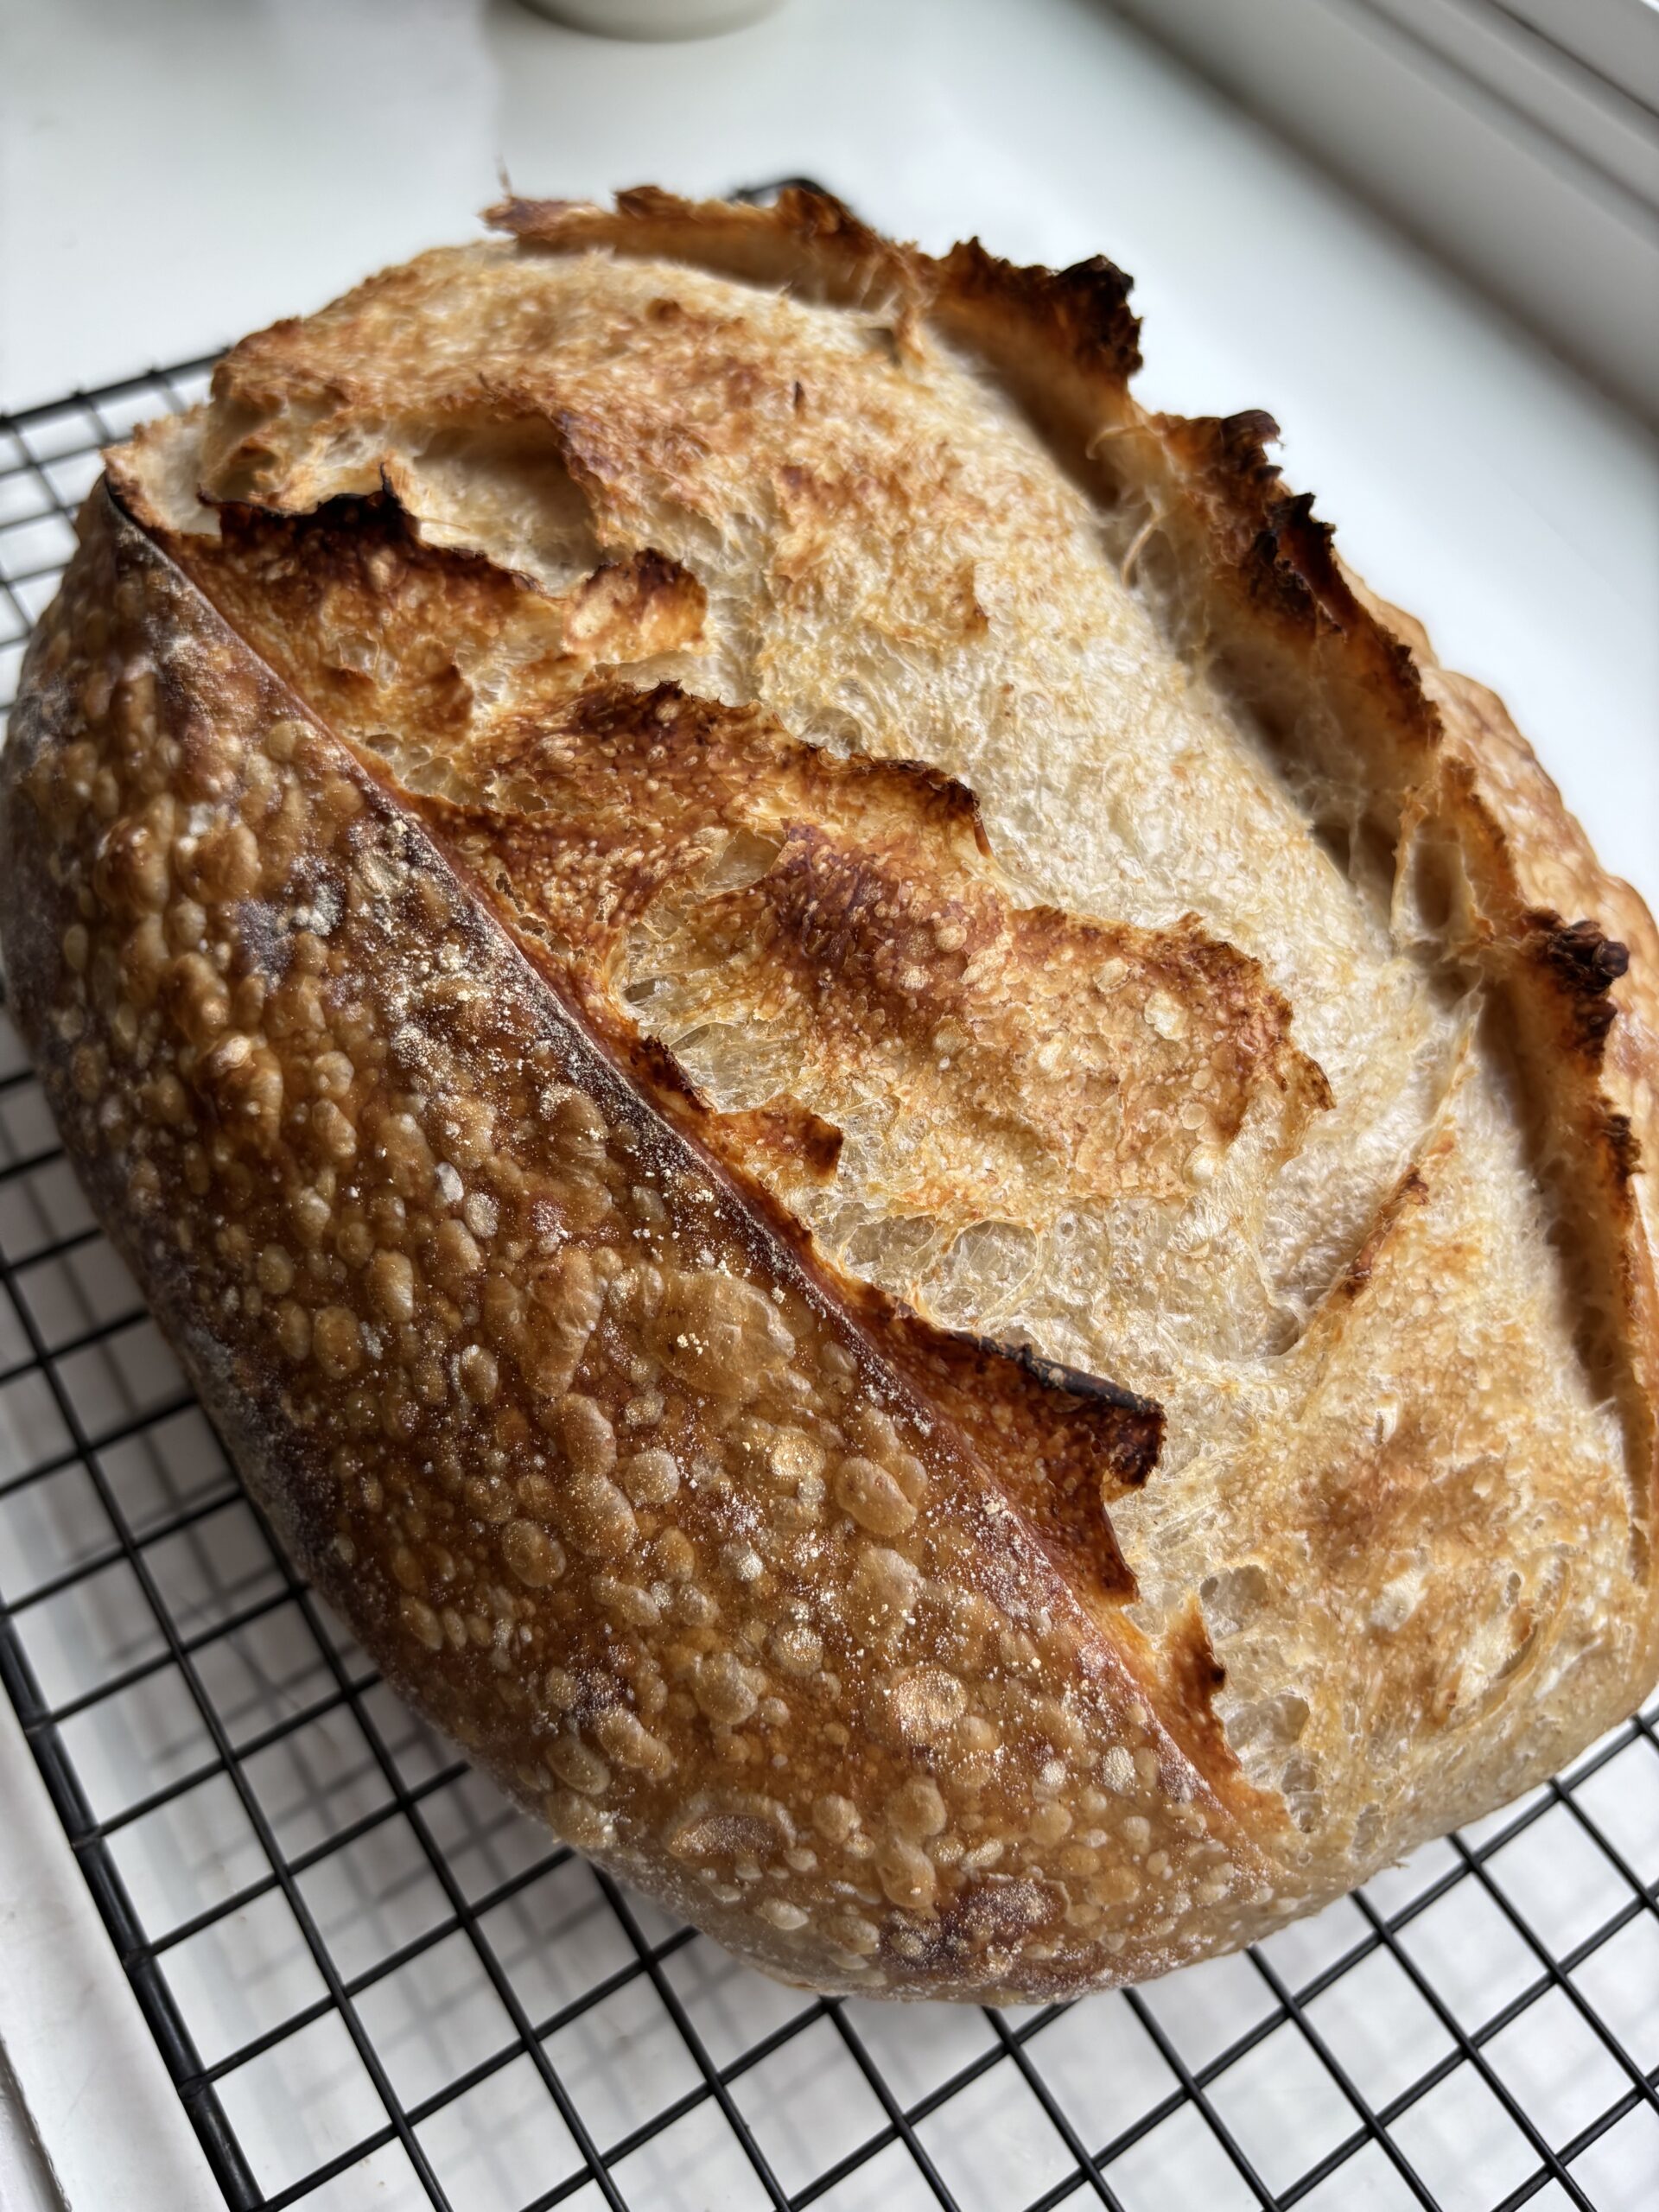
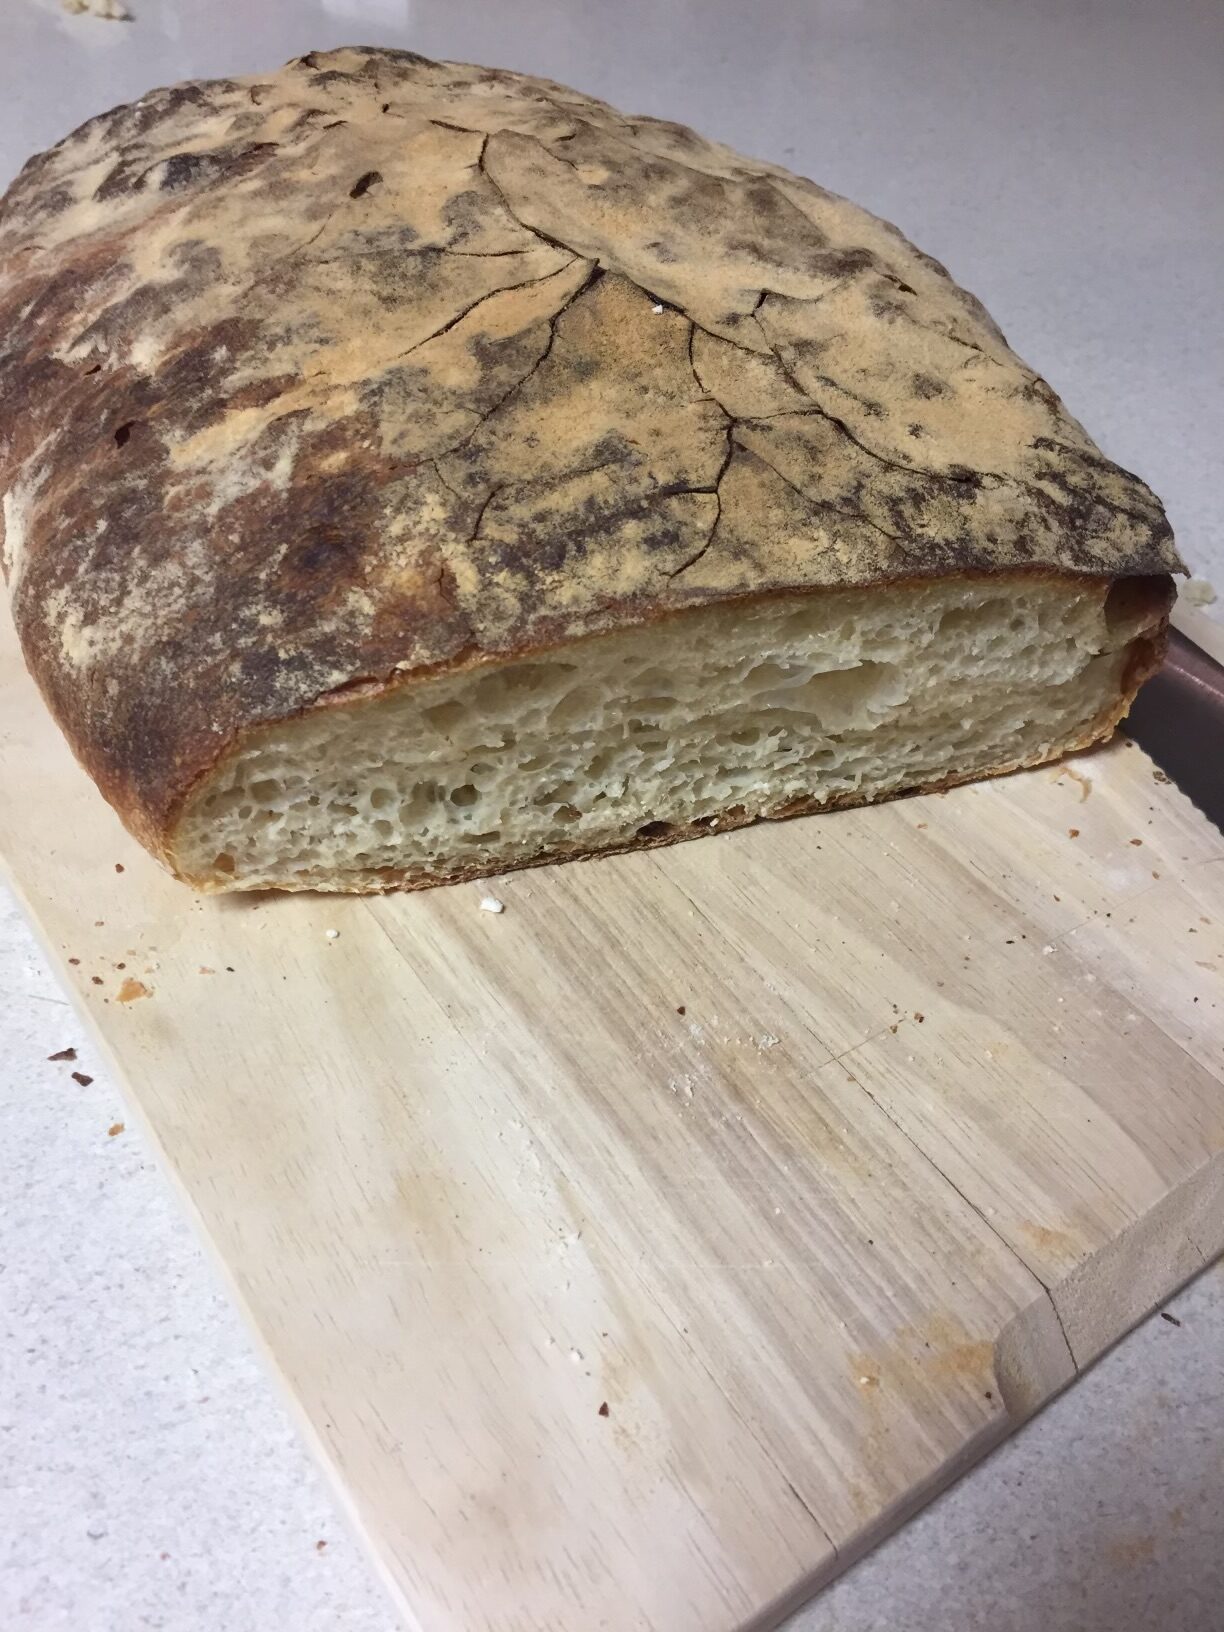
Step 4: Bake Your First Loaf
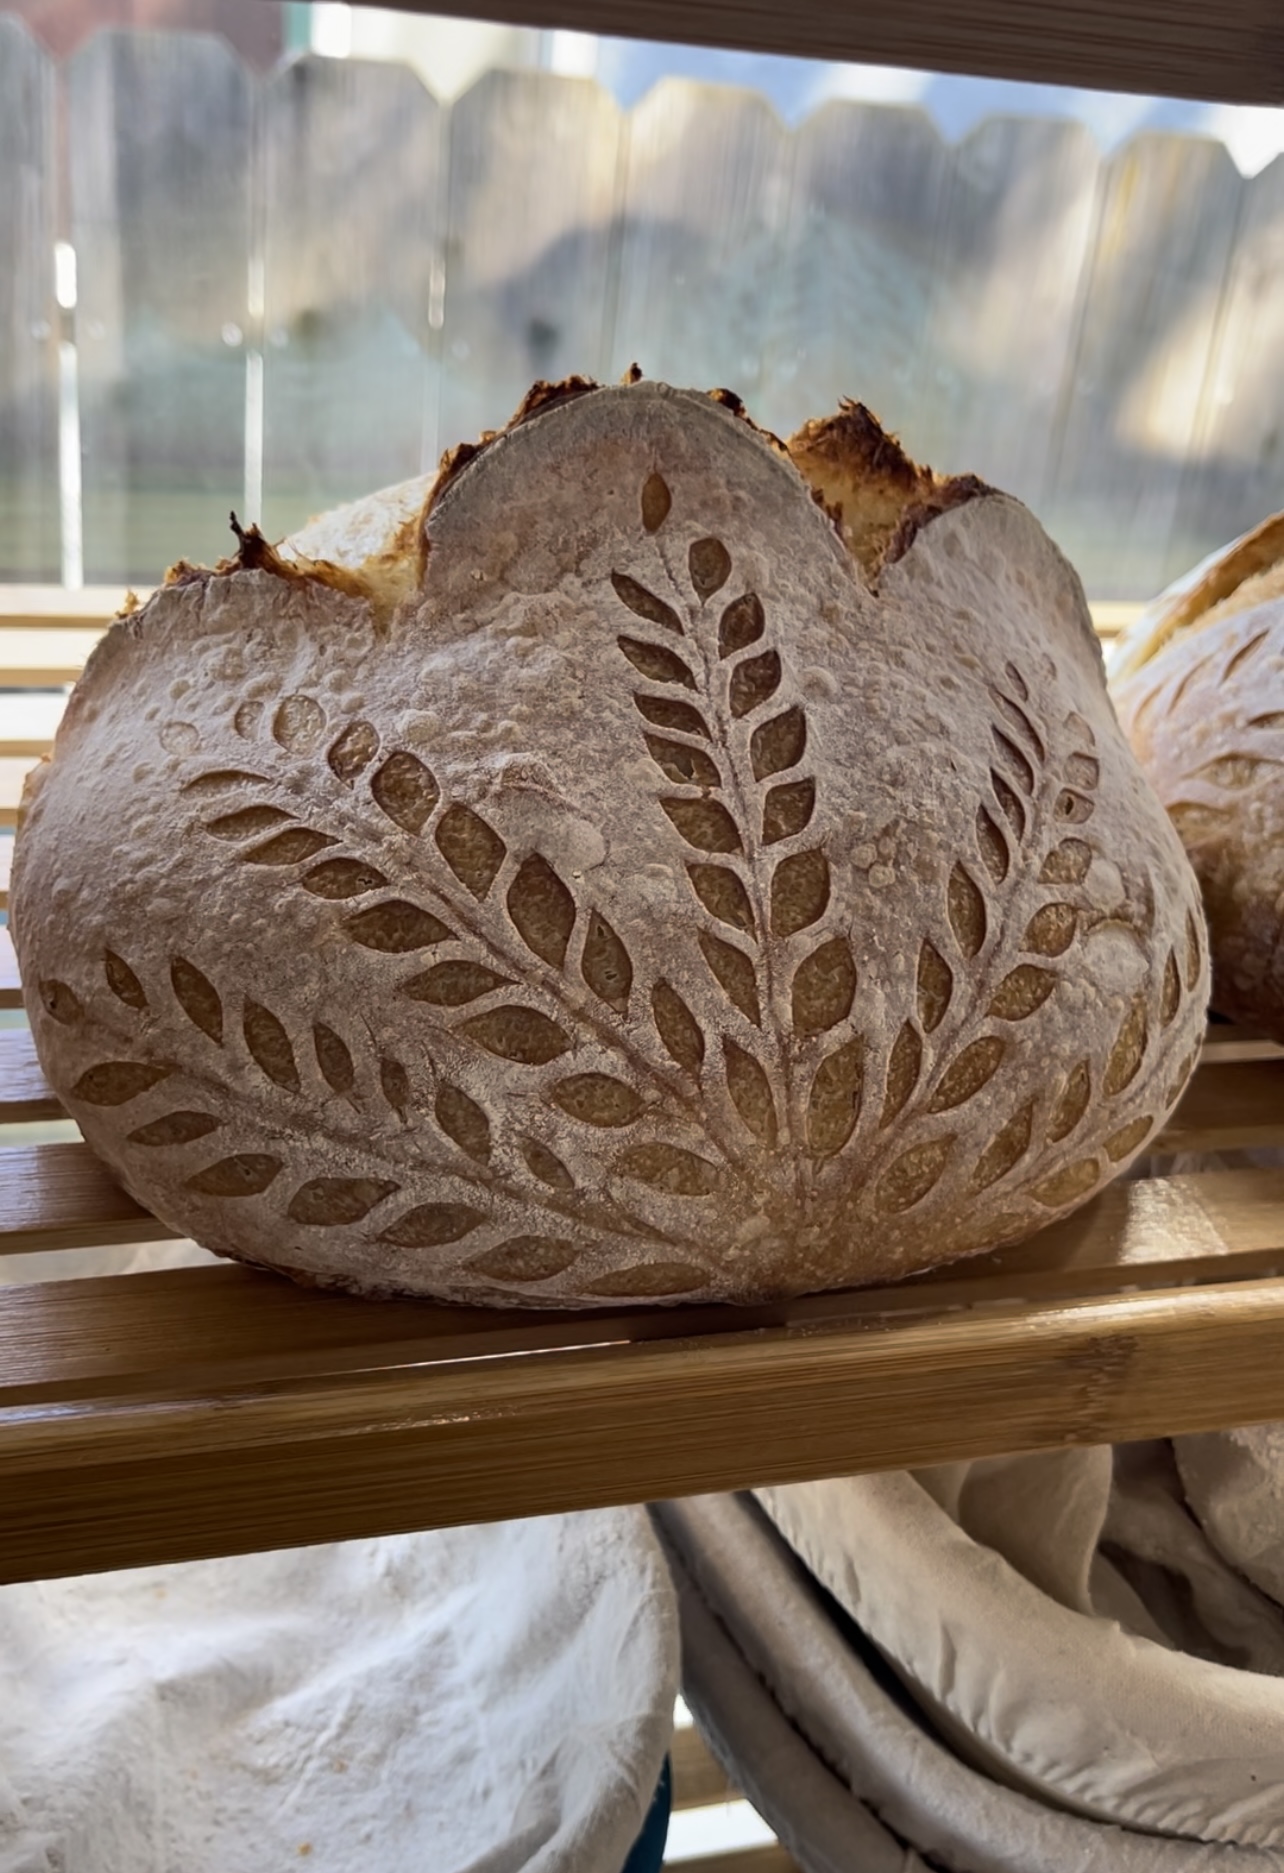
You don’t have to be perfect, you just have to start. Sourdough is a learned skill. Its not as simple as following a cookie recipe you found online. There are visual cues to look for and terminology that may sound confusing at first. Once you start baking regularly it will all start to click! That’s why it is such a popular hobby. You’ll learn new things every time you bake!
Your first sourdough loaf might not be perfect, and that’s okay! Even if it’s a little wonky, it will taste amazing. And each time you bake, you’ll learn a little more about your dough, and soon, you’ll be making loaves that you can’t help but post on Instagram!
Step 5: Enjoy the Process!
Sourdough isn’t just about the bread—it’s about the experience. It’s about slowing down in a fast-paced world, working with your hands, and creating something real.
So if you’re feeling overwhelmed, just remember: you don’t have to be perfect—you just have to start. And I’m here to help you every step of the way!
I hope this helped you get a head start and feel less overwhelmed. You’ve got this, and I can’t wait to see what you create!
– Hayley
Muscle Momma Sourdough


4 responses to “Ready To Make Sourdough? Start Here!”
I’ve FINALLY made an edible loaf of sourdough thanks to your sourdough sandwich loaf recipe. Absolutely fantastic – thank you so much!!
Will you be posting recipes here on your website? I want to stick with your ‘teaching’ now the dark art of sourdough !!
Hi Simon! I love to hear you had success with the soft sandwich loaf, that’s always a great recipe! Yes, in the coming weeks I will be adding all of my recipes to this website. I have a few up already under my “recipe” tab and will be adding more as I go!
Hi,
I don’t know which step is missed. I fed my starter before going to work, it doubled in size. I did the floating test – it passed. Then, I started my dough using (50 g starter, 10 g salt and 500 g flour) I did the 4 stretch and folds. I let it bulk ferment overnight in a closet. It doubled in size by the morning. I could see bubbles, it left the bowl easily without leftovers. I left in the fridge till i came back from work next day. when I baked, it did not rise in the oven. what did I miss?
Hi! It sounds like you did everything right here, but I’m curious how old is your starter? If your starter is newer, you can be doing everything right and still not get the results you’re after. A young starter may rise and pass the float test but still lack the strength to leaven bread properly. It’s hard for me to tell exactly what could have happened without being able to see/ read your dough. Flat bread can also be a sign of over fermenting.