Easy Sourdough Bread Recipe for Beginners
When I first started baking sourdough, I remember feeling completely overwhelmed. Every recipe I found seemed to do things a little differently, and I was constantly wondering if I was doing it right. How do I know when my starter is ready? What does bulk fermentation even mean? What should my dough look like when it’s ready to shape? I had so many questions.
That’s exactly why I created this easy sourdough bread recipe for beginners. I want to walk you through the entire process step by step, explain the sourdough terms that might be new to you, and most importantly, show you what to look for along the way. I don’t want you getting halfway through your first loaf and wondering, “Wait… what am I supposed to do now?”
There are so many different ways to make sourdough, and as you get more comfortable, you’ll figure out what works best for you. But if you’re brand new to sourdough and ready to make your first loaf, start here. I’ll walk you through it!
Recipe update Sept 2026: I refreshed this beginner sourdough recipe with clearer instructions, more helpful tips, and everything I’ve learned from years of helping beginners make their first loaf!
This post may contain affiliate links. As an Amazon Associate, I earn from qualifying purchases. If you purchase through one of my links, I may earn a small commission at no additional cost to you. Thank you for supporting my content!
Before we start:
Every good loaf starts with a strong, established sourdough starter. If you don’t have one yet, you have a few options:
- Make your own — This can sometimes take several weeks or even months to become strong enough to reliably rise bread.
- Get some from a friend or family member who already has an established starter.
- Buy an established dehydrated starter — I sell the same starter I use in my own kitchen, and it’s a bestseller on Etsy. It can be rehydrated and ready to bake within about 5 days. Click here to check it out!
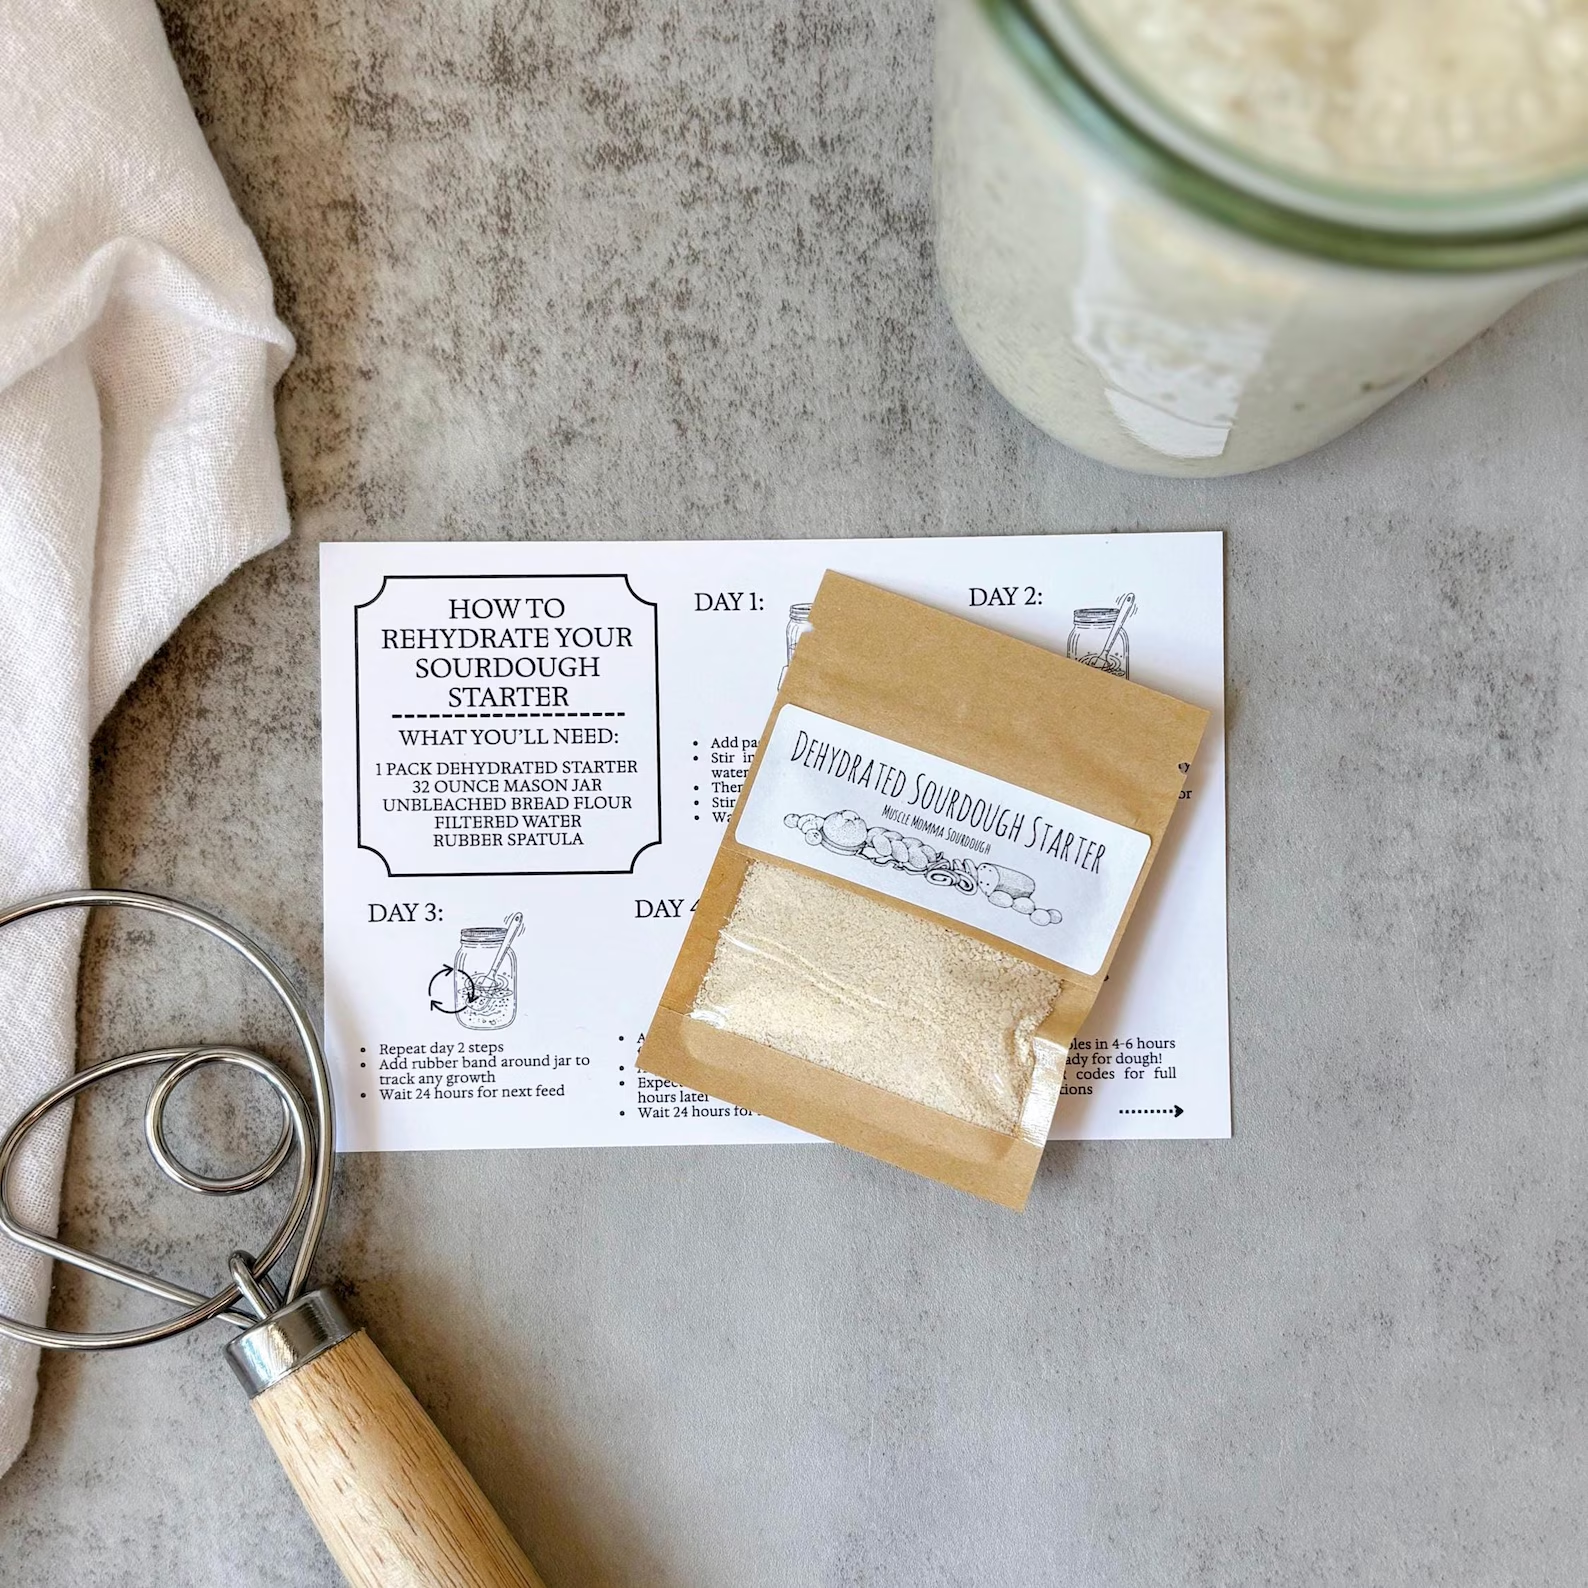
Once you have your starter, there’s just one more thing I recommend before we get started: a kitchen scale. I know measuring in grams can feel intimidating at first, but I promise it actually makes sourdough easier and much more consistent. I’ve included approximate cup measurements too, but if you have a scale, use it!
Ingredients:
You only need a few simple ingredients to make your first loaf of sourdough bread.
To Feed Your Sourdough Starter
- 50g or 1/4 cup established sourdough starter
- 50g or 1/3 cup unbleached bread flour
- 50g or 1/4 cup filtered water, room temperature
For the Sourdough Bread
- 100g or 1/2 cup active sourdough starter (from above)
- 350g or 1 & 2/3 filtered water, warm around 80°F
- 500g or 4 cups unbleached bread flour
- 10g or 2 tsp fine sea salt
Important: The 100g of active starter used in the dough comes from the starter you feed above. You do not need an additional 100g of starter.
Step 1: Feed Your Starter
About 4-6 hours before making your dough, you’ll need to feed your sourdough starter. I usually do this the night before to make my dough early the next morning. In a jar, mix together:
- 50g or 1/4 cup sourdough starter
- 50g or 1/3 cup unbleached flour
- 50g or 1/4 cup filtered water
Your starter should be a thick pancake batter consistency. Let it sit until bubbly and doubled in size.
Beginner tip: This is called a 1:1:1 starter feeding, which means you’re using equal amounts of starter, flour, and water by weight—not by volume. That’s why the cup measurements don’t look equal!
Step 2: Mix the Dough
In a large bowl, combine:
- 100g or 1/2 cup active sourdough starter
- 350g or 1 & 2/3 warm filtered water
Stir until the starter dissolves and the water looks milky. Then add:
- 500g or 4 cups unbleached bread flour
- 10g or 2 tsp fine sea salt
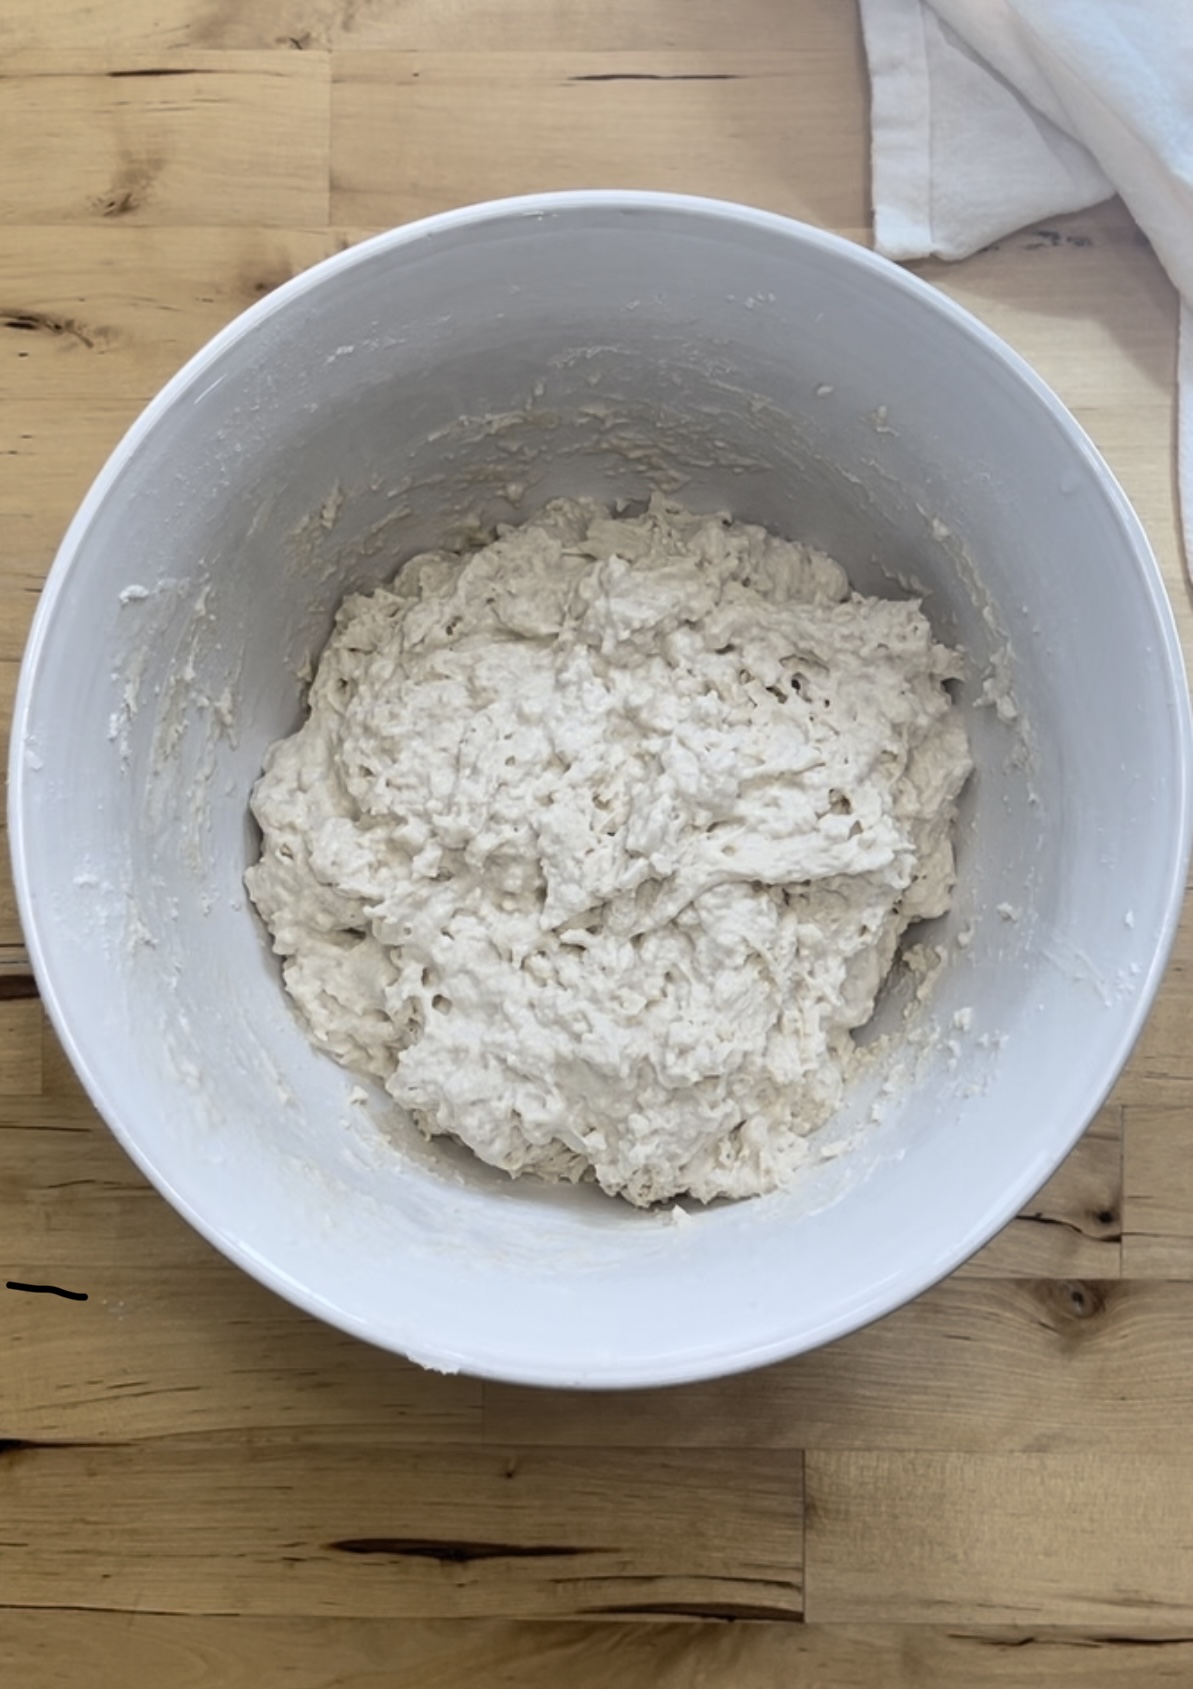
Mix until you have a shaggy dough. If it seems too dry, add a tiny bit of water at a time until it comes together (flour absorbs water differently depending on the flour type, brand, and your climate). Cover and let rest for 1 hour.
Step 3: Stretch & Folds (Builds Strength)
After the dough has rested, you’ll do four sets of stretch and folds, 30 minutes apart. This helps develop the gluten and gives your dough strength without kneading.
- With wet hands, grab one side of the dough, gently stretch it upward, and fold it over itself.
- Rotate the bowl and repeat on all four sides. Going around all four sides counts as one complete set.
- Cover the dough and let it rest for 30 minutes.
- Repeat until you’ve completed 4 sets total.
Example: Stretch & Fold #1 → rest 30 minutes → Stretch & Fold #2 → rest 30 minutes → Stretch & Fold #3 → rest 30 minutes → Stretch & Fold #4 → continue resting for the remainder of bulk fermentation.
Beginner tip: Bulk fermentation actually begins when you first mix your dough, not after your stretch and folds. The resting time after your final set is simply the remainder of the bulk fermentation period.
Step 4: Bulk Fermentation (The First Rise)
Bulk fermentation is the first long rise after mixing your dough, where the sourdough starter ferments the flour, creating air bubbles and developing flavor. It’s when the dough grows and strengthens before shaping.
After the final stretch and fold, let your dough rise at room temperature until just about doubled in size, bubbly, and jiggly (visual cues). I like to use this chart as a guideline- The timing depends on your dough temperature and time starts when you first mixed your dough in step 2:
- 🌡 80°F (27°C) → ~5-6 hours
- 🌡 75°F (24°C) → ~7-8 hours
- 🌡 70°F (21°C) → ~12 hours
- 🌡 65°F (18°C) → ~16 hours
If your house is warmer it will be quicker! If your house is cooler, it will take longer!
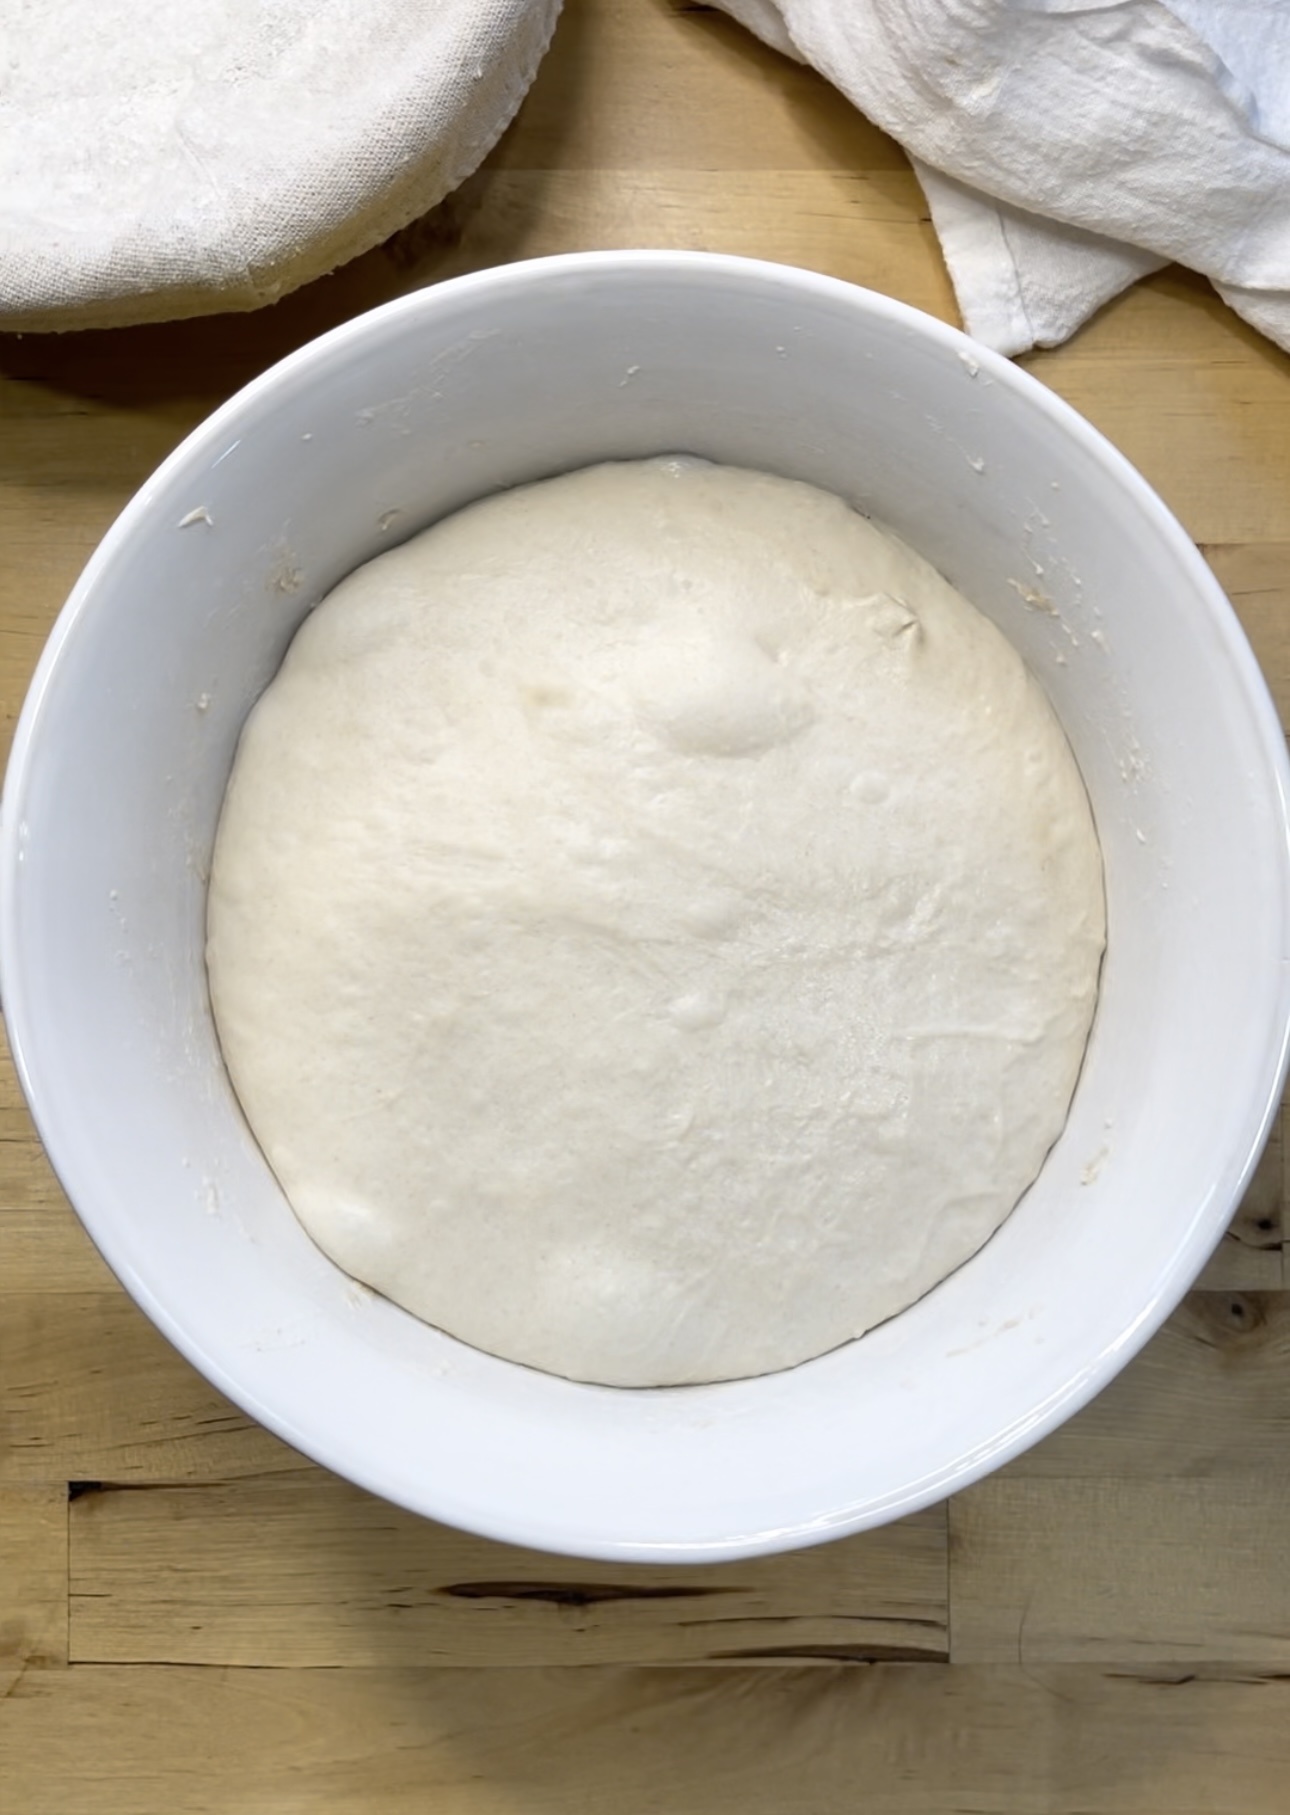
Beginner tip: Keep an eye on your dough during bulk fermentation. If it ferments too long, it can become very sticky, loose, and difficult to shape. If your dough has risen significantly, looks bubbly and airy, and jiggles when you move the bowl, don’t wait for the clock! Go ahead and shape it.
Step 5: Shape the Dough
Once your dough is showing the visual signs that bulk fermentation is complete like just about doubled, bubbly, airy, and jiggly—gently turn it out onto a clean surface.
- Using wet hands, gently stretch the dough into a rough rectangle.
- Fold one side of the dough into the center.
- Fold the opposite side over the first fold. Your dough should now look like a long rectangle.
- Starting at the bottom, roll the dough up and away from you until it forms a log shape.
- Turn the dough so the seam is on the bottom. Using your hands and a wet bench scraper, gently pull the dough toward you across the counter. Rotate and repeat to create tension across the outside of the loaf.
- Continue until the dough has a smooth, tight surface and holds its shape.
- Generously flour your banneton or towel lined bowl. Place the shaped loaf into the banneton smooth side down and seam side up.
- Cover with a bowl cover and move to proofing.
Beginner tip: Shaping is one of those things that makes so much more sense when you see it! I show how to shape a round loaf in the step by step video in the recipe card. If you want an oval loaf tutorial, click here!
Step 6: The Final Proof (Cold or Room Temperature)
Proofing helps develop flavor and allows the dough to become light and airy before baking. This is a step a lot of beginners miss, but it is so important for great bread!
You have two options:
- Cold Proof (recommended): Cover and refrigerate the dough for 14–18 hours, or up to 24 hours.
- Room Temperature Proof: Cover and proof at warm room temperature for about 2 hours, or until the dough has puffed up and filled the banneton. Bake immediately.
For beginners, I always recommend the cold proof because it makes the dough easier to handle, improves flavor, and you can bake on your own schedule!
Beginner tip: If you’re unsure whether your dough is ready after bulk fermentation, I recommend cold proofing rather than trying to judge a same day room temperature proof. It gives you a much bigger window and is very forgiving!
Step 7: Bake Your Bread
- Preheat the oven to 450°F with a Dutch oven inside.
- Remove the dough from the refrigerator and flip it onto parchment paper or bread sling. You do not need to bring the dough to room temperature before baking.
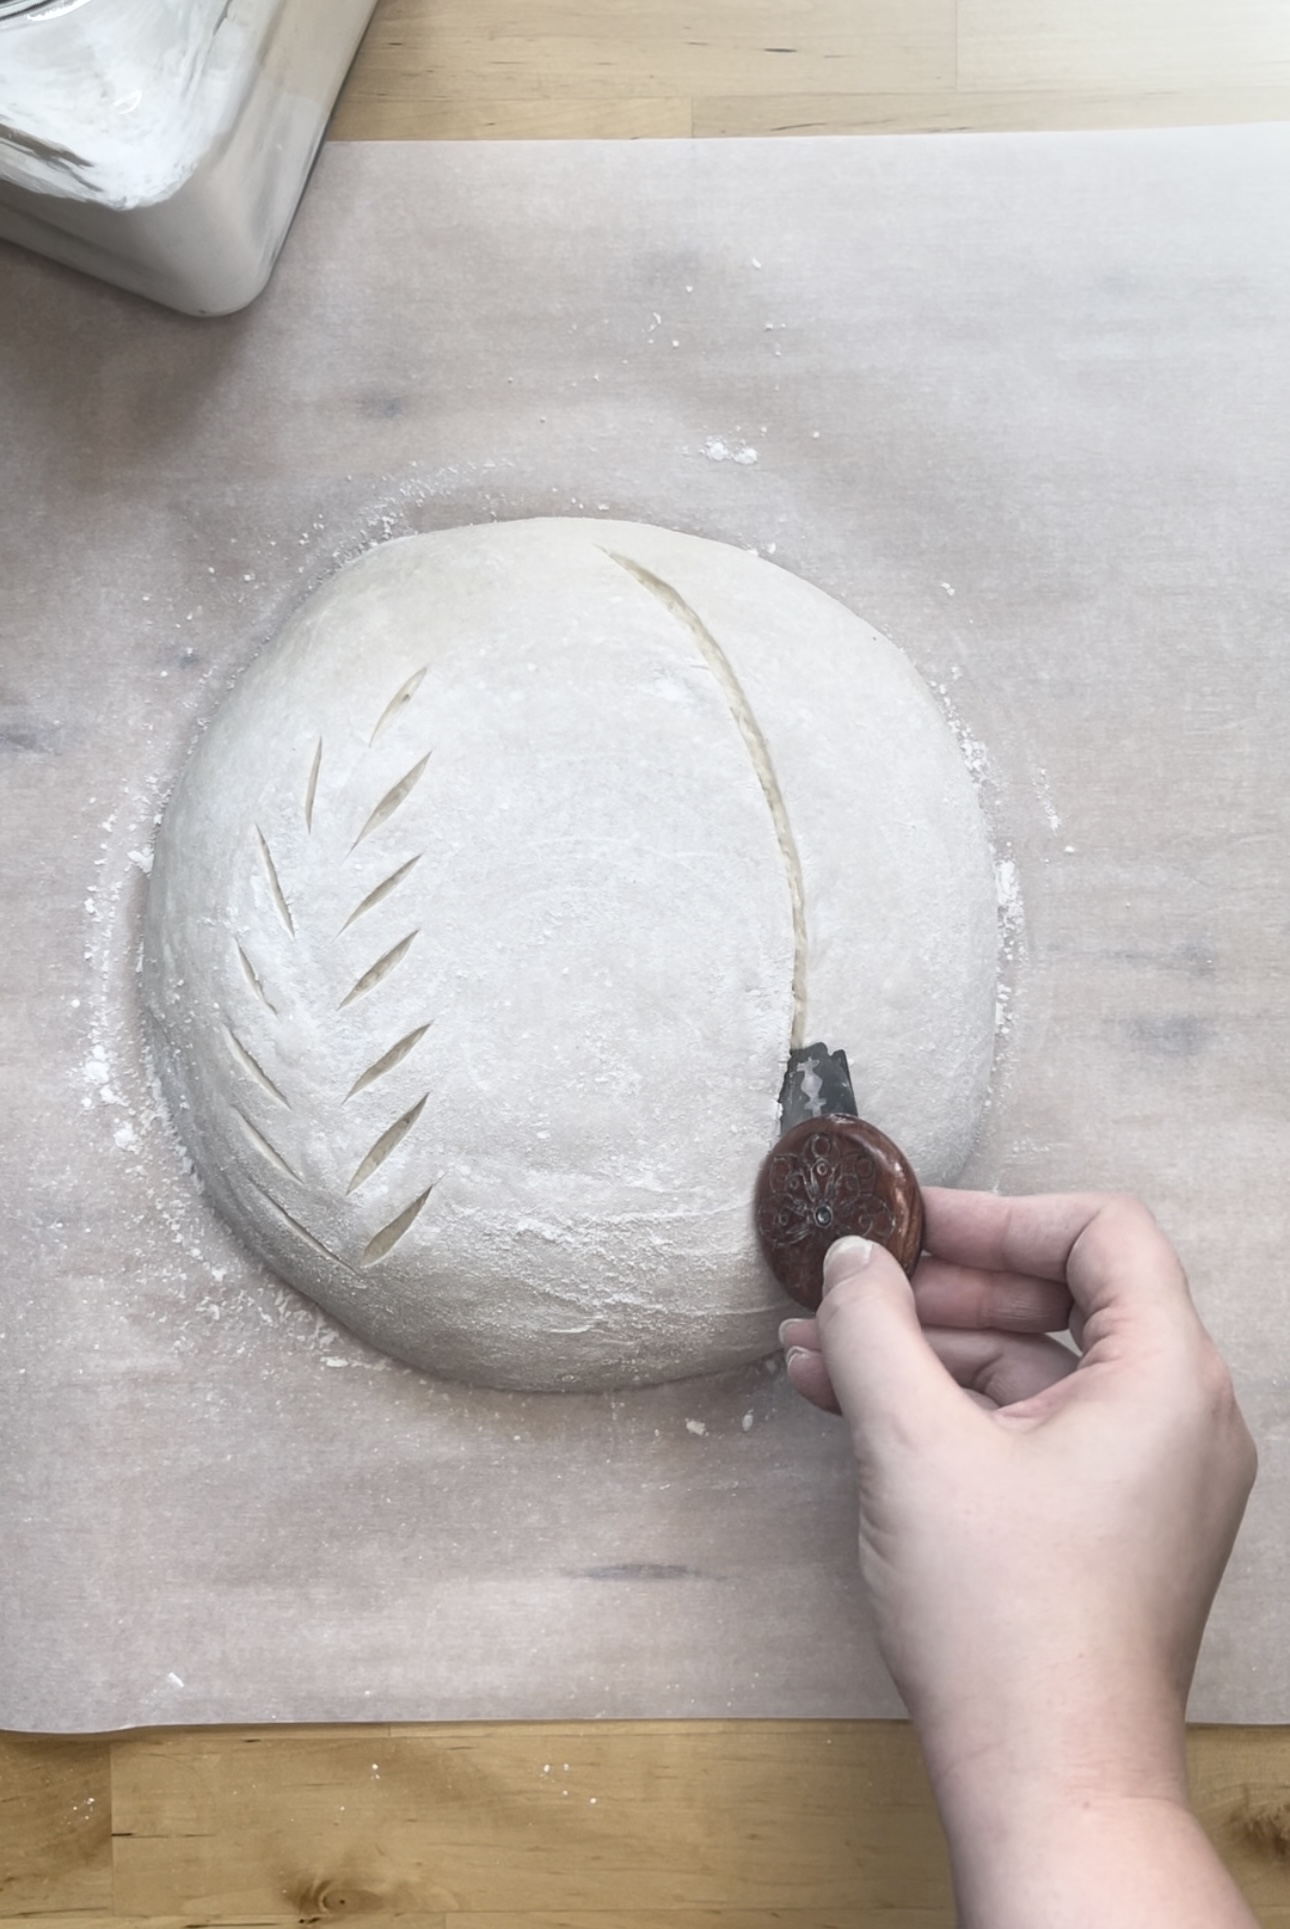
- Score the top with a bread lame or sharp knife. You can do shallow decorative scoring but make sure to include a deeper expansion score across the loaf, this gives the bread a controlled place to expand while baking.
- Carefully transfer the dough to the hot Dutch oven.
- Bake covered for 30 minutes, remove the lid and bake for an additional 15 minutes, or until the crust is golden brown and the center reaches approximately 205°F.
Step 8: Cool
Transfer the baked loaf to a cooling rack. Allow the bread to cool for at least 1–2 hours before slicing to prevent a gummy crumb.
“What if I don’t have a Dutch oven?”
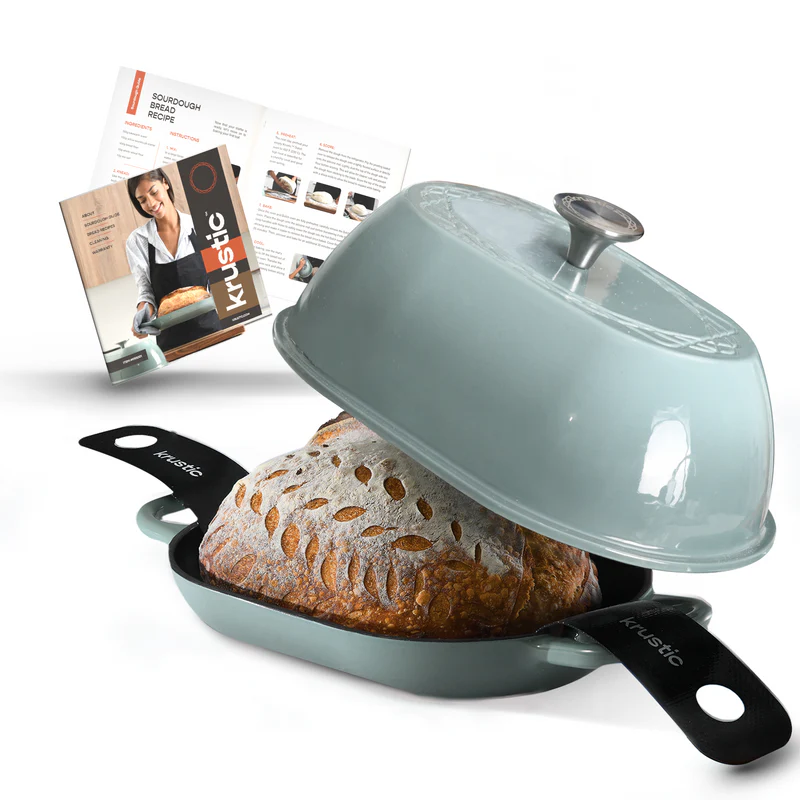
A Dutch oven traps steam, which helps your sourdough rise properly and develop a crisp, golden crust. If you’re looking to purchase a bread oven, I use and love this one by Krustic. They gave me a $15 off coupon for my followers, use Hayley15 at checkout!
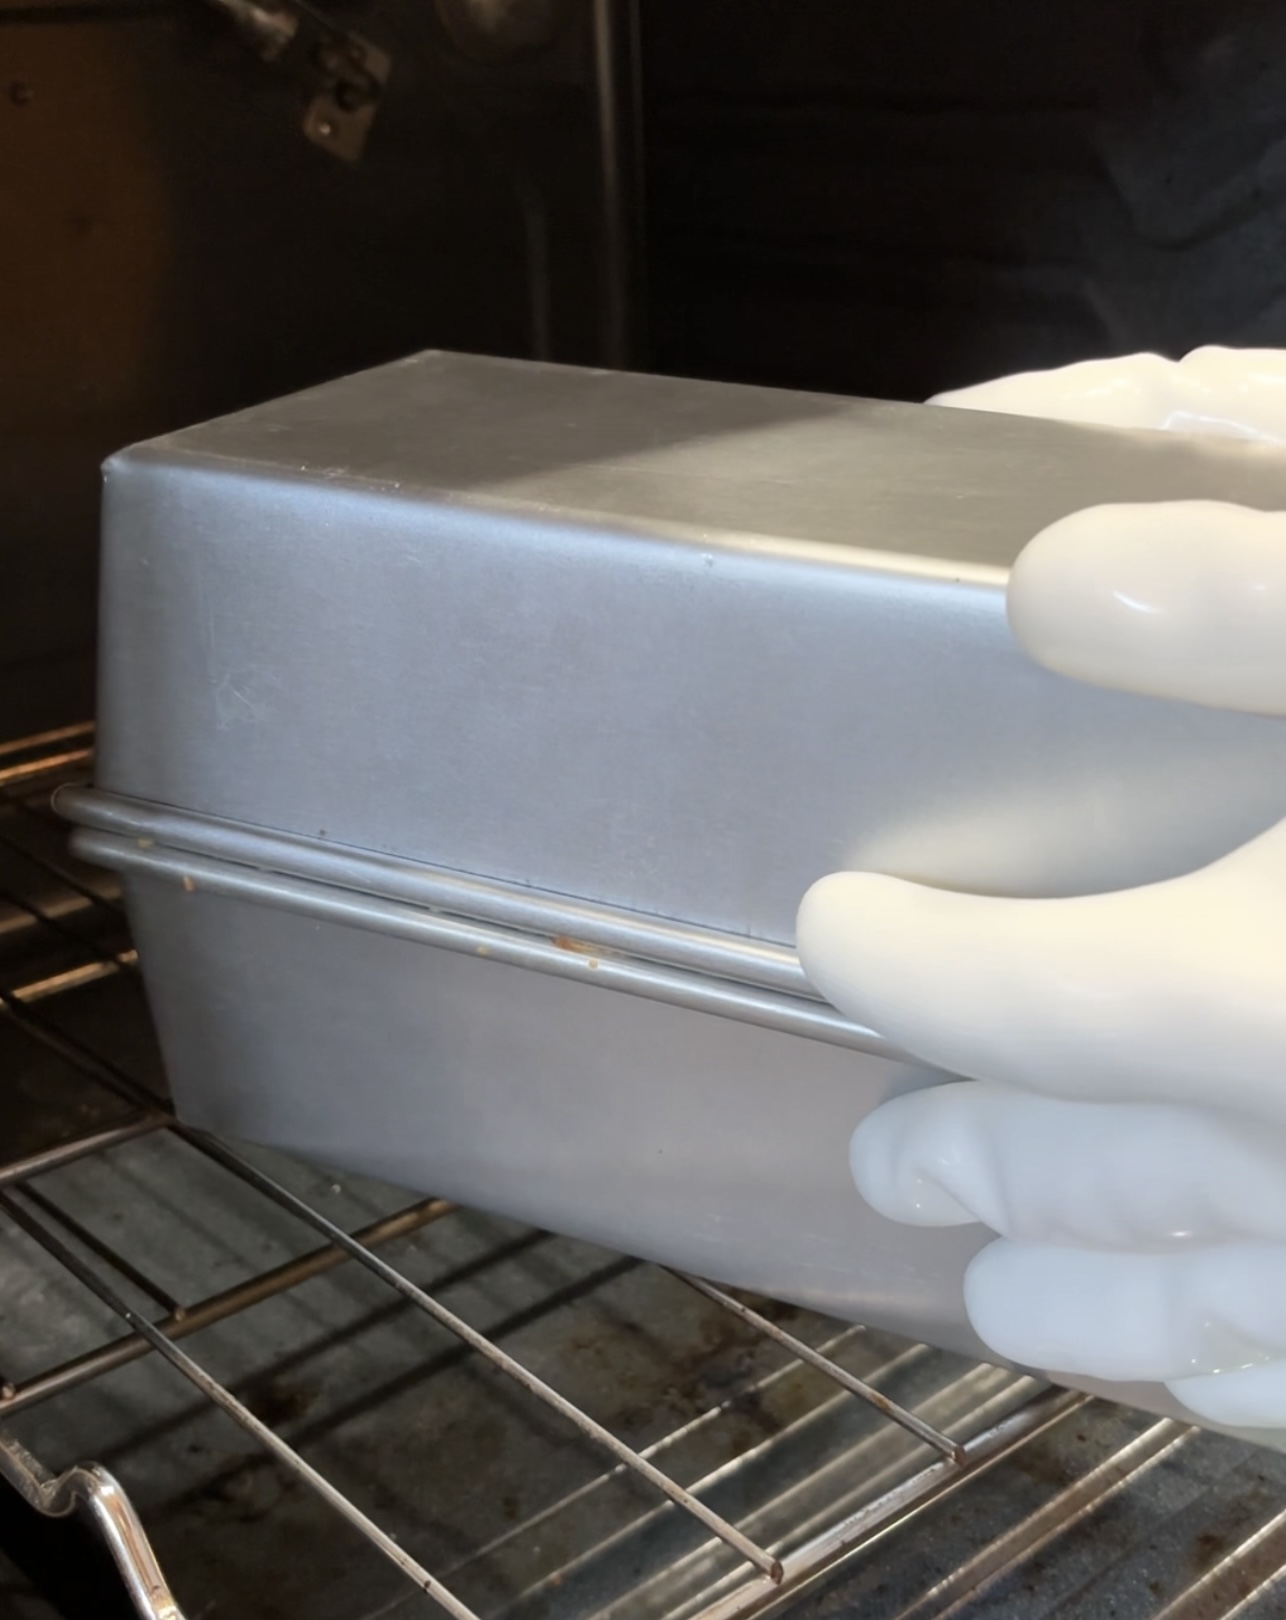
If you don’t have one, you can use the two bread pan method (one on the bottom, then one inverted as a lid) making sure it is well greased, a roasting pan with a lid, or place your dough on a pre heated baking sheet with loosely covered foil.
Notes & Tips
✔ Watch the full video! I have a step-by-step video tutorial in the recipe card below to help my visual learners!
✔ Customize your loaf! Add mix-ins like cheese, herbs, or jalapeños during the stretch & folds.
✔ Sourdough takes practice. If your first loaf isn’t perfect, don’t stress! With each bake, you’ll get better at understanding your dough.
Final Encouragement
Baking sourdough is a learned skill, not an instant one. Your first loaf might not be perfect, but don’t get discouraged! Keep practicing, experiment with what works for you, and most importantly—enjoy the process. It’s supposed to be relaxing and fun!
Thank you for letting me guide you on your sourdough journey! I can’t wait to see what you bake. 🥖💛
If You Like This, Try This:
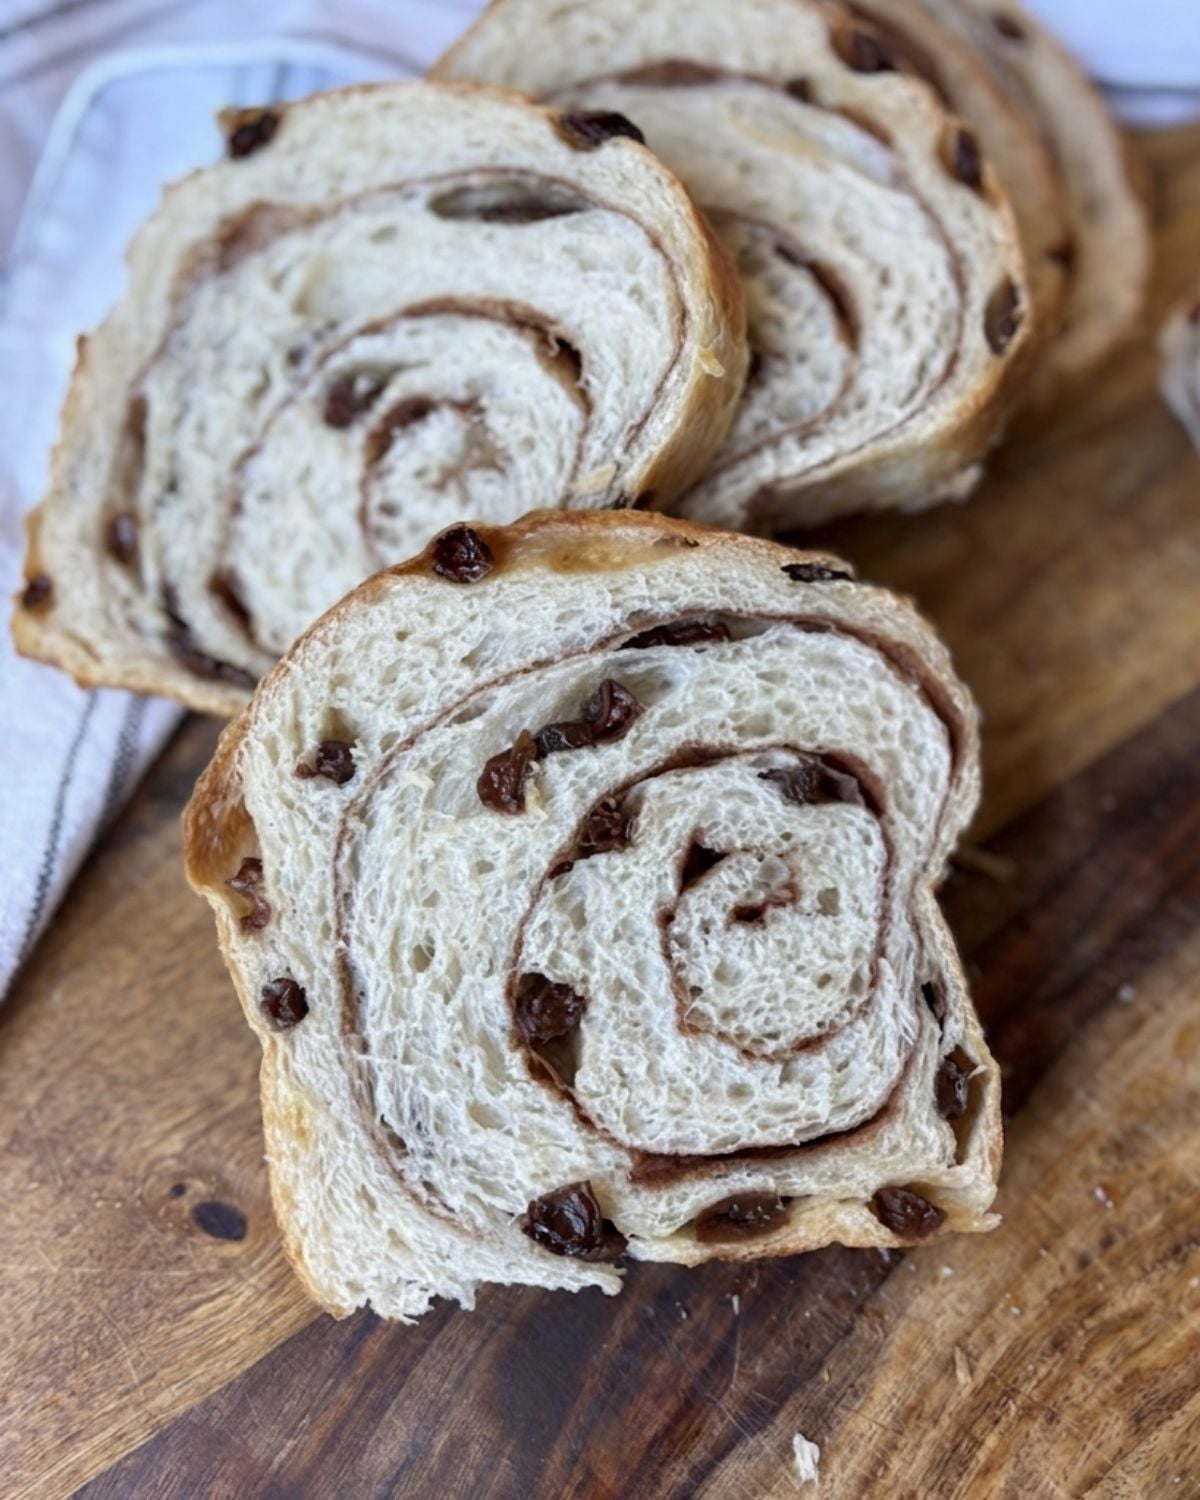
- Soft Sourdough Sandwich Bread – a fluffy, beginner-friendly loaf that’s perfect for everyday sandwiches and the best way to put your starter to use.
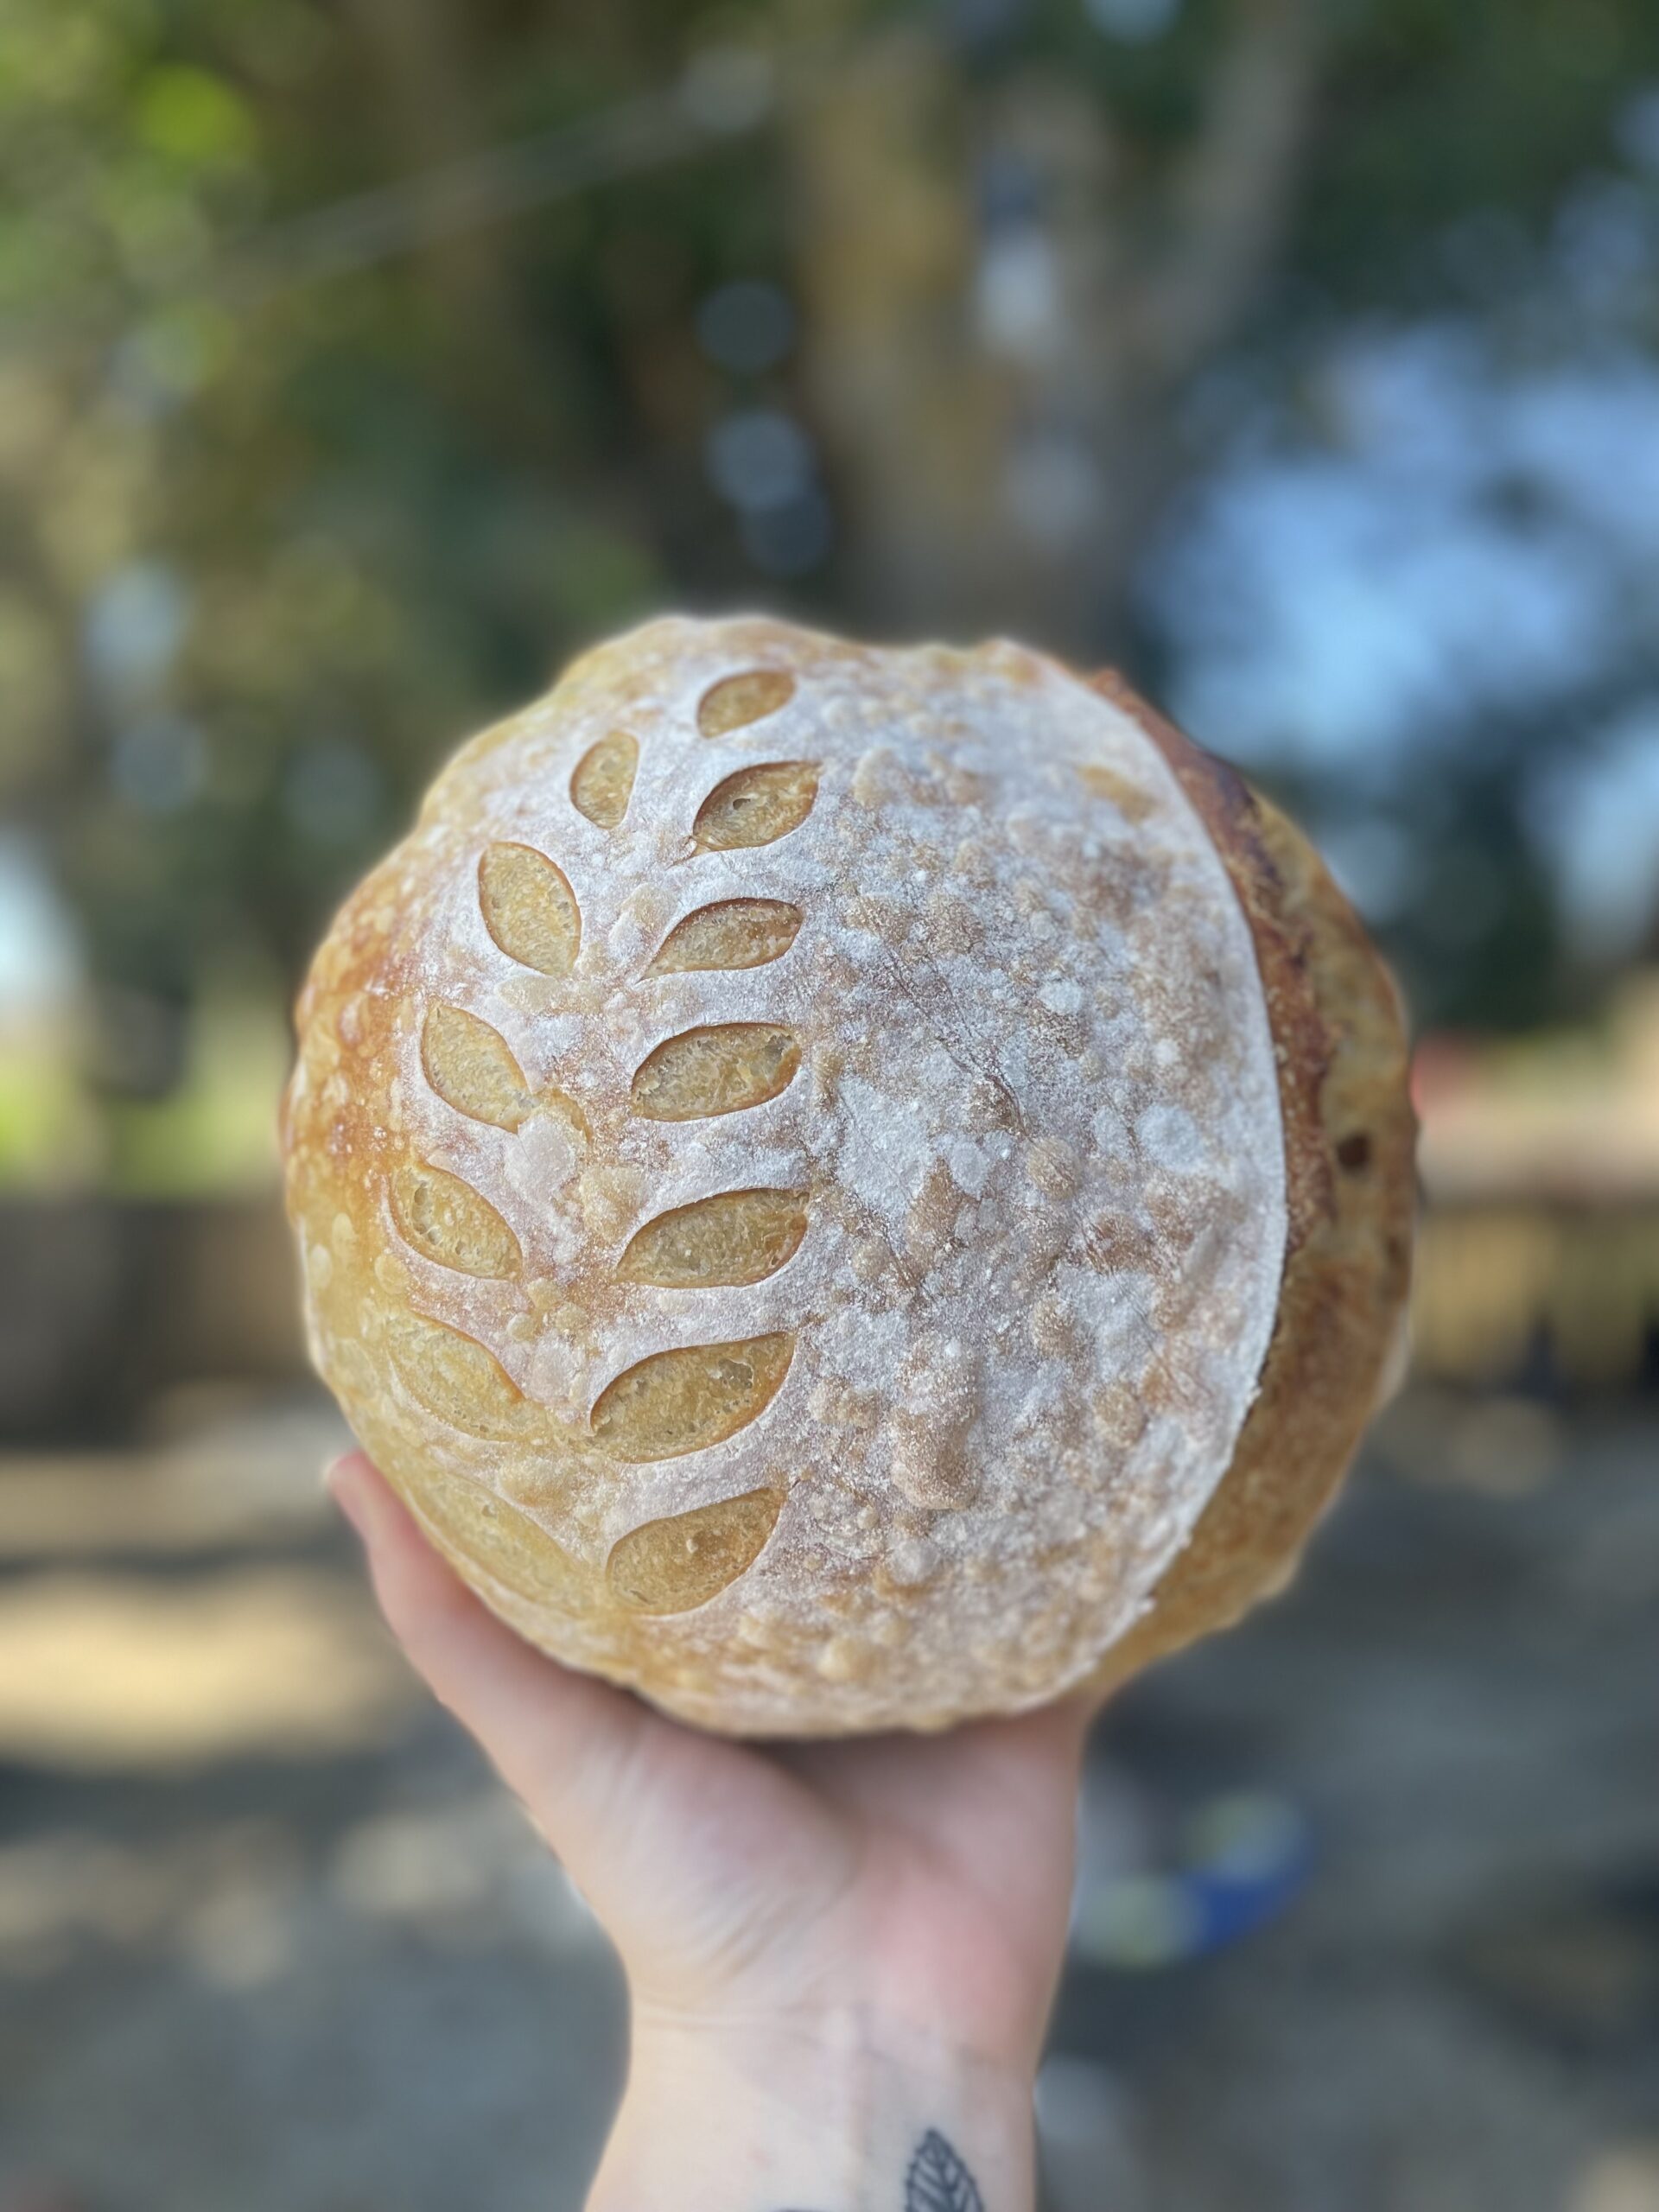
Sourdough Recipe for Beginners
Equipment
- 1 Kitchen Scale or measuring cups
- 1 Large bowl
- 1 Dutch Oven or Bread Oven See blog post if you don't have one
- 1 Cooling rack
Ingredients
Sourdough Starter
- 50g or 1/4 cup Sourdough starter
- 50g or 1/3 cup Unbleached Bread Flour
- 50g or 1/4 cup Filtered room temperature water
Sourdough Recipe
- 100g or 1/2 cup Active Sourdough Starter
- 350g or 1 & 2/3 cup Filtered warm water about 80 degrees F
- 500g or 4 cups Unbleached Bread Flour King Arthur bread flour is my favorite
- 10g or 2 tsp Sea Salt
Instructions
Feed Your Starter
- Add 50g sourdough starter, 50g unbleached bread flour, and 50g room-temperature filtered water to a clean jar. Stir until no dry flour remains.50g or 1/4 cup Sourdough starter , 50g or 1/3 cup Unbleached Bread Flour, 50g or 1/4 cup Filtered room temperature water
- Loosely cover and let rise at room temperature for about 4–6 hours, or until doubled in size, bubbly, and active.You can feed your starter the night before or early in the morning before making your dough.
Mix the Dough
- In a large bowl, combine active sourdough starter and warm filtered water. Stir until the starter is mostly dissolved and the water looks milky.100g or 1/2 cup Active Sourdough Starter, 350g or 1 & 2/3 cup Filtered warm water
- Add unbleached bread flour and salt. Mix until a shaggy dough forms and no dry flour remains. Cover and let rest for 1 hour.500g or 4 cups Unbleached Bread Flour, 10g or 2 tsp Sea Salt
Stretch & Folds
- After letting the dough rest for 1 hour, it's time to do a series of stretch and folds. With wet hands, grab one side of the dough, gently stretch it upward, and fold it over itself. Rotate the bowl and repeat on all four sides. One complete trip around all four sides of the bowl = one set of stretch and folds.Complete 4 sets of stretch and folds, 30 minutes apart, keeping the dough covered between each set.Example: Stretch & Fold #1 → rest 30 minutes → Stretch & Fold #2 → rest 30 minutes → Stretch & Fold #3 → rest 30 minutes → Stretch & Fold #4 → continue resting until bulk fermentation is complete.
Bulk Fermentation
- After your final stretch and fold, cover the bowl and let the dough continue to rest and rise at room temperature. This stage is called bulk fermentation.The warmer your dough is, the faster it will ferment. If you have a kitchen thermometer, check the temperature of your dough and use this as a starting guide:80°F: about 5–6 hours75°F: about 7–8 hours70°F: about 12 hours65°F: about 16 hoursImportant: Bulk fermentation actually begins when you first mixed the starter into your dough, not after your stretch and folds. The times below are the total time from when you mixed your dough until you shape it.Don't worry if your dough doesn't follow these times exactly. Watch your dough more than the clock. Your starter strength, flour, and room temperature can all affect how quickly it ferments.How do I know when bulk fermentation is done? Your dough should rise significantly (close to doubled for this beginner recipe), look domed on top, has visible bubbles along the top and sides, and jiggle when you gently move the bowl.If your dough still looks dense and hasn't risen much, give it more time.Keep an eye on the dough. If you let it ferment too long, it can over-ferment which makes it very sticky, loose, and difficult to shape.I know it seems like A LOT! But perfecting bulk fermentation will come with practice and is often the most difficult part of sourdough. Keep working at it!
Shape the Dough
- Once bulk fermentation is finished, gently turn the dough out onto a clean countertop. Do not knead it or punch the air out.Using slightly wet hands and a bench scraper, gently stretch the dough into a rough rectangle. Take the Right side of the rectangle and fold it into the center.Take the left side and fold it over the right. Your dough should now look like a long, narrow rectangle.Starting at the bottom, begin rolling the dough up and away from you. Continue rolling until the dough forms a tight log shape.Turn the dough so the seam is on the bottom. Cup your hands around the dough and gently push/pull it toward yourself across the counter. Rotate the dough slightly and repeat. This creates surface tension, which tightens the outside of the dough so it becomes smooth and holds its round shape.Generously flour your banneton or towel lined bowl. Place the shaped loaf into the banneton smooth side down and seam side up. Cover with a bowl cover and move to proofing. New to shaping? Watch the video in this recipe card to see exactly how I shape my loaf. It's much easier to understand once you see it!
Proofing
- Proofing helps develop flavor and allows the dough to become light and airy before baking. This is a step a lot of beginners miss, but it is so important for great bread!You have two options here:1. Cold Proof (recommended): Cover and refrigerate the dough for 14–18 hours, or up to 24 hours.2. Room Temperature Proof: Cover and proof at warm room temperature for about 2 hours, or until the dough has puffed up and filled the banneton. Bake immediately.For beginners, I always recommend the cold proof.
Bake
- Preheat the oven to 450°F with a Dutch oven inside.
- Remove the dough from the refrigerator and flip it onto parchment paper or bread sling. You do not need to bring the dough to room temperature before baking.
- Score the top with a bread lame or sharp knife. You can do shallow decorative scoring but make sure to include a deeper expansion score across the loaf, this gives the bread a controlled place to expand while baking.
- Carefully transfer the dough to the hot Dutch oven.
- Bake covered for 30 minutes, remove the lid and bake for an additional 15 minutes, or until the crust is golden brown and the center reaches approximately 205°F
Cool
- Transfer the baked loaf to a cooling rack.Allow the bread to cool for at least 1–2 hours before slicing to prevent a gummy crumb.Congrats on your beautiful sourdough loaf!



Leave a Reply