This website uses affiliate links which may earn commission made for purchases at no extra cost to you.
When I first started baking sourdough, I remember feeling completely overwhelmed. Everyone online seemed to do it differently—how was I supposed to know the right way? The truth is, there’s no single “right” way. But after teaching thousands of home bakers, I’ve found that this is the easiest method for beginners—one that’s simple, forgiving, and yields a delicious loaf every time.
If you’ve ever wanted to bake sourdough but felt intimidated, this is the perfect recipe to start with!
Before we start:
Using a kitchen scale for sourdough gives the most accurate measurements by weight, which is key for consistent results, especially when you’re first starting out. I know not everyone has one, so I’ve included cup measurements too. But for the best results and more consistent loaves, I highly recommend using a scale!
What You’ll Need:
- 100g or 1/2 cup active sourdough starter (fed and bubbly- We’ll go over how to do that!)
- 350g or 1 & 2/3 cup warm filtered water (ideally 80 degrees F)
- 500g or 4 cups unbleached bread flour
- 10g or 2 tsp sea salt
Step 1: Feed Your Starter
About 4-6 hours before making your dough, you’ll need to feed your sourdough starter. In a Jar, mix together:
- 50g or 1/4 cup sourdough starter
- 50g or 1/4 cup unbleached flour
- 50g or 1/4 cup filtered water
You starter should be a thick pancake batter consistency. Let it sit until bubbly and doubled in size. If you plan to make your dough in the morning, you can do this step before bed. If it sits longer than 6hrs that’s okay!
Step 2: Mix the Dough
In a large bowl, combine:
- 100g or 1/2 cup active sourdough starter
- 350g or 1 & 2/3 warm filtered water
Stir until the starter dissolves and the water looks milky. Then add:
- 500g or 4 cups unbleached bread flour
- 10g or 2 tsp sea salt
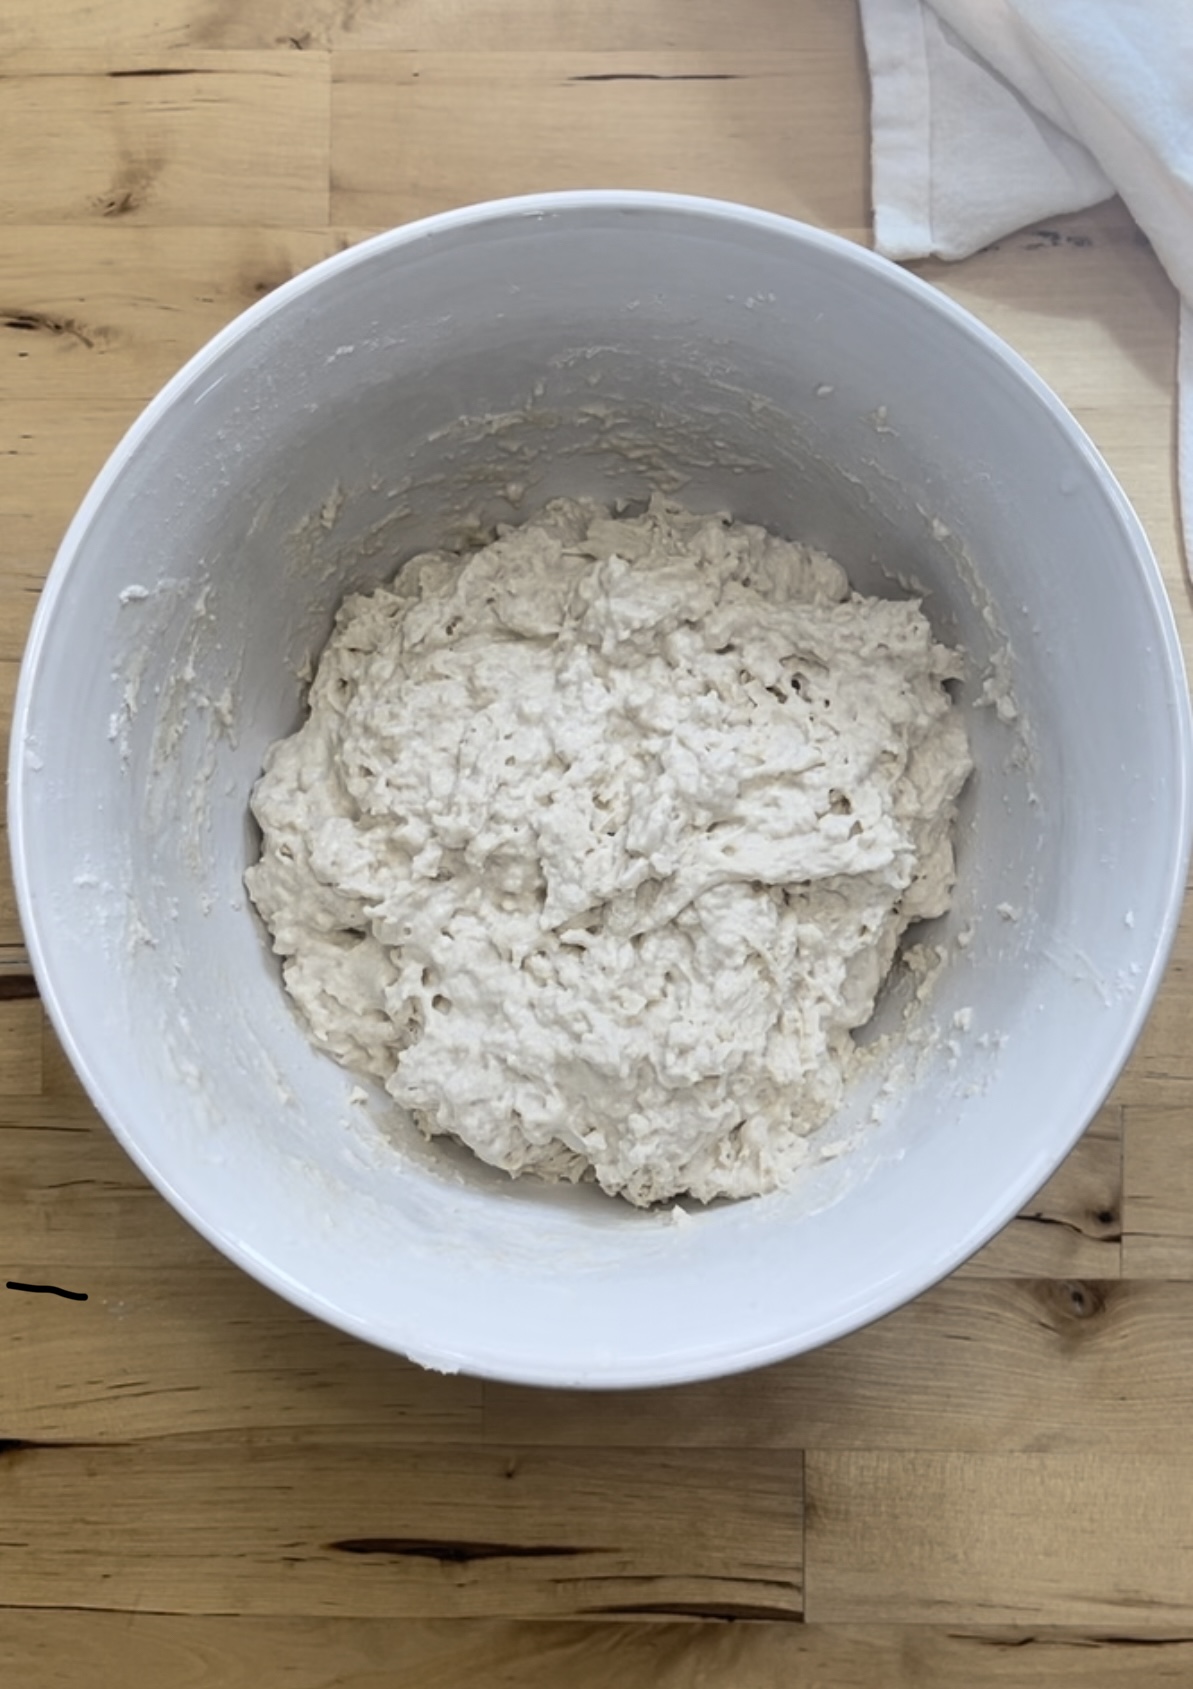
Mix until you have a shaggy dough. If it seems too dry, add a tiny bit of water at a time until it comes together (flour absorbs water differently depending on the flour type, brand, and your climate). Cover and let rest for 1 hour.
Step 3: Stretch & Folds (Builds Strength)
After the dough has rested, you’ll do four rounds of stretch and folds, 30 minutes apart:
- With wet hands, grab one side of the dough, stretch it up, and fold it over itself.
- Rotate the bowl and repeat on all four sides.
- Cover and let rest for 30 minutes.
- Repeat this process four times total.
This step helps develop the gluten, so your bread has structure without kneading.
Step 4: Bulk Fermentation (The First Rise)
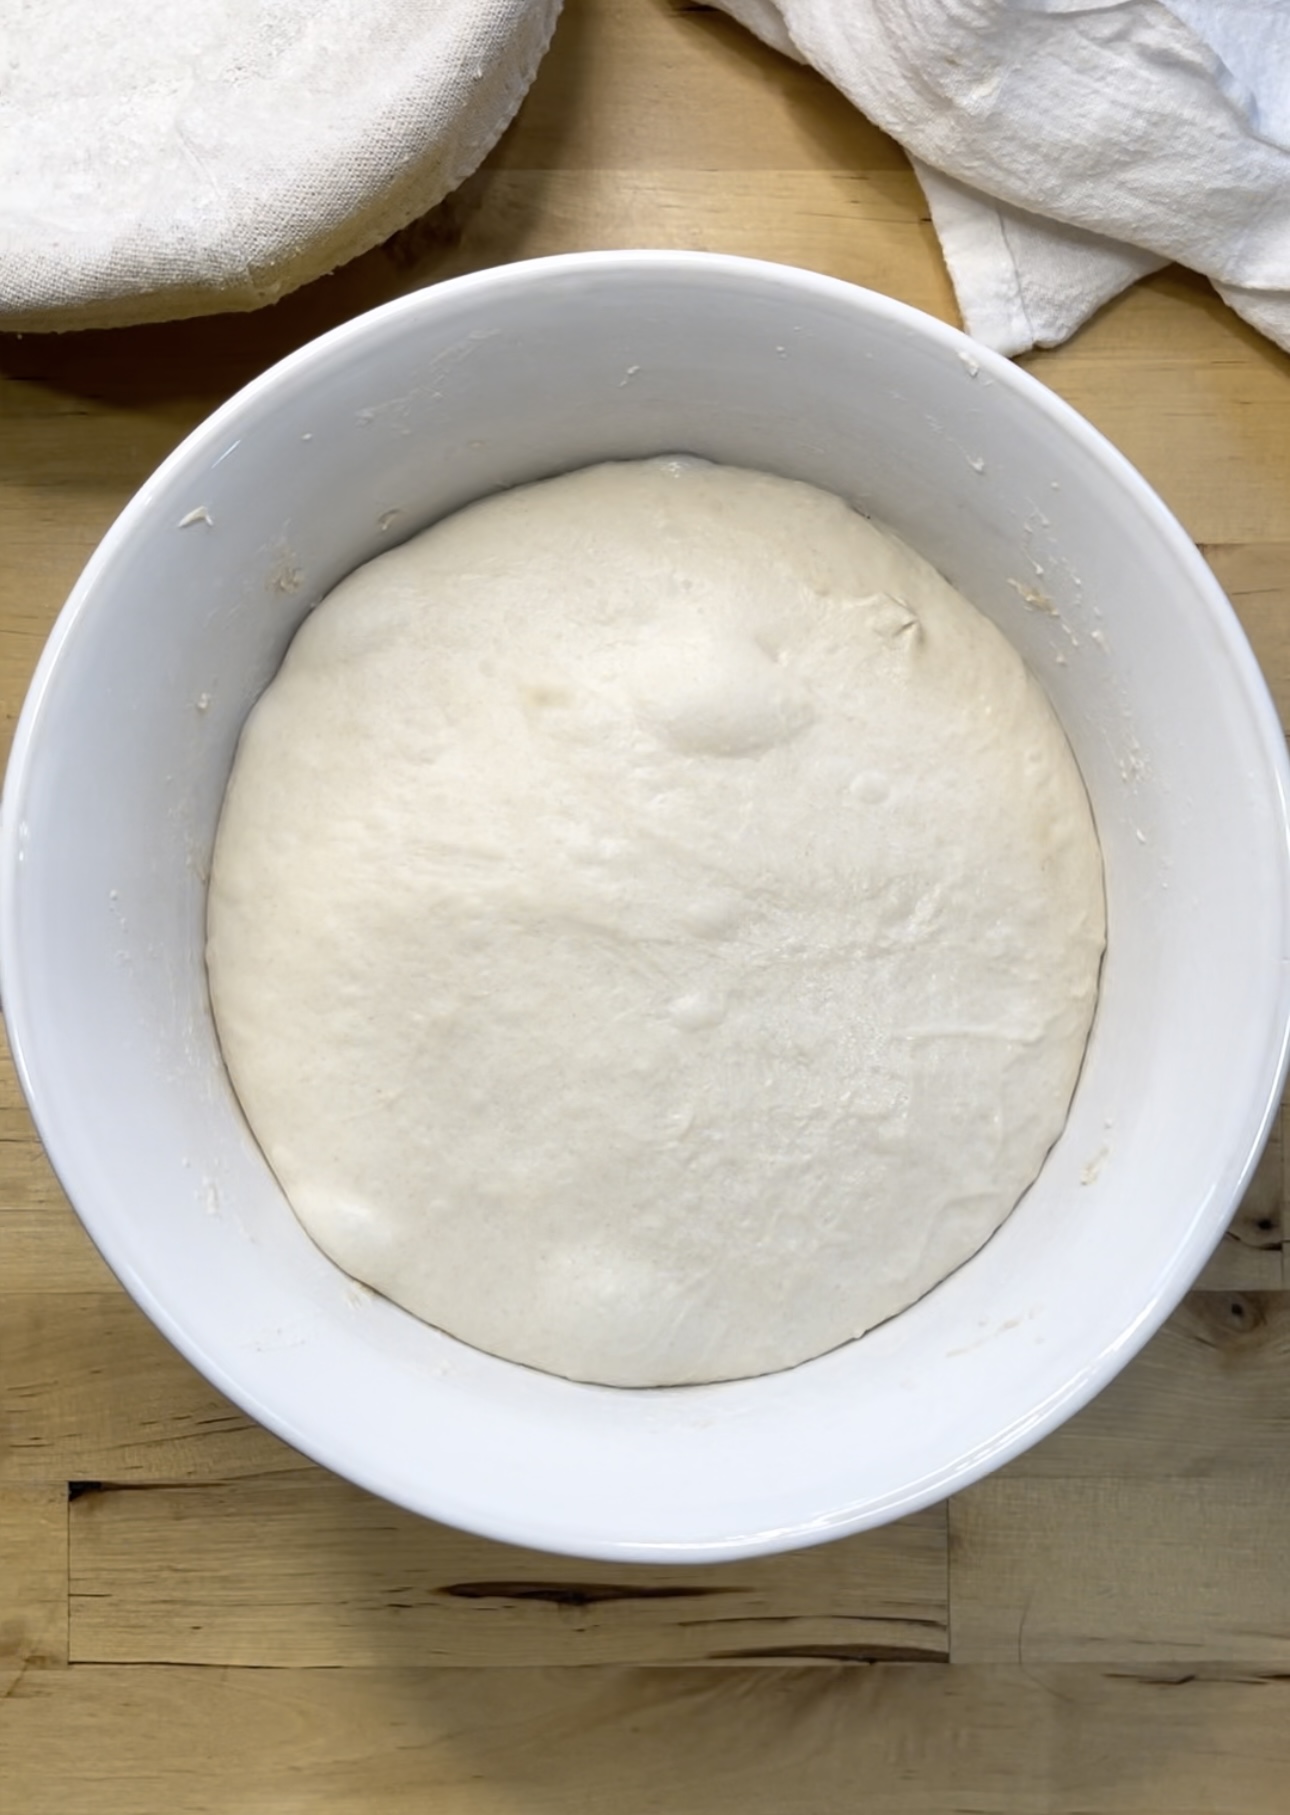
Bulk fermentation is the first long rise after mixing your dough, where the sourdough starter ferments the flour, creating air bubbles and developing flavor. It’s when the dough grows and strengthens before shaping.
After the final stretch and fold, let your dough rise at room temperature until doubled in size, bubbly, and jiggly (visual cues). I like to use this chart as a guideline- The timing depends on your dough temperature and time starts when you first mixed your dough in step 2:
- 🌡 80°F (27°C) → ~5-6 hours
- 🌡 75°F (24°C) → ~7-8 hours
- 🌡 70°F (21°C) → ~12 hours
- 🌡 65°F (18°C) → ~16 hours
If your house is warmer it will be quicker! If your house is cooler, it will take longer!
Step 5: Shape the Dough
Once your dough is showing visual signs (Doubled, bubbly, and airy), gently turn it out onto a surface. Using wet hands and a wet bench scraper, shape it into a round or oval loaf depend on the shape of your proofing basket. If shaping feels tricky, check out the video below for a guide.
Step 6: The Final Proof (Cold or Room Temperature)
Now it’s time for the second rise. You have two options:
- Best for beginners (cold proof): Place the shaped dough in a well-floured banneton or towel-lined bowl. Cover and refrigerate overnight (or up to 24 hours).
- Faster option: Let it proof at room temperature for 2 more hours, then bake immediately.
I recommend the cold proof because it makes the dough easier to handle, improves flavor, and you can bake on your own schedule!
Step 7: Bake Your Bread
When you’re ready to bake:
Preheat your oven to 450°F (232°C) with a Dutch oven inside for 30 minutes.
Take your dough out of the fridge and flip it over onto a piece of parchment paper.

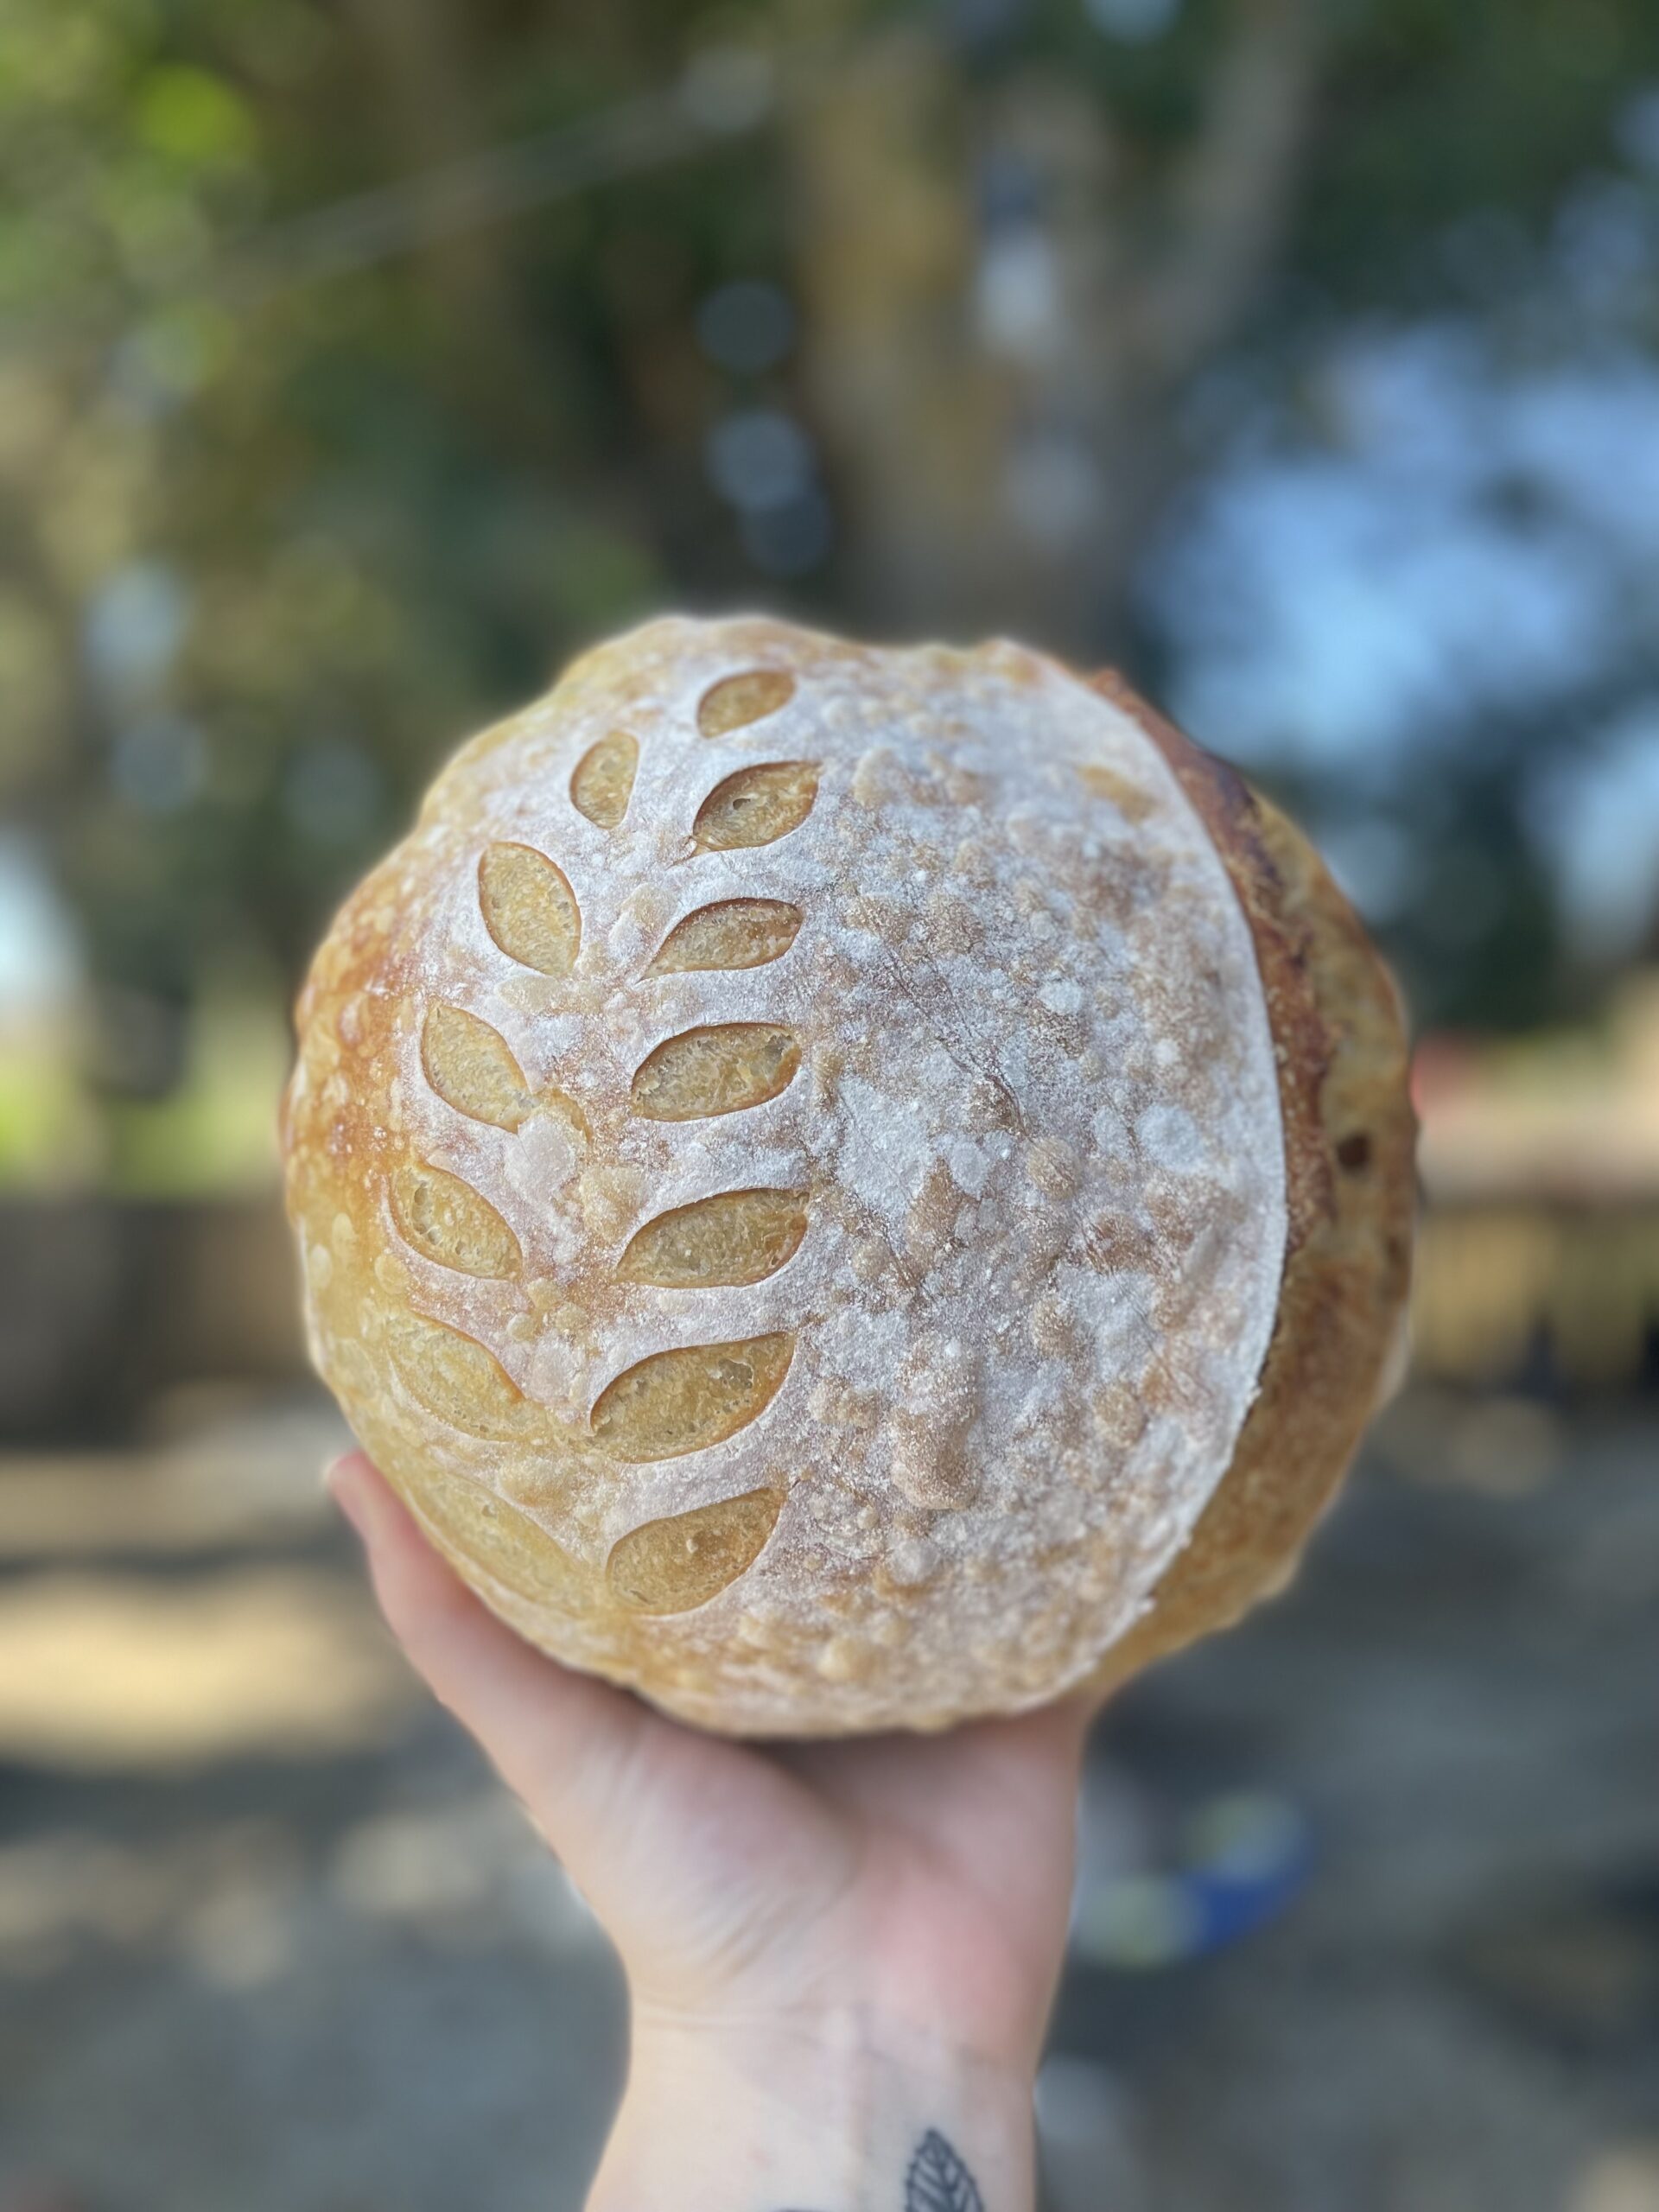
- Score the top with a sharp knife or bread lame (this prevents bursting).
- Carefully place the dough into the hot Dutch oven.
- Bake covered for 30 minutes, then uncovered for 15 minutes.
- Remove the bread from the Dutch oven and let it cool on a rack for at least 2-3 hours before slicing. It will continue to bake inside, cutting into it too early can lead to a gummy texture.
“What if I don’t have a Dutch oven?”
A Dutch oven traps steam, which helps your sourdough rise properly and develop a crisp, golden crust. If you’re looking to purchase a bread oven, I use and love this one by Krustic. They gave me a $15 off coupon for my followers, use Hayley15 at checkout!
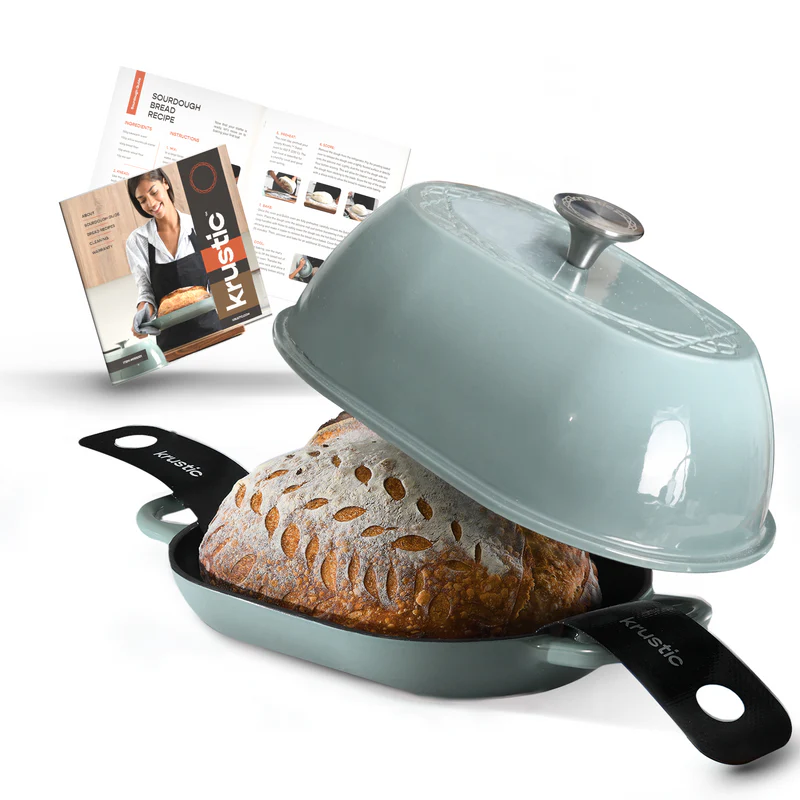
If you don’t have one, you can use the two bread pan method (one on the bottom, then one inverted as a lid) making sure it is well greased, a roasting pan with a lid, or place your dough on a pre heated baking sheet with loosely covered foil.

Notes & Tips
✔ Watch the full video! I have a step-by-step video tutorial on YouTube to help my visual learners!
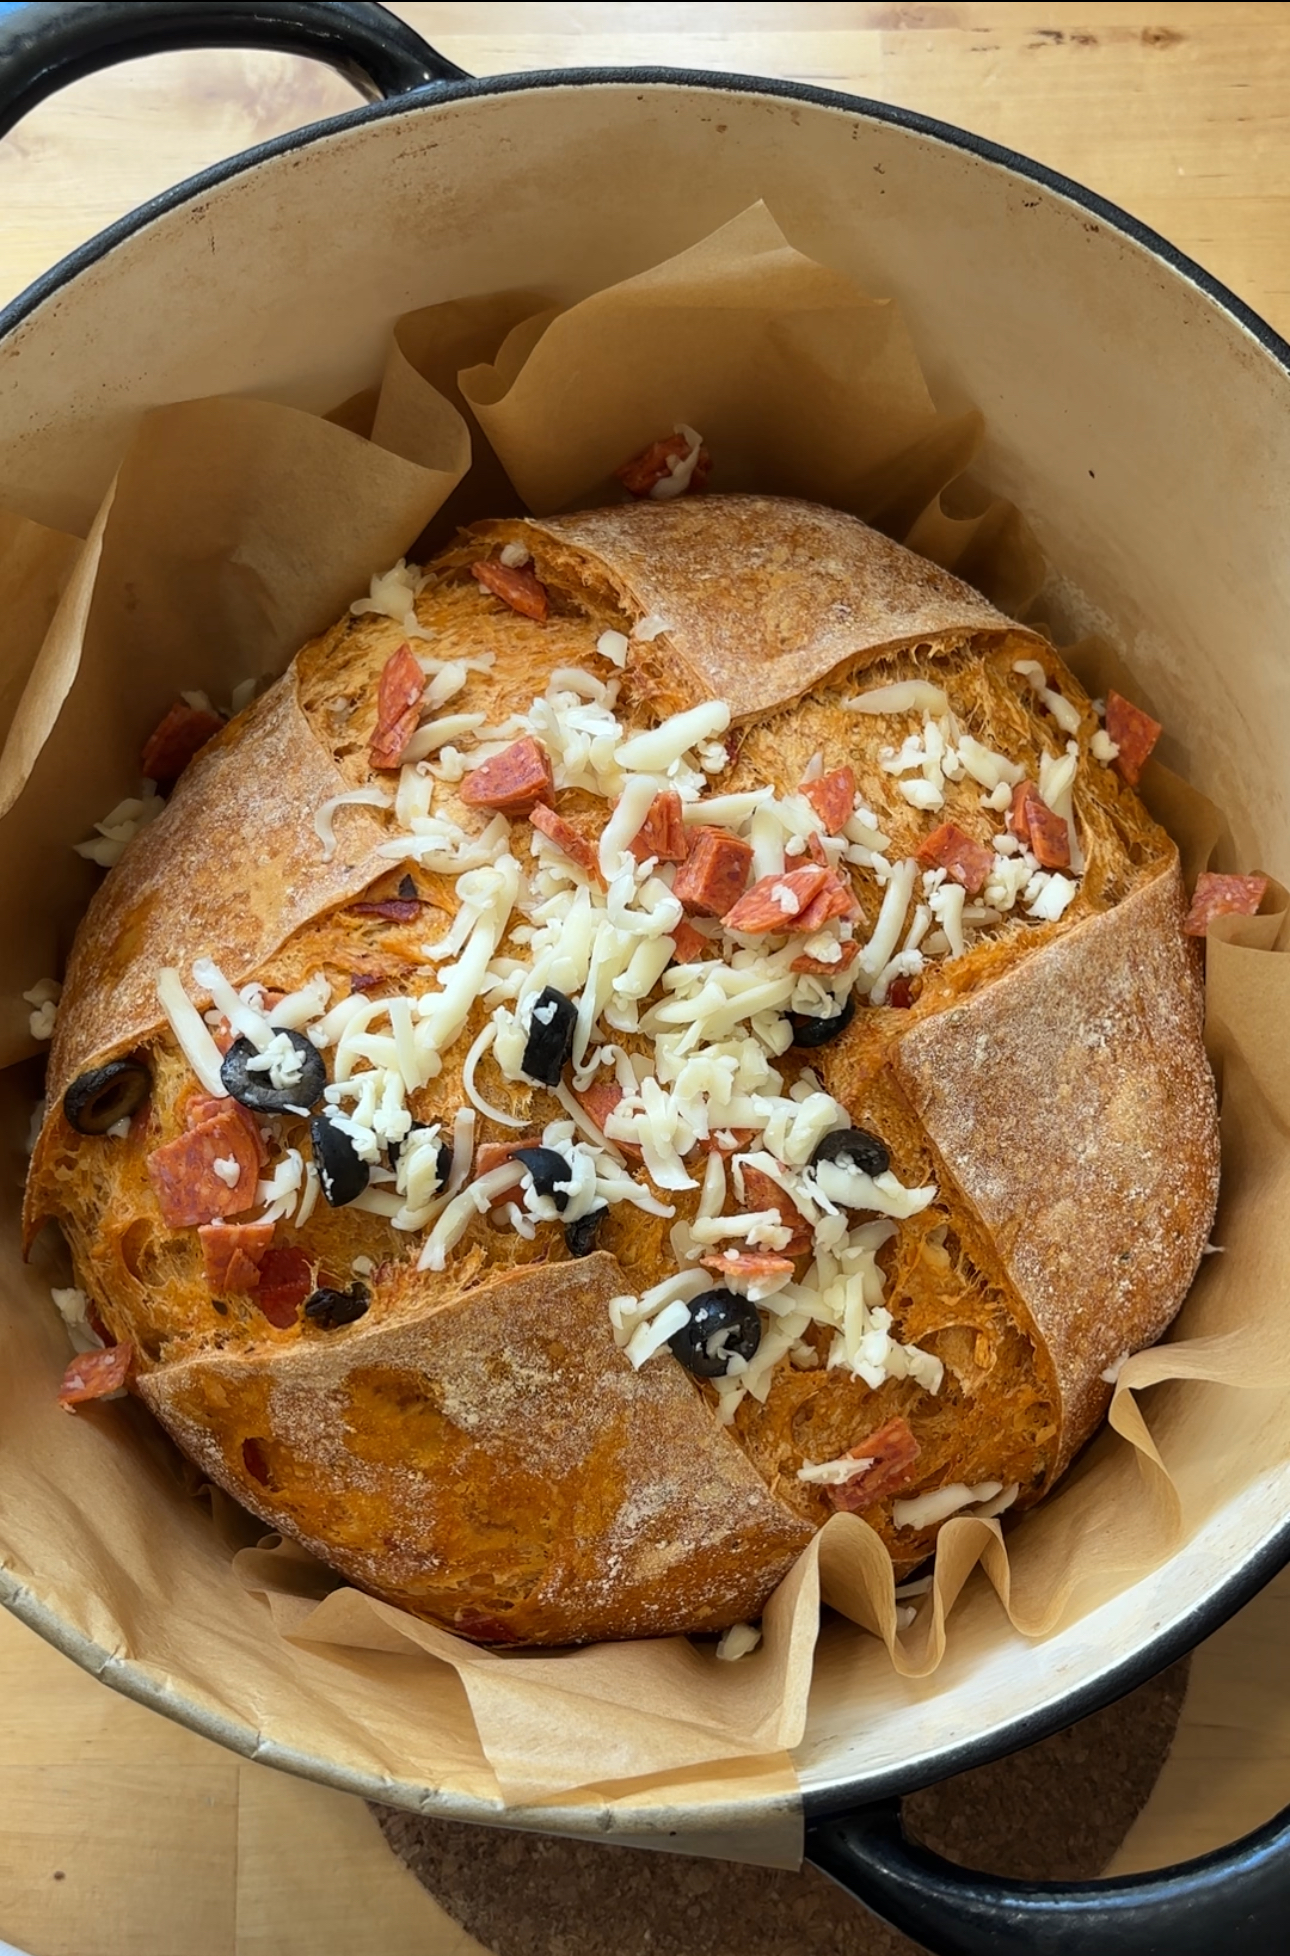
✔ Customize your loaf! Add mix-ins like cheese, herbs, or jalapeños during the stretch & folds or during shaping.
✔ Sourdough takes practice. If your first loaf isn’t perfect, don’t stress! With each bake, you’ll get better at understanding your dough.
Final Encouragement
Baking sourdough is a learned skill, not an instant one. Your first loaf might not be perfect, but don’t get discouraged! Keep practicing, experiment with what works for you, and most importantly—enjoy the process. It’s supposed to be relaxing and fun!
Thank you for letting me guide you on your sourdough journey! I can’t wait to see what you bake. 🥖💛
Sourdough Recipe for beginners step-by-step
Equipment
- 1 Medium/Large bowl
- 1 Dutch Oven or Bread Oven See blog post if you don't have one
Ingredients
Sourdough Starter
- 50g or 1/4 cup Sourdough starter
- 50g or 1/4 cup Unbleached Bread Flour
- 50g or 1/4 cup Filtered room temperature water
Sourdough Recipe
- 100g or 1/2 cup Active Sourdough Starter
- 350g or 1 & 2/3 cup Filtered warm water about 80 degrees F
- 500g or 4 cups Unbleached Bread Flour King Arthur bread flour is my favorite
- 10g or 2 tsp Sea Salt
Instructions
How to feed your sourdough starter
- Start with 50g of your sourdough starter in a new clean jar. Pour 50g of unbleached bread flour into the jar. Add 50g of filtered room temp or luke warm water. Stir everything together until the mixture is smooth and no dry flour remains. Loosely cover the jar with a lid and let it sit at room temperature for about 4-6 hours, depending on warmth and activity. Your starter is ready to use when it has doubled in size and is bubbly!
How to make your sourdough loaf
- To a big bowl, add 100g of active starter and 350g of warm filtered water. Mix to combine until water looks milky and starter is dissolved. Then, add in your 500g of bread flour and 10g of salt. Mix to combine into a shaggy dough. If needed, you can add small amounts of water if your dough is too dry, water absorption varies in different flours and climates. Cover with a damp towel or plastic bowl cover, let rest for 1 hour at room temperature.
- After letting the dough rest for 1 hour, its time to do a series of stretch and folds. With wet hands take a corner of your dough and stretch up and fold it over itself making sure to repeat with all 4 sides. You will do 4 rounds of stretch and folds with 30 minute rests in between. Cover with a damp towel or plastic cover in between rounds to keep in moisture. Example: Stretch and fold #1, 30 min rest, stretch and fold #2, 30 min rest, stretch and fold#3, 30 min rest, Stretch and fold #4, finishing with a rest called bulk fermentation.
- Bulk Fermentation rest times vary by dough temperature and starts when you mixed your dough. Use this dough temperature vs. rest time as a guideline. 80°F → ~5-6 hours75°F → ~7-8 hours70°F → ~12 hours65°F → ~16 hoursMost importantly, Look for visual cues like your dough just about doubled in size, lots of bubbles on the top and sides of the dough, and it's jiggly.*Be aware of letting this rest too long, it could over-ferment and become sticky and unmanageable!*
- Once your dough is done bulk fermenting, its time for shaping. Turn out your dough from your bowl onto your counter and using wet hands and a wet bench scraper, shape your dough. If you need help shaping, I have the video linked to my Youtube to help you visualize these techniques.
- Add your shaped dough smooth side down into a well floured banneton basket or towel lined bowl. Once your loaf is shaped, it’s time for the final cold ferment. Cover and put in the dough in the refrigerator overnight or for 12-24 hours. This is my preferred beginners method. Alternatively, you can skip the cold ferment and let it proof on the counter for an additional 2 hours before baking.
- When you’re ready to bake, preheat your oven with a dutch oven inside to 450°F. Once it's preheated for about 30 minutes, take your dough out of the fridge and place onto a piece of parchment paper. Score your bread to insure it doesn't burst while baking. Take out your dutch oven and add your scored dough.
- Bake for 30 minutes covered and 15 uncovered. Take loaf out of the dutch oven immediately and let cool on a rack for 2-3 hours before slicing.


9 responses to “The Easiest Beginner Sourdough Bread Recipe (Step-by-Step Guide)”
Here I am again, leaving another review!
I feel passionately about muscle momma sourdough because she is so easy to understand and gives practical advice!
This recipe is so fabulous! I use it even though I’m getting more proficient because of it’s dependability.
Don’t forget to grab her dehydrated starter to avoid a ton of hassle!
This was my very first sourdough attempt and it turned out great! Real confidence builder since there is a lot of conflicting information on the correct way to make sourdough so it was that much more intimidating to start. I watched many of musclemommasourdough videos on Instagram before attempting & I’m glad I found this account.
Have had a beautiful liaf everytime since I’ve switched to this recipe. 4x now. I love it because the crust is softer. It’s perfect.
Hi just a quick question.
If my starter is ready why do I need to feed it and wait 4-6hrs before using?
You explained everything so well.
Hi Susan! If your starter is already active and bubbly, you can skip this step and use it right away! However, if it’s been in the fridge or hasn’t been recently fed, giving it a feeding and waiting 4-6 hours ensures it’s at its peak activity, which helps with better rise and fermentation in your dough.
What size Dutch oven should I use? I have a 5.5 quart and want to make sure it will work before baking it.
5.5qt will work great! I used a 7qt for this recipe and there was a lot of room.
Can I double this and do 2 loafs at a time?
Then split and add inclusions at the shaping phase?
Yes, everything would be doubled!