This website uses Amazon affiliate links which may earn commission made for purchases at no extra cost to you. Thank you for using the links and supporting my content
Where do I start?!
My friends who buy starter from me always ask, “Where do I start?” If you’re wondering the same thing, this page is for you!
I know sourdough can feel overwhelming at first—I felt the same way when I started. But I promise, once you dive in, it all starts to make sense. It’s like anything new… at first, it seems complicated, but the more you do it, the more it clicks.
Take me building this website, for example. I had zero background, and it felt like a foreign language. But as I kept learning and applying what I picked up, it started making sense (kind of, lol). I’m still figuring things out, but that’s part of the process—just like sourdough!
The good news? You don’t need a bunch of fancy tools to get started. I’ll walk you through the essentials and a few extras that make things easier. Plus, I’m linking my favorite tools so you don’t have to guess what works best!
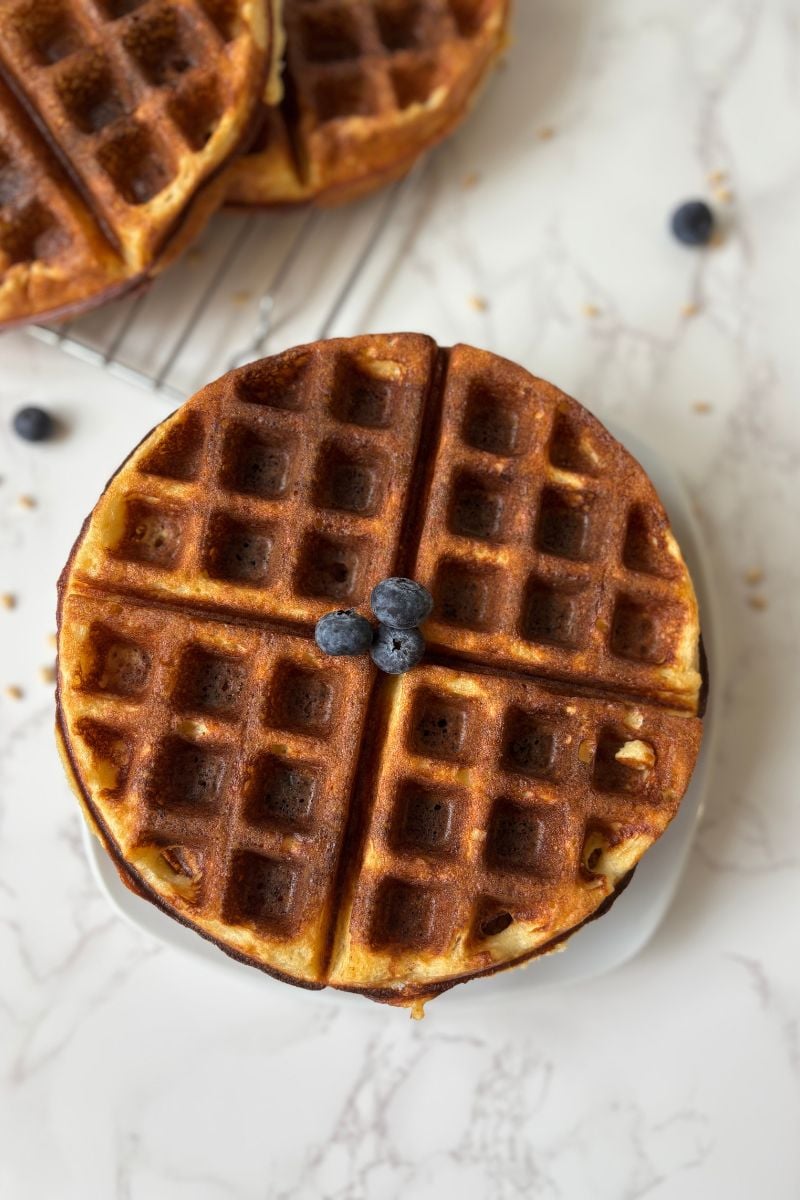
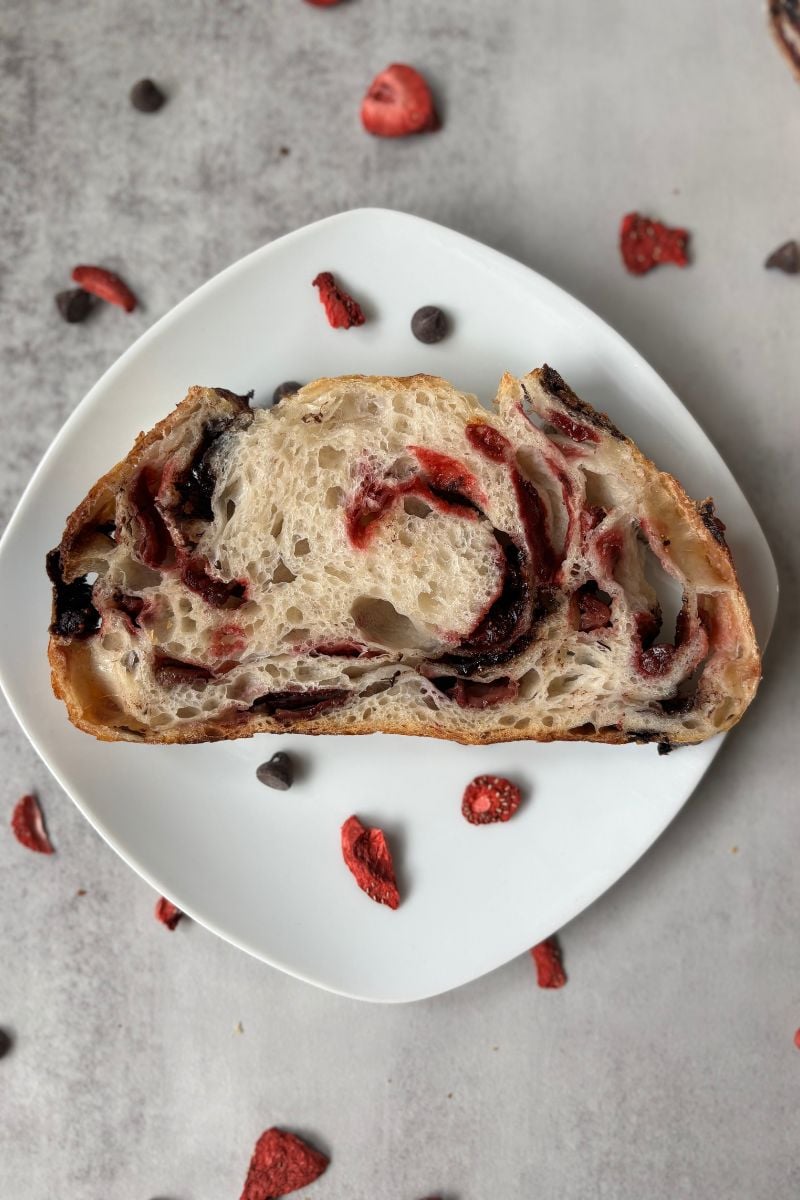
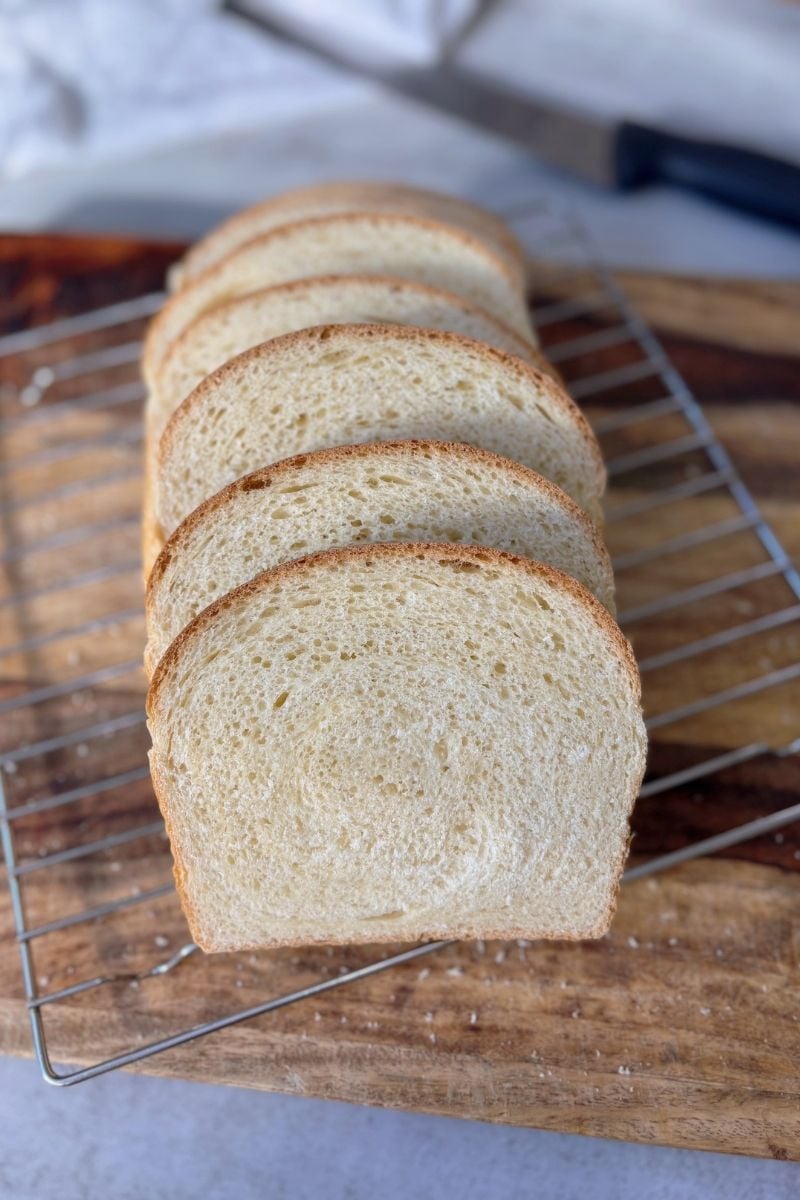
What You Actually Need to Start Making Sourdough
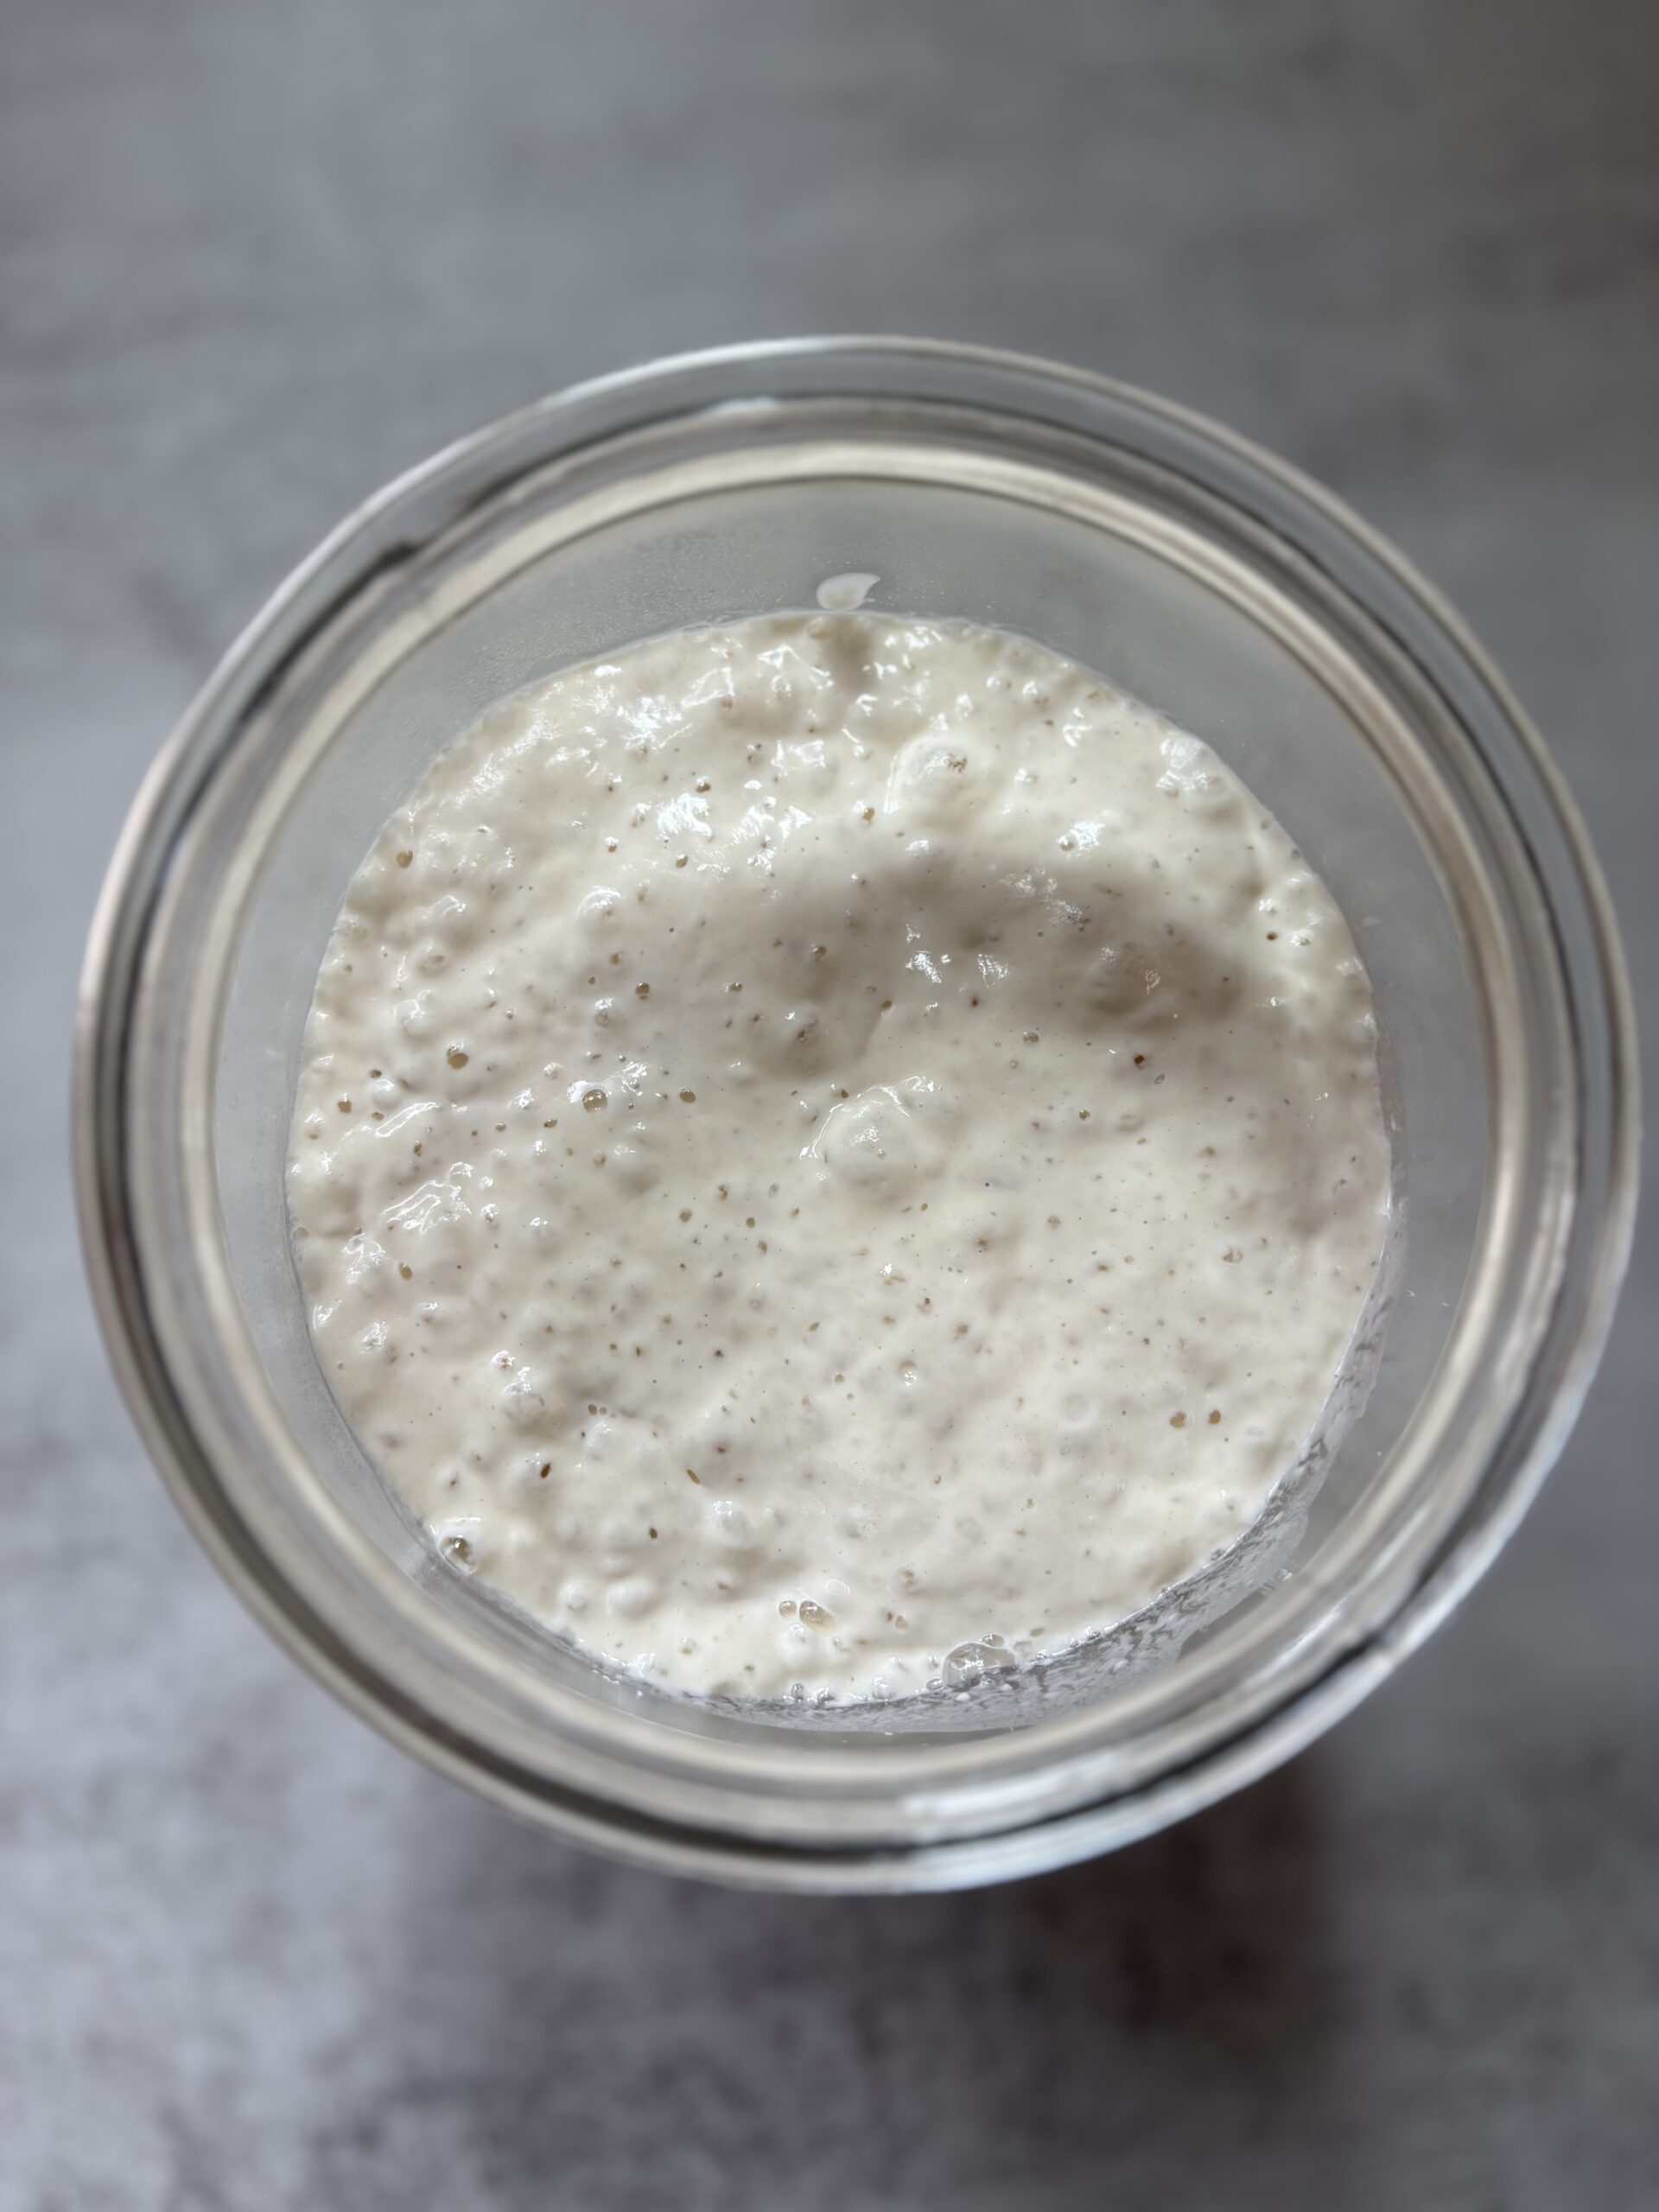
Sourdough starter– Your sourdough starter is the foundation of the entire process. I always recommend beginning with an already established starter—it sets you up for success right away. With so much to learn in the beginning, skipping the extra hassle makes the process way easier!
There are a few ways to get a starter:
- Make your own – However, this can take weeks (sometimes months) to develop a strong, active starter.
- Get one from a friend – If you know someone with a healthy starter, this is a great option!
- Buy a dehydrated starter – This is a great way to get baking with a strong, established starter. I offer my own dehydrated sourdough starter, an Etsy best-seller that has helped hundreds of people get started with sourdough. You can check it out here!
Unbleached Flour & Filtered Water – That’s it. Your starter needs to be fed regularly with flour and water, so keep a good supply on hand. I recommend using King Arthur unbleached bread flour (blue bag) for the best results.
A Kitchen Scale – Measuring by weight is the key to consistent sourdough. Trust me, it is WAY easier than using measuring cups! More accurate and less dishes. Here’s one I use.
Wide Mouth Glass Mason Jars – These work great for housing and feeding your sourdough starter. I recommend a 16oz and 32oz with lids.
Mixing Bowl– You’ll need a bowl big enough for your dough to double in size and a spoon to mix. Nothing fancy, just sturdy.
A Banneton or a Towel lined bowl – This is where your dough rests/proofs before baking. A banneton helps shape the dough, but a regular bowl lined with a clean towel works too.
A Sourdough Kit– If you’re planning to bake sourdough regularly, a sourdough kit can be a great investment. Amazon offers kits that bundle essential tools at a discounted price, making it an easy and cost-effective option for beginners. While these items aren’t absolutely necessary, they can make the process much smoother.
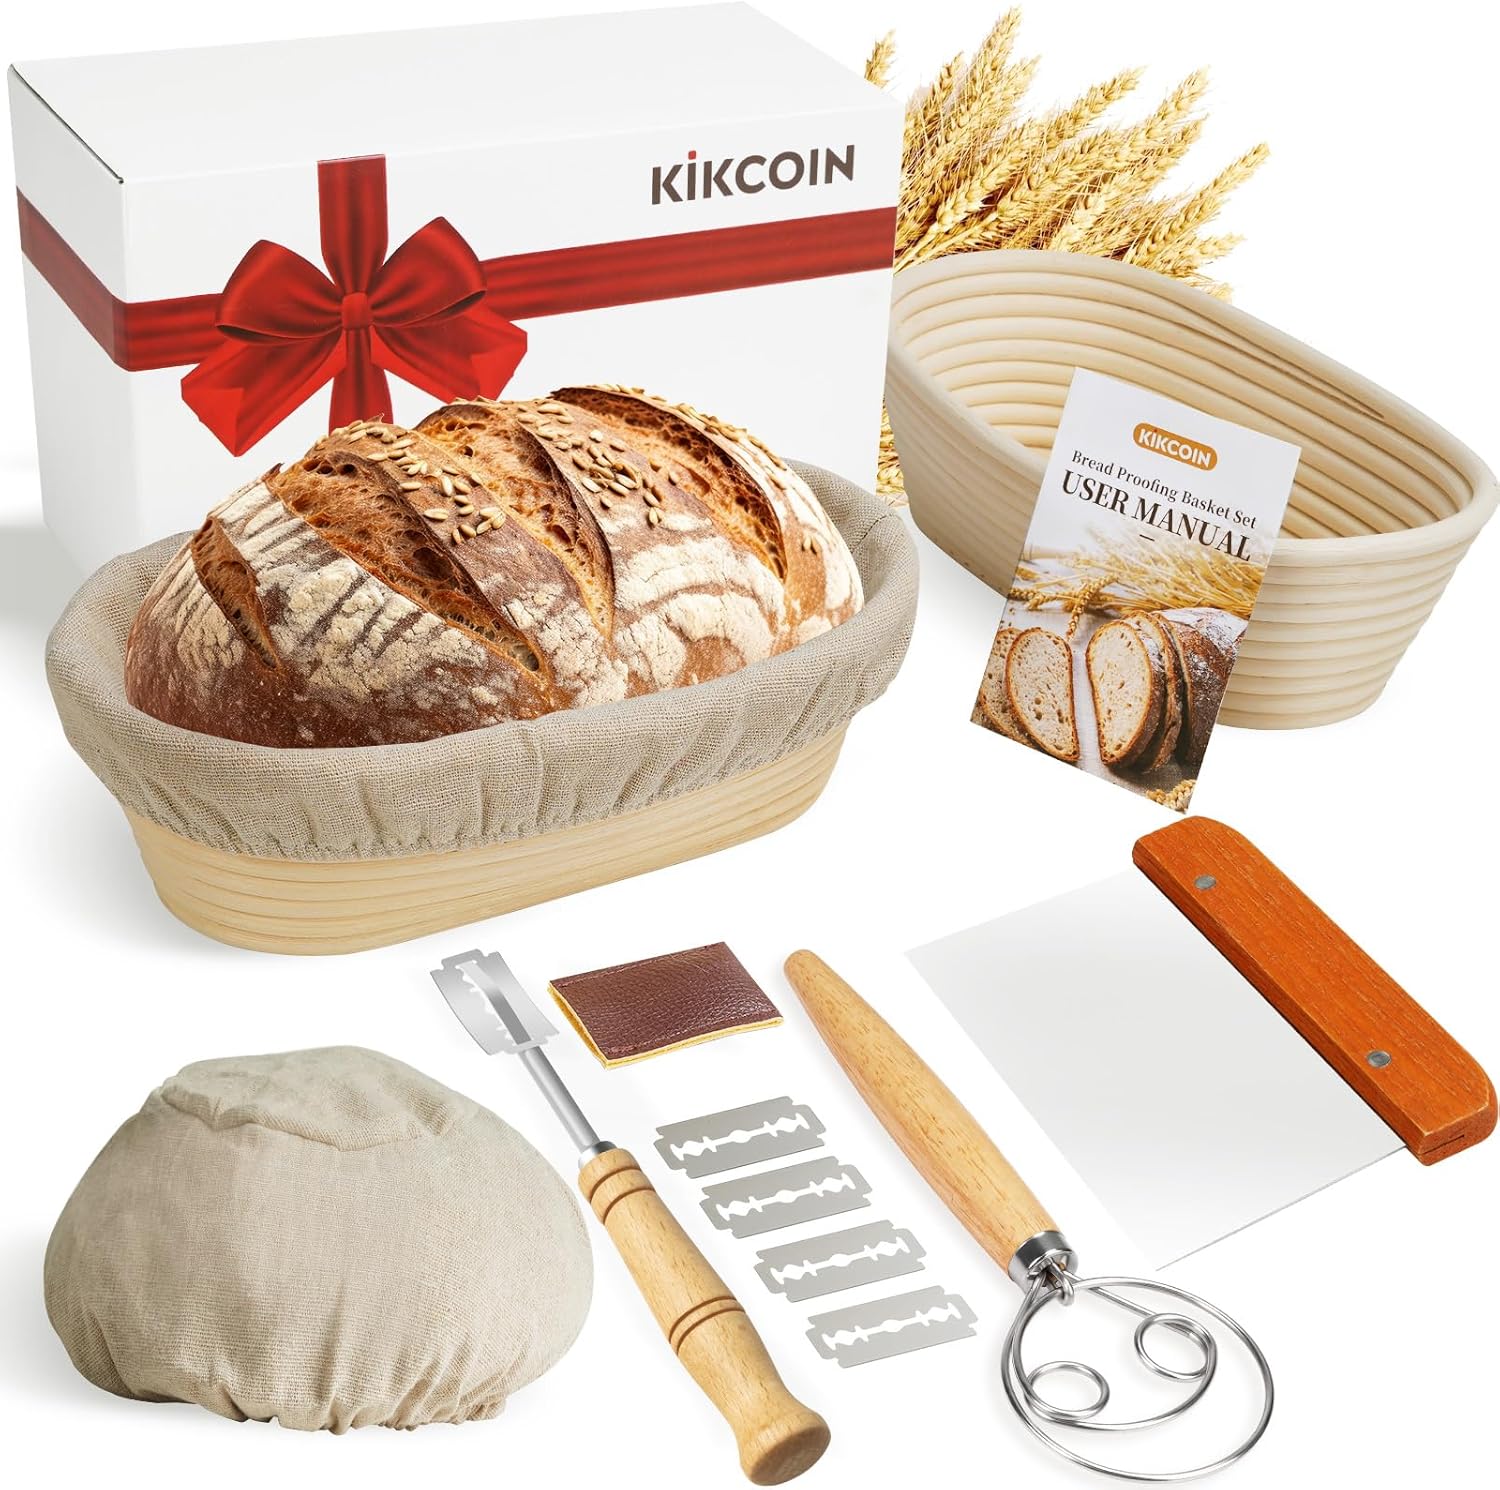
This kit here is one of the best value options, giving you everything you need to get started without overspending!
Parchment Paper – Prevents your dough from sticking to your Dutch oven while baking. Be careful though, not all parchment papers are rated for high baking temperatures, and can stick to the bottom of your loaf. Check the box for temperature ratings before buying. I personally use and love the Great Value brand from Walmart and Reynolds brand parchment papers.
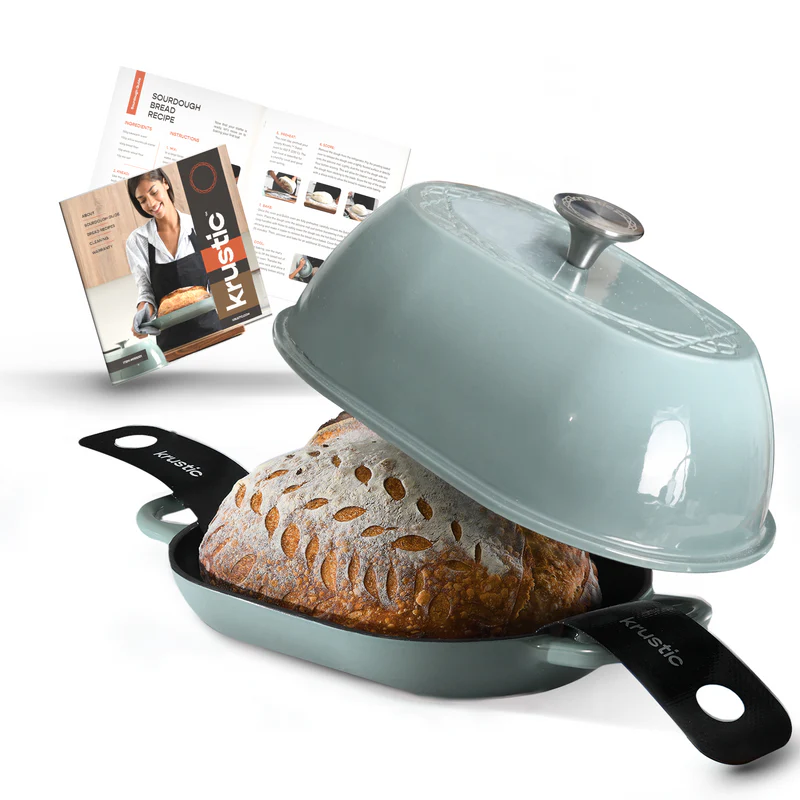
A Dutch Oven or Bread Oven– A Dutch oven traps steam for a crisp crust and soft interior while being versatile for other cooking. A bread oven is designed specifically for baking, offering better steam retention and more visually appealing loaves.
If you want an all-purpose tool, go with a Dutch oven.
For the best-looking bread, this bread oven is worth considering. This is one I use and love, use code Hayley15 for $15 off your order!
Helpful Extras (Not Required, But Nice to Have!)
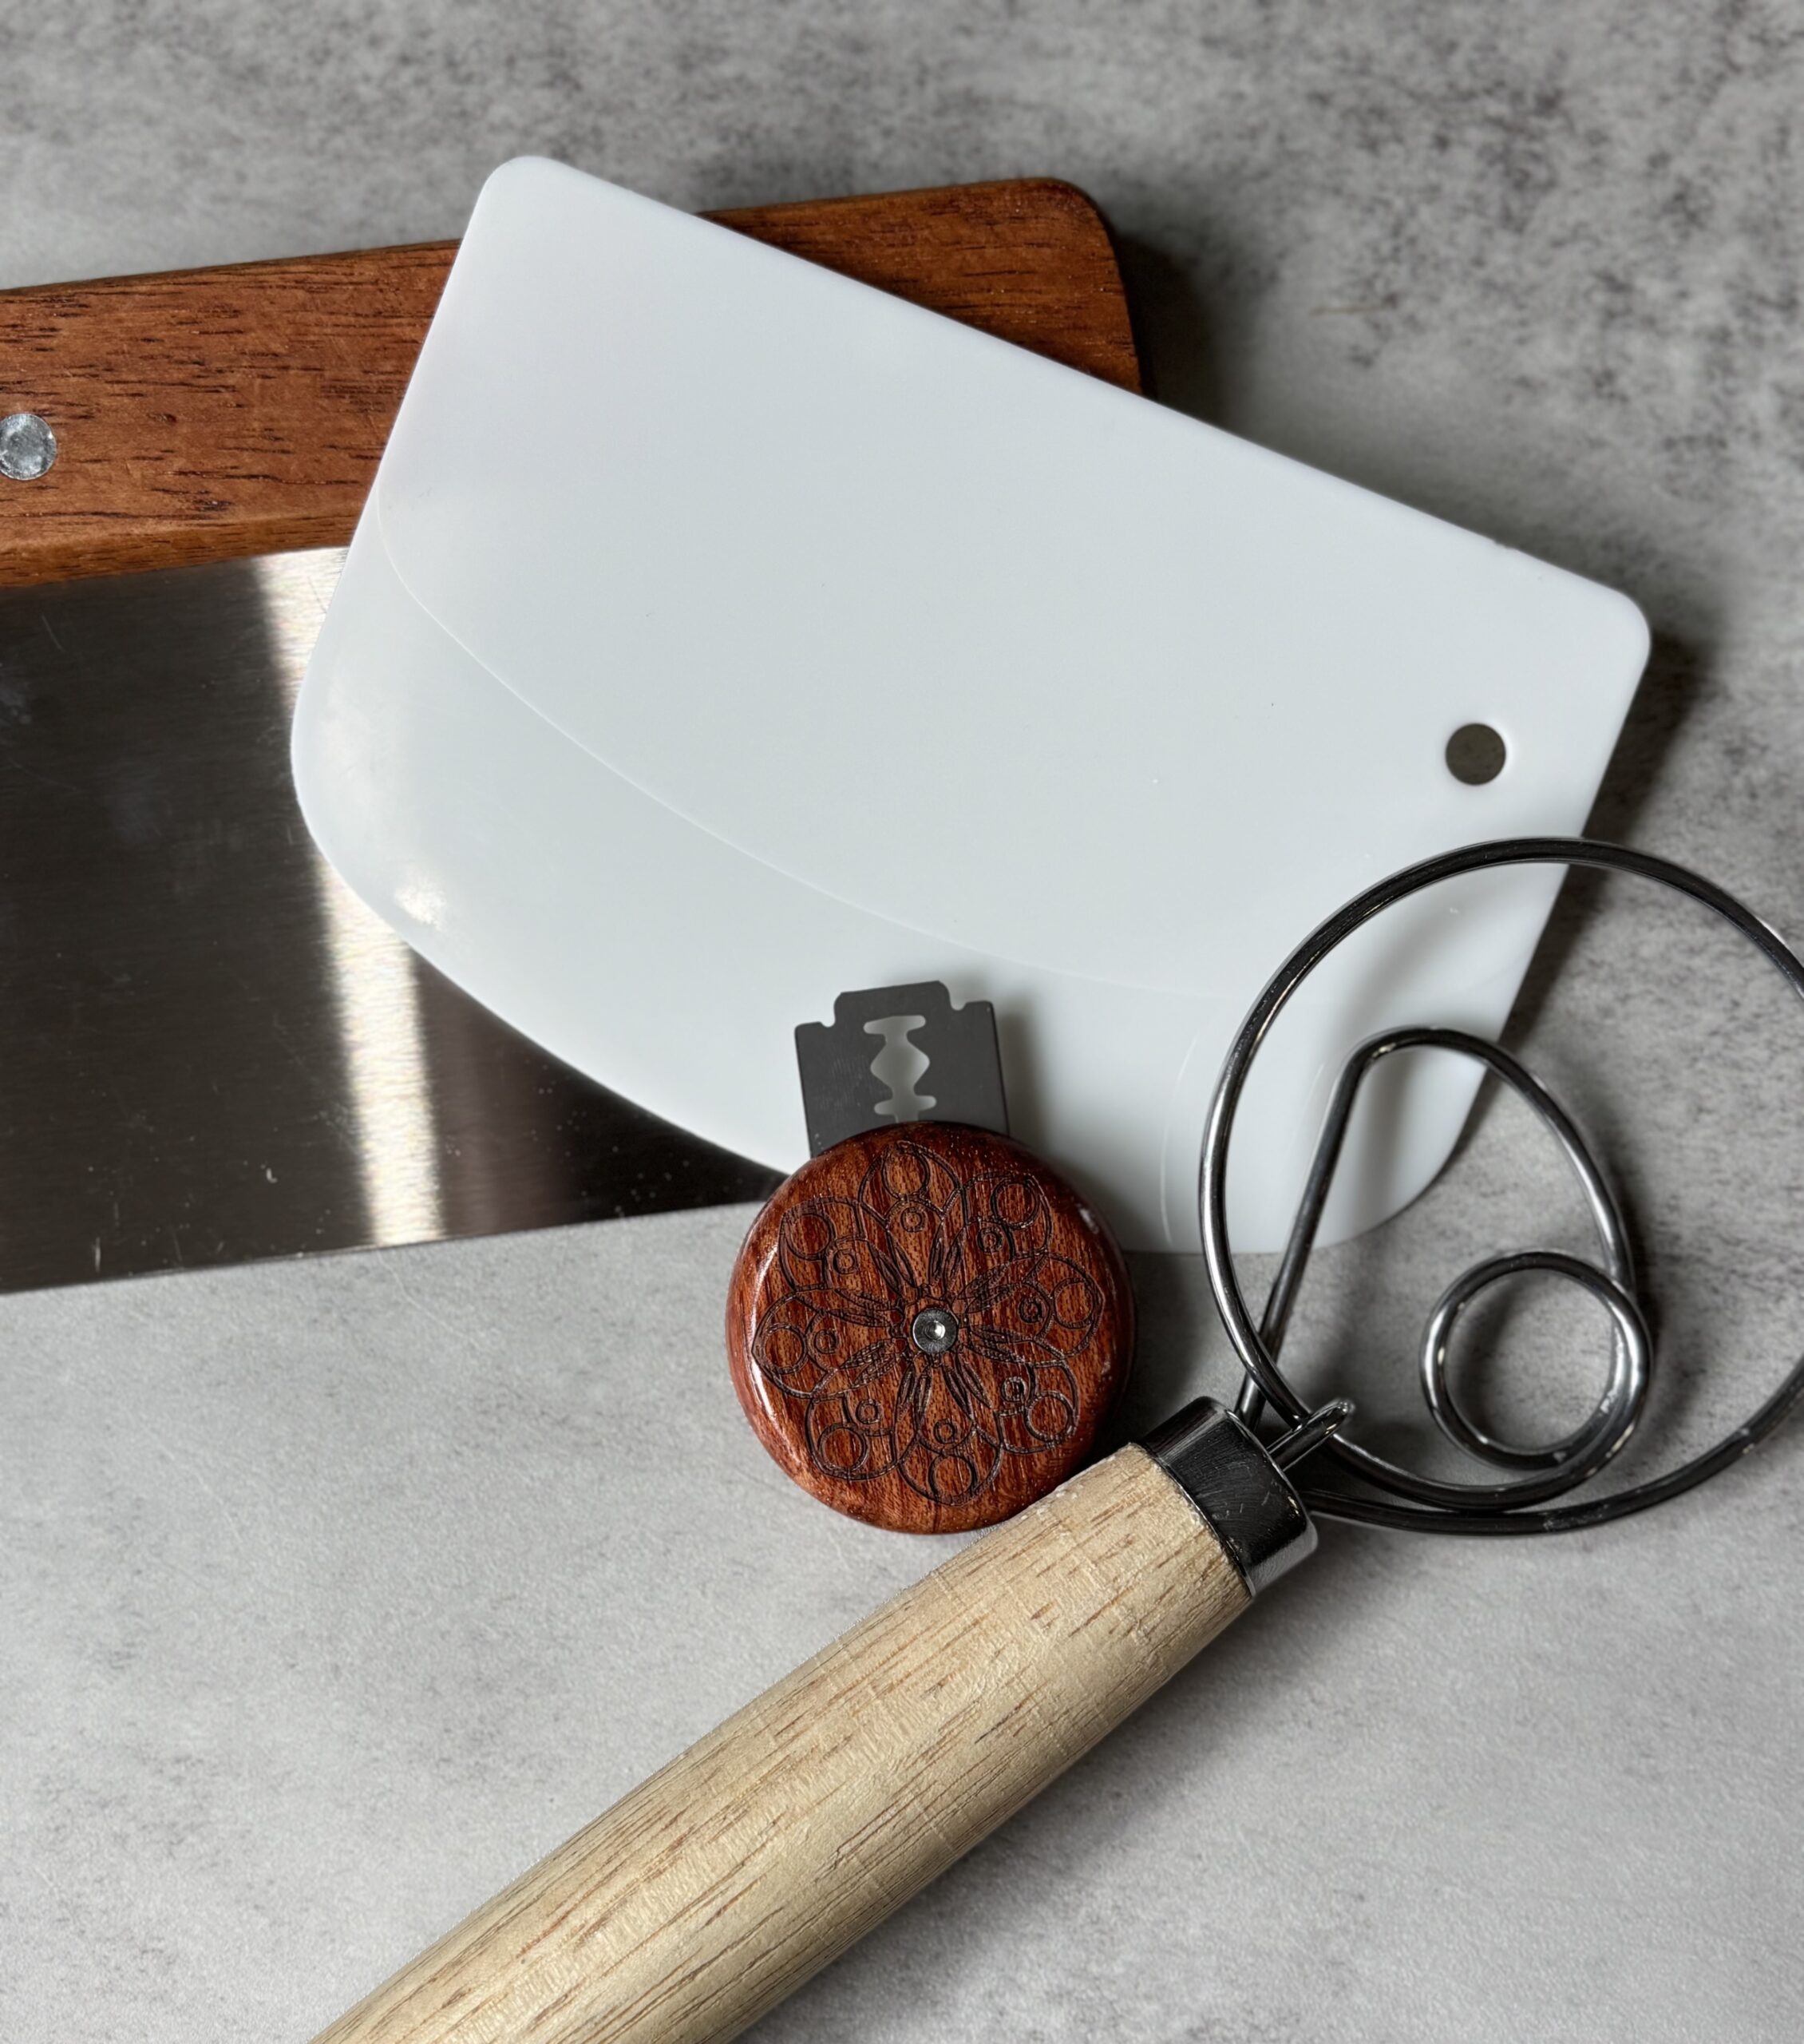
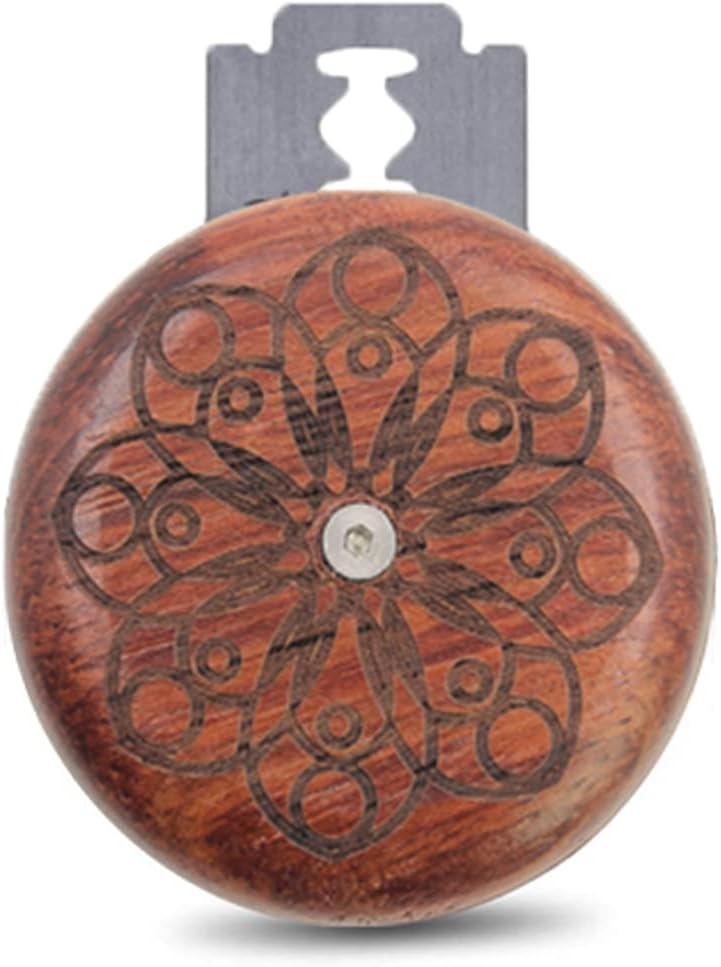
A Bread Lame (or Sharp Knife) – For scoring your dough before baking. I use this one, but these also come in the kits mentioned above!
Bench Scraper – Makes handling dough so much easier! These come in the kits or The Dollar Tree has a great one!
Plastic Bowl Covers -I use these shower caps. They help retain moisture during the bulk fermentation, preventing the dough from drying out while allowing proper fermentation. Also used during cold proofing, they keep humidity in, ensuring a smooth, hydrated surface. Alternatively, you can use a damp lint free towel.
Instant Read Digital Thermometer – Helps monitor and check dough temperature during fermentation and ensuring your bread is fully baked (look for an internal temp of 205°F-210°F) I like this one and its a great price.

If you’d like to check out more of the tools I use, I have everything categorized and linked on my Amazon storefront.
Final Thoughts
My first few sourdough loaves were made with nothing but what I had in my kitchen—I made it work with the basics. But over time, I picked up tools that made the process easier and helped elevate my baking. You don’t need everything right away, but having the right tools can make a big difference. Sourdough is a skill that takes time, so be patient, enjoy the process, and have fun baking!
If you’ve got your starter and are ready to bake, head over to my beginner sourdough recipe to get started!